Product
Announcing Bun and vlt Support in Socket
Bringing supply chain security to the next generation of JavaScript package managers
@b3dotfun/anyspend-x402-next
Advanced tools
AnySpend x402 Next.js middleware - Extended x402 payment protocol integration for Next.js with multi-token support
AnySpend-enhanced Next.js middleware for the x402 Payment Protocol. This package extends the standard x402-next middleware with multi-token and cross-chain payment support through the AnySpend facilitator.
npm install @b3dotfun/anyspend-x402-next
Create a middleware file in your Next.js project (e.g., middleware.ts):
import { paymentMiddleware } from '@b3dotfun/anyspend-x402-next';
import { facilitator } from '@b3dotfun/anyspend-x402';

export const middleware = paymentMiddleware(
  "0xYourAddress",
  {
    '/protected': {
      price: '$0.01',
      network: "base-sepolia",
      config: {
        description: 'Access to protected content'
      }
    },
  },
  facilitator  // Use AnySpend facilitator for multi-token support
);

// Configure which paths the middleware should run on
export const config = {
  matcher: [
    '/protected/:path*',
  ]
};
Unlike standard x402 implementations, AnySpend x402 enables:
Users can pay with any supported token on any supported network, while you receive payments in your preferred token on your preferred network.
The paymentMiddleware function accepts three parameters:
payTo: Your receiving address (0x${string})routes: Route configurations for protected endpointsfacilitator: (Optional) Configuration for the x402 facilitator servicepaywall: (Optional) Configuration for the built-in paywallSee the Middleware Options section below for detailed configuration options.
The middleware supports various configuration options:
type RoutesConfig = Record<string, Price | RouteConfig>;

interface RouteConfig {
  price: Price;           // Price in USD or token amount
  network: Network;       // "base" or "base-sepolia"
  config?: PaymentMiddlewareConfig;
}
interface PaymentMiddlewareConfig {
  description?: string;               // Description of the payment
  mimeType?: string;                  // MIME type of the resource
  maxTimeoutSeconds?: number;         // Maximum time for payment (default: 60)
  outputSchema?: Record<string, any>; // JSON schema for the response
  customPaywallHtml?: string;         // Custom HTML for the paywall
  resource?: string;                  // Resource URL (defaults to request URL)
}
type FacilitatorConfig = {
  url: string;                        // URL of the x402 facilitator service
  createAuthHeaders?: CreateHeaders;  // Optional function to create authentication headers
};
For more on paywall configuration options, refer to the paywall README.
type PaywallConfig = {
  cdpClientKey?: string;              // Your CDP Client API Key
  appName?: string;                   // Name displayed in the paywall wallet selection modal
  appLogo?: string;                   // Logo for the paywall wallet selection modal
  sessionTokenEndpoint?: string;      // API endpoint for Coinbase Onramp session authentication
};
TEMPORARY WORKAROUND: The following configuration changes are only required until the @coinbase/x402 package adds support for Edge runtime. Coinbase is actively working on making the package Edge-compatible, which will eliminate the need for these workarounds in the near future.
To use the official Coinbase facilitator package (@coinbase/x402) in your Next.js project, you'll need to make the following temporary changes to your project configuration:
npm install @coinbase/x402
// next.config.ts
const nextConfig: NextConfig = {
  // rest of your next config setup
  experimental: {
    nodeMiddleware: true, // TEMPORARY: Only needed until Edge runtime support is added
  }
};

export default nextConfig;
// middleware.ts
import { paymentMiddleware } from "@b3dotfun/anyspend-x402-next";
import { facilitator } from "@coinbase/x402";

export const middleware = paymentMiddleware(
  "0xYourAddress",
  {
    "/protected": {
      price: "$0.01",
      network: "base",
      // other config options
    },
  },
  facilitator // Use the Coinbase facilitator
);

export const config = {
  matcher: ["/protected/:path*"],
  runtime: 'nodejs', // TEMPORARY: Only needed until Edge runtime support is added
};
// package.json
{
  "dependencies": {
    "next": "canary", // TEMPORARY: Only needed until Edge runtime support is added
    "@b3dotfun/anyspend-x402-next": "^0.7.0",
    "@coinbase/x402": "^1.0.0"
    // other dependencies
  }
}
# .env
CDP_API_KEY_ID=your-cdp-api-key-id
CDP_API_KEY_SECRET=your-cdp-api-key-secret
Important Note: Once the @coinbase/x402 package adds support for Edge runtime, you'll be able to use it directly without enforcing the nodejs runtime or requiring the canary version of next.
Note: Onramp integration is completely optional. Your x402 paywall will work perfectly without it. This feature is for users who want to provide an easy way for their customers to fund their wallets directly from the paywall.
When configured, a "Get more USDC" button will appear in your paywall, allowing users to purchase USDC directly through Coinbase Onramp.
Add sessionTokenEndpoint to your middleware configuration. This tells the paywall where to find your session token API:
export const middleware = paymentMiddleware(
  payTo,
  routes,
  facilitator,
  {
    sessionTokenEndpoint: "/api/x402/session-token", // Enable onramp functionality
    cdpClientKey: "your-cdp-client-key",
    appName: "My App",
  }
);
Important: The sessionTokenEndpoint can be any path you choose - just make sure it matches where you create your API route in the next step. Without this configuration, the "Get more USDC" button will be hidden.
Create an API route that matches the path you configured above:
// app/api/x402/session-token/route.ts
export { POST } from "@b3dotfun/anyspend-x402-next";
That's it! The @b3dotfun/anyspend-x402-next package provides the complete session token implementation.
Add your CDP API keys to your environment:
# .env
CDP_API_KEY_ID=your_secret_api_key_id_here
CDP_API_KEY_SECRET=your_secret_api_key_secret_here
Once set up, your x402 paywall will automatically show a "Get more USDC" button when users need to fund their wallets.
"Missing CDP API credentials"
CDP_API_KEY_ID and CDP_API_KEY_SECRET are set"Failed to generate session token"
API route not found
sessionTokenEndpoint configurationexport { POST } from "@b3dotfun/anyspend-x402-next";sessionTokenEndpoint: "/api/custom/onramp", create app/api/custom/onramp/route.tsFAQs
AnySpend x402 Next.js middleware - Extended x402 payment protocol integration for Next.js with multi-token support
We found that @b3dotfun/anyspend-x402-next demonstrated a healthy version release cadence and project activity because the last version was released less than a year ago. It has 10 open source maintainers collaborating on the project.
Did you know?

Socket for GitHub automatically highlights issues in each pull request and monitors the health of all your open source dependencies. Discover the contents of your packages and block harmful activity before you install or update your dependencies.

Product
Bringing supply chain security to the next generation of JavaScript package managers

Product
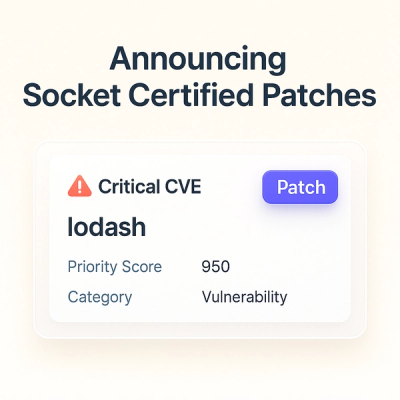
A safer, faster way to eliminate vulnerabilities without updating dependencies

Product
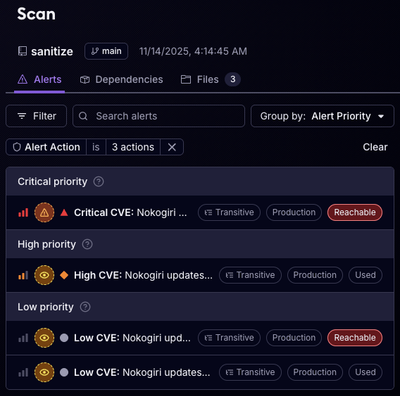
Reachability analysis for Ruby is now in beta, helping teams identify which vulnerabilities are truly exploitable in their applications.