Security News
CISA Rebuffs Funding Concerns as CVE Foundation Draws Criticism
CISA denies CVE funding issues amid backlash over a new CVE foundation formed by board members, raising concerns about transparency and program governance.
@classly/classly-business-webcomponents
Advanced tools
A collection of webcomponents used by businesses on Classly.
npm run start-dev. Make sure you follow install instructions below.npmR build --prod or npm run build --prodnpm publish --access publicThese components are designed to be loaded externally on websites through npm & unpkg.com.
To grab the latest version and load unto a website, use this url as source of
the script tag with a type of module:
https://unpkg.com/@classly/classly-business-webcomponents
Eg.
<link rel="stylesheet" href="https://unpkg.com/@classly/classly-business-webcomponents/dist/classly-business-webcomponents/classly-business-webcomponents.css">

<script type="module" src="https://unpkg.com/@classly/classly-business-webcomponents">
To add widgets to a website, see examples at https://classly.dev/widgets.
<upcoming-courses env="staging" organization-id="128f9263-ecd3-4362-b526-26d1bf8a589c" class="hydrated">
  <a href="https://classly.com" target="_blank" class="classly-link"><span>Powered by</span><img src="https://classly.com/images/logo-mark.svg"/></a>
</upcoming-courses>
To start building a new web component using Stencil, clone this repo to a new directory:
git clone https://github.com/ionic-team/stencil-component-starter.git my-component
cd my-component
git remote rm origin
and run:
npm install
npm start
To build the component for production, run:
npm run build
To run the unit tests for the components, run:
npm test
Need help? Check out our docs here.
When creating new component tags, we recommend not using stencil in the component name (ex: <stencil-datepicker>). This is because the generated component has little to nothing to do with Stencil; it's just a web component!
Instead, use a prefix that fits your company or any name for a group of related components. For example, all of the Ionic generated web components use the prefix ion.
There are three strategies we recommend for using web components built with Stencil.
The first step for all three of these strategies is to publish to NPM.
<script type='module' src='https://unpkg.com/my-component@0.0.1/dist/my-component.esm.js'></script> in the head of your index.htmlnpm install my-component --save<script type='module' src='node_modules/my-component/dist/my-component.esm.js'></script> in the head of your index.htmlFAQs
Classly website widgets
The npm package @classly/classly-business-webcomponents receives a total of 1,042 weekly downloads. As such, @classly/classly-business-webcomponents popularity was classified as popular.
We found that @classly/classly-business-webcomponents demonstrated a healthy version release cadence and project activity because the last version was released less than a year ago. It has 0 open source maintainers collaborating on the project.
Did you know?

Socket for GitHub automatically highlights issues in each pull request and monitors the health of all your open source dependencies. Discover the contents of your packages and block harmful activity before you install or update your dependencies.

Security News
CISA denies CVE funding issues amid backlash over a new CVE foundation formed by board members, raising concerns about transparency and program governance.

Product
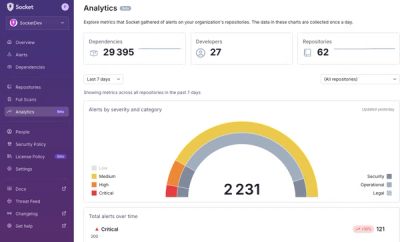
We’re excited to announce a powerful new capability in Socket: historical data and enhanced analytics.

Product
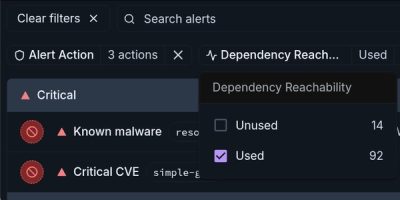
Module Reachability filters out unreachable CVEs so you can focus on vulnerabilities that actually matter to your application.