Product
Introducing Socket Scanning for OpenVSX Extensions
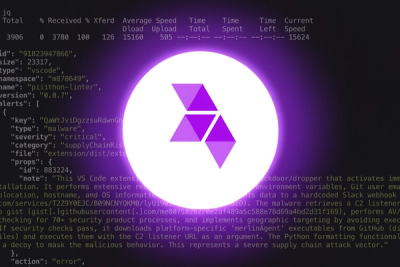
Socket now scans OpenVSX extensions, giving teams early detection of risky behaviors, hidden capabilities, and supply chain threats in developer tools.
@todesktop/az-vm
Advanced tools
Quick and easy Azure VM creation CLI tool supporting Windows and Linux VMs
Quick and easy Azure VM creation CLI tool supporting Windows and Linux VMs.
az login)You don't need to install this tool! Use it directly with npx:
npx @todesktop/az-vm
Or install globally if you prefer:
npm install -g @todesktop/az-vm
Create a Windows 11 VM with all defaults:
# Using npx (no installation required)
npx @todesktop/az-vm

# Using global install
az-vm
Create an Ubuntu VM:
# Using npx
npx @todesktop/az-vm --image=ubuntu

# Using global install
az-vm --image=ubuntu
# Windows 10 in UK South
npx @todesktop/az-vm --image=windows-10 --location=uksouth
# or with global install: az-vm --image=windows-10 --location=uksouth

# Ubuntu with custom name
npx @todesktop/az-vm --image=ubuntu --name=my-dev-server
# or with global install: az-vm --image=ubuntu --name=my-dev-server

# Windows Server 2022 with larger size
npx @todesktop/az-vm --image=windows-server-2022 --size=Standard_D4s_v3

# Custom image URN
npx @todesktop/az-vm --image=Canonical:0001-com-ubuntu-server-jammy:22_04-lts:latest
| Option | Description | Default |
|---|---|---|
--location | Azure region | northeurope |
--name | VM name | Auto-generated |
--size | VM size | Standard_D2s_v3 |
--image | OS image preset or URN | windows-11 |
--resourceGroup | Resource group name | Auto-generated |
--username | Admin username | azureuser |
--password | Admin password | Auto-generated |
--help | Show help | - |
| Preset | Description |
|---|---|
windows-11 | Windows 11 Pro (default) |
windows-10 | Windows 10 Pro |
windows-server-2022 | Windows Server 2022 Datacenter |
windows-server-2019 | Windows Server 2019 Datacenter |
ubuntu | Ubuntu 22.04 LTS |
ubuntu-20 | Ubuntu 20.04 LTS |
debian | Debian 11 |
centos | CentOS 7.9 |
rhel | Red Hat Enterprise Linux 8 |
suse | SUSE Linux Enterprise Server 15 |
| Size | vCPUs | RAM | Description |
|---|---|---|---|
Standard_D2s_v3 | 2 | 8 GB | Default, general purpose |
Standard_D4s_v3 | 4 | 16 GB | Better performance |
Standard_D8s_v3 | 8 | 32 GB | High performance |
Standard_B2s | 2 | 4 GB | Burstable, cost-effective |
Standard_B2ms | 2 | 8 GB | Burstable with more RAM |
| Location | Description |
|---|---|
northeurope | Ireland (default) |
uksouth | UK South |
westeurope | Netherlands |
eastus | Virginia |
westus | California |
Windows VMs come with Remote Desktop (RDP) enabled out of the box. Simply:
1. Open Microsoft Remote Desktop (built into Windows, available for Mac/iOS/Android)
2. Enter the provided IP address
3. Username: .\azureuser
4. Use the generated password
No additional setup required!
Linux VMs are created as servers without a GUI by default. Connect via SSH:
ssh azureuser@<ip-address>
Unlike Windows VMs, Linux VMs require additional setup for remote desktop access. Here are your options:
For Ubuntu/Debian:
# Update packages
sudo apt update

# Install lightweight desktop environment (XFCE) and VNC
sudo apt install xfce4 xfce4-goodies tightvncserver -y
# Start VNC server to create config files
vncserver

# You'll be prompted to create a VNC password (max 8 characters)
# Kill the server after initial setup
vncserver -kill :1

# Backup and edit the startup script
mv ~/.vnc/xstartup ~/.vnc/xstartup.bak
nano ~/.vnc/xstartup
#!/bin/bash
xrdb $HOME/.Xresources
startxfce4 &
chmod +x ~/.vnc/xstartup
vncserver -geometry 1920x1080 -depth 24
az vm open-port --resource-group <resource-group> --name <vm-name> --port 5901
<vm-ip>:5901For better performance, use X2Go instead:
# Install X2Go server
sudo apt-add-repository ppa:x2go/stable
sudo apt update
sudo apt install x2goserver x2goserver-xsession -y
Then use X2Go Client on your local machine to connect.
xRDP allows you to use Windows Remote Desktop to connect to Linux:
# Install xRDP and desktop environment
sudo apt update
sudo apt install ubuntu-desktop xrdp -y

# Configure xRDP to use port 3389
sudo systemctl enable xrdp
sudo systemctl restart xrdp

# For better performance with xRDP
echo "exec startxfce4" > ~/.xsession
Then connect using Windows Remote Desktop client to port 3389.
az vm stop --resource-group <resource-group> --name <vm-name>
az vm start --resource-group <resource-group> --name <vm-name>
az group delete --name <resource-group> --yes
MIT © ToDesktop
Issues and PRs welcome at github.com/todesktop/az-vm
FAQs
Quick and easy Azure VM creation CLI tool supporting Windows and Linux VMs
We found that @todesktop/az-vm demonstrated a healthy version release cadence and project activity because the last version was released less than a year ago. It has 3 open source maintainers collaborating on the project.
Did you know?

Socket for GitHub automatically highlights issues in each pull request and monitors the health of all your open source dependencies. Discover the contents of your packages and block harmful activity before you install or update your dependencies.

Product
Socket now scans OpenVSX extensions, giving teams early detection of risky behaviors, hidden capabilities, and supply chain threats in developer tools.

Product
Bringing supply chain security to the next generation of JavaScript package managers

Product
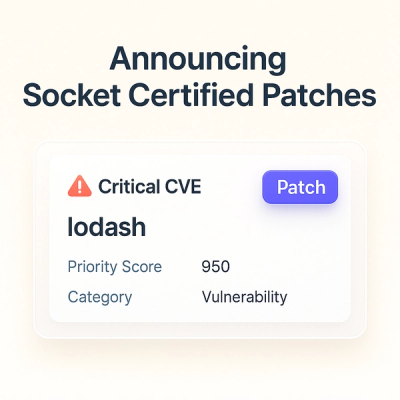
A safer, faster way to eliminate vulnerabilities without updating dependencies