Research
/Security News
Critical Vulnerability in NestJS Devtools: Localhost RCE via Sandbox Escape
A flawed sandbox in @nestjs/devtools-integration lets attackers run code on your machine via CSRF, leading to full Remote Code Execution (RCE).
binder-deploy-kubernetes
Advanced tools
A Binder backend that deploys apps onto a Kubernetes cluster
A binder-deploy implementation that launches containers on a Kubernetes cluster
The deploy API
defines how Binder
templates
can be launched on any container management system. In our production environment, all templates
are launched on a Kubernetes cluster using this module.
By default, containers are transient and are culled after one hour of inactivity.
When containers are first deployed (through POSTing to /applications/<template name>), they
are assigned an id but not a location. Once the location has been assigned (generally 5-10s
after the container has been scheduled), the client can redirect to that location. After the
initial deployment command, the location can be determined by polling the
/applications/<template name>/<id> endpoint.
The simplest way to run the binder-build server is through the
binder-control module, which manages the
server's lifecycle and service (the database and logging system) dependencies. Additionally,
binder-control uses the PM2 process manager to monitor/restart the server in the event of
failures. In binder-control, the deploy server can be started with with custom configuration
parameters through
binder-control deploy-kubernetes start --api-key=<key> --config=/path/to/config
It will also be started with reasonable defaults through
binder-control start-all
If you'd prefer to use binder-build in standalone mode:
git clone git@github.com:binder-project/binder-deploy-kubernetes
cd binder-deploy-kubernetes
npm i && npm start
The deploy portion of the Binder API consists of the following endpoints:
Get the status of a single deployed template with a given ID
GET /applications/binder-project-example-requirements/84b8f9e8d573e73016fa2c14bad86a4d HTTP 1.1
returns
{
  "id": "84b8f9e8d573e73016fa2c14bad86a4d",
  "template-name": "binder-project-example-requirements",
  "location": "104.197.56.211/user/84b8f9e8d573e73016fa2c14bad86a4d",
  "status": "deleted"
}
Get the status of all deployed templates for a template name
GET /applications/binder-project-example-requirements HTTP 1.1
Authorization: 880df8bbabdf4b48f412208938c220fe
returns
[
  {
    "id": "74156d847a6bc8e07c64a43aaed53514",
    "template-name": "binder-project-example-requirements",
    "location": "104.197.56.211/user/74156d847a6bc8e07c64a43aaed53514",
    "status": "deleted"
  },
  ...
  {
    "id": "880aa1c3798c32ad6fc120267e3ae610",
    "template-name": "binder-project-example-requirements",
    "location": "104.197.56.211/user/880aa1c3798c32ad6fc120267e3ae610",
    "status": "deleted"
  }
]
Launch a new instance of a template
POST /applications/binder-project-example-requirements
Content-Type: application/json
returns
{
  "id": "a16653059942e2ef2b1c7b458d6a2463"
}
The best way to interact with the deploy server is through the
binder-client. Once the client has been
installed, all endpoints are accessible either programmatically or through the CLI. For example:
From JS
var binder = require('binder-client')
binder.deploy.status(<deployment options>, function (err, status) {
  ...
})
From the CLI
binder deploy status <image-name> --api-key=<key> --host=<host> --port=<port>
FAQs
A Binder backend that deploys apps onto a Kubernetes cluster
The npm package binder-deploy-kubernetes receives a total of 8 weekly downloads. As such, binder-deploy-kubernetes popularity was classified as not popular.
We found that binder-deploy-kubernetes demonstrated a not healthy version release cadence and project activity because the last version was released a year ago. It has 1 open source maintainer collaborating on the project.
Did you know?

Socket for GitHub automatically highlights issues in each pull request and monitors the health of all your open source dependencies. Discover the contents of your packages and block harmful activity before you install or update your dependencies.

Research
/Security News
A flawed sandbox in @nestjs/devtools-integration lets attackers run code on your machine via CSRF, leading to full Remote Code Execution (RCE).

Product
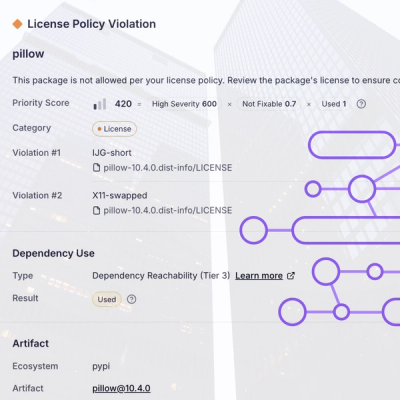
Customize license detection with Socket’s new license overlays: gain control, reduce noise, and handle edge cases with precision.

Product
Socket now supports Rust and Cargo, offering package search for all users and experimental SBOM generation for enterprise projects.