Research
/Security News
Critical Vulnerability in NestJS Devtools: Localhost RCE via Sandbox Escape
A flawed sandbox in @nestjs/devtools-integration lets attackers run code on your machine via CSRF, leading to full Remote Code Execution (RCE).
dcc-server-tester
Advanced tools
The DCC-Server-Tester is a test script that you can easily run against your server deployment. Tests can either be run locally, or for more production-scale tests, they can be run using AWS lambda.
The dcc-server-tester runs using Node.js. Follow the instructions to install Node.js to get started.
First, navigate to the server dashboard you wish to test (for example https://dashboard.dcconsortium.org). Click "Upload and Prepare Batch"

Create a name for your test batch (for example, "Test 7"), and select any available template you wish to test. On the "Upload & Manage Earner Information" page, upload a CSV with one line that contains your email. For example, you could copy the CSV below and replace john@example.com with your personal email.
earnerName,degreeType,subject,credentialName,emailAddress
John Doe,Bachelor of Science,Computer Science,Bachelors,john@example.com
Select an email template. On the final "Confirmation" page, press "Send." This should send an email with a link to your personal email (like the one below.) Copy the emailed link and save it for later.

Running tests locally requires minimal setup. You can use the dcc-server-tester library by simply running the command below, replacing {EMAILED_URL} and {DASHBOARD_URL} with your personal information.
npx dcc-server-tester test -e "{EMAILED_URL}" -d "{DASHBOARD_URL}" -s "1" -r "1"
The dcc-server-tester CLI has one command, "test," and it has the following parameters:
| Param | Description | Example | Default |
|---|---|---|---|
| -e or --emailed_url | The URL emailed to you in the step above. | https://load-test.dcconsortium.org/claim/?token=ey... | none |
| -d or --dashboard_url | The URL of the dashboard you wish to test | https://load-test.dcconsortium.org | none |
| -s or --seconds | The number of seconds you want your test to run | 200 | 1 |
| -r or --rate | The number of simulated users per second you want | 100 | 1 |
| -a or --aws | Add this flag to run your tests on AWS Lambda |
AWS Lambda uses Amazon servers to run your tests. This lets us use a beefy data-center network to send thousands of requests. But, before we run the tests, we need to set up your Amazon account.
First go to https://aws.amazon.com/ and create an account if you have not already.
In the search bar on the AWS console, search "IAM" and choose "IAM"

Once you've activated IAM, select the "user" link in the side menu and click "Create User."
On the next screen, you can name the user anything (for example cli-user).

On the "Set Permissions" screen, select the "Attach policies directly" option, search "administratorAccess" in the search box, and select the "AdministratorAccess" policy.

Review the options and click "Create User."
Back on the "User" pane, click on the user you just created.

Now, we need to generate keys that we will use to let the dcc-server-tester access this user. To do this, click the "Create Access Key" link.

Select "Command Line Interface (CLI)" from the options.

Once you've created the key, copy the "Access Key" and "Secret access key" and save it for later. You will not be able to retrieve these keys once you naviage away from this screen.

Now we want to set up the AWS CLI on your local machine. When you run the dcc-server-tester it will look for the AWS CLI and use it to deploy your tests to AWS Lambda.
To install the AWS CLI, follow the installation instructions for your platform.
Now, run the aws configure command. You will be prompted to provide a AWS Access Key and AWS Access Secret Key. Use the ones we generated in the previous section.
Now, we can run the tests using AWS Lambda. To do so, we can run the same command, but provide the "-a" flag to indicate we want the tests to run on AWS. For example:
npx dcc-server-tester test -e "{EMAILED_URL}" -d "{DASHBOARD_URL}" -s "1" -r "1" -a
FAQs
A server to process media submitted to lightover
The npm package dcc-server-tester receives a total of 0 weekly downloads. As such, dcc-server-tester popularity was classified as not popular.
We found that dcc-server-tester demonstrated a not healthy version release cadence and project activity because the last version was released a year ago. It has 0 open source maintainers collaborating on the project.
Did you know?

Socket for GitHub automatically highlights issues in each pull request and monitors the health of all your open source dependencies. Discover the contents of your packages and block harmful activity before you install or update your dependencies.

Research
/Security News
A flawed sandbox in @nestjs/devtools-integration lets attackers run code on your machine via CSRF, leading to full Remote Code Execution (RCE).

Product
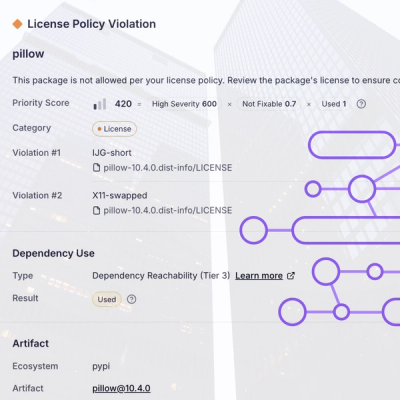
Customize license detection with Socket’s new license overlays: gain control, reduce noise, and handle edge cases with precision.

Product
Socket now supports Rust and Cargo, offering package search for all users and experimental SBOM generation for enterprise projects.