GDRWeb
A Geometry Dash Level Rendering Engine for the web.
What is GDRWeb?
It is a work-in-progress rendering engine for rendering Geometry Dash levels on web-based applications. The engine is written in Typescript and currently only supports WebGL 2.0. However, rendering contexts are easily expandable. GDRWeb has the following features:
- Real-Time Object Insertion/Deletion
- Color Trigger Support
- Alpha Trigger Support
- Pulse Trigger Support
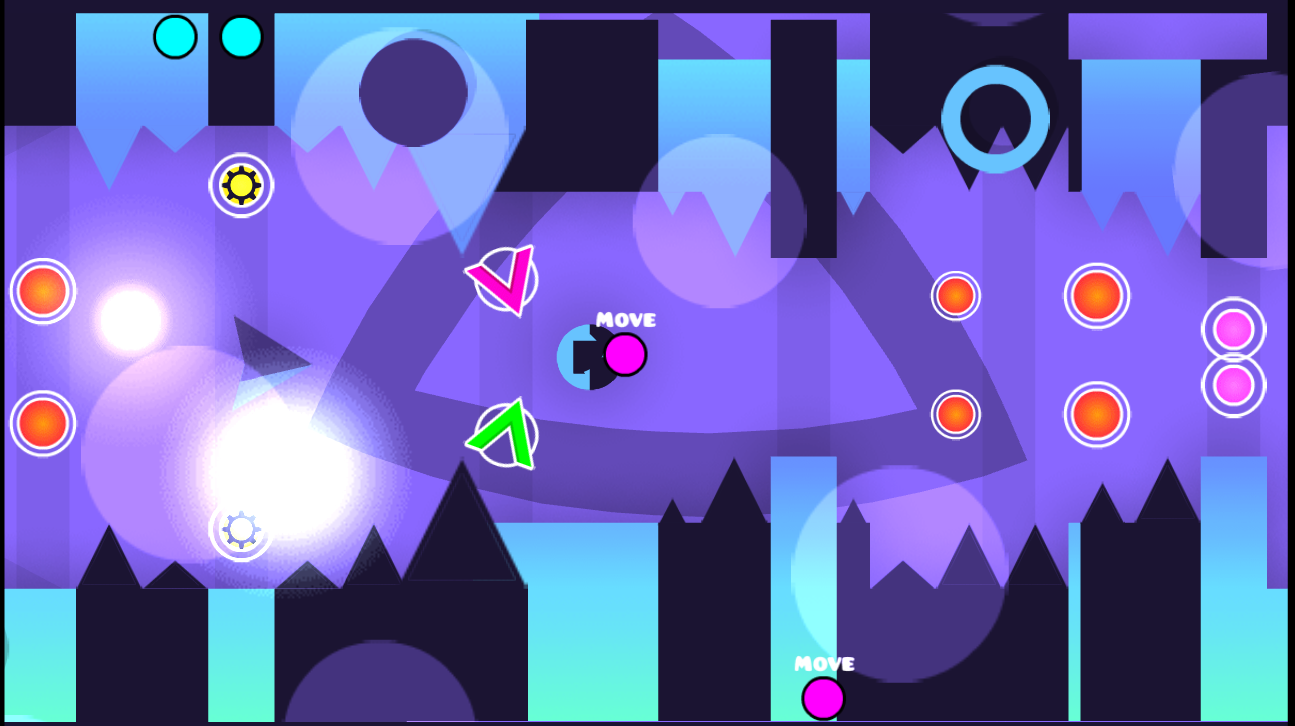
- Move Trigger Support
- Toggle Trigger Support
- Stop Trigger Support
- Object HSV Shifting
- Copy Colors
The engine is also pretty fast as it uses batch rendering and currently renders everything in one draw call. It is also random access meaning that you can go anywhere in a level and the renderer will automatically recalculate all trigger states for you. Instead of having to play
the level from the beginning.

How to use GDRWeb?
GDRWeb is easy to include into your Javascript project. You need to install the GDRWeb NPM package into your project. After that, you can require GDRWeb in a Javascript file and use it like this:
const * as gdr = require('gdrweb');
window.onload = () => {
let canvas = document.getElementById('canvas');
(async () => {
await gdr.Renderer.initTextureInfo(
"GJ_GameSheet-hd.plist",
"GJ_GameSheet02-hd.plist"
);
let renderer = new gdr.Renderer(
new gdr.WebGLContext(canvas),
"GJ_GameSheet-hd.png",
"GJ_GameSheet02-hd.png"
);
renderer.camera.x = 0;
renderer.camera.y = 0;
const levelString = "...";
let level = gdr.Level.parse(levelString);
level = gdr.Level.loadFromFile("path/to/level.gmd");
renderer.on('load', () => {
renderer.render(level);
});
})();
}
This won't work like that on your browser. Rather this has to
be bundled using a web bundler. This should work with any web
bundler out of the box.
Following web bundlers have been tested: vite, webpack and browserify.
How you run your app depends on your web bundler.
Want to contribute?
Here's how you can run the test application.
First, install all dependencies:
npm install
Then run the developement server:
npm run dev
Then open the localhost link given by the command.
You can now add changes to the engine and the page
should then automatically refresh.
Credits


