Research
Malicious npm Packages Impersonate Flashbots SDKs, Targeting Ethereum Wallet Credentials
Four npm packages disguised as cryptographic tools steal developer credentials and send them to attacker-controlled Telegram infrastructure.
ghost-cursor-fork
Advanced tools
Move your mouse like a human in puppeteer or generate realistic movements on any 2D plane
Fork and fix the "useTimestamp" feature which is not updated on the npm, but available on the repo.

Generate realistic, human-like mouse movement data between coordinates or navigate between elements with puppeteer like the definitely-not-robot you are.
Oh yeah? Could a robot do this?
yarn add ghost-cursor
or with npm
npm install ghost-cursor
Generating movement data between 2 coordinates.
import { path } from "ghost-cursor"

const from = { x: 100, y: 100 }
const to = { x: 600, y: 700 }

const route = path(from, to)

/**
 * [
 *   { x: 100, y: 100 },
 *   { x: 108.75573501957051, y: 102.83608396351725 },
 *   { x: 117.54686481838543, y: 106.20019239793275 },
 *   { x: 126.3749821408895, y: 110.08364505509256 },
 *   { x: 135.24167973152743, y: 114.47776168684264 }
 *   ... and so on
 * ]
 */
Generating movement data between 2 coordinates with timestamps.
import { path } from "ghost-cursor"

const from = { x: 100, y: 100 }
const to = { x: 600, y: 700 }

const route = path(from, to, { useTimestamps: true })

/**
 * [
 *   { x: 100, y: 100, timestamp: 1711850430643 },
 *   { x: 114.78071695023473, y: 97.52340709495319, timestamp: 1711850430697 },
 *   { x: 129.1362373468682, y: 96.60141853603243, timestamp: 1711850430749 },
 *   { x: 143.09468422606352, y: 97.18676354029148, timestamp: 1711850430799 },
 *   { x: 156.68418062398405, y: 99.23217132478408, timestamp: 1711850430848 },
 *   ... and so on
 * ]
 */
Usage with puppeteer:
import { createCursor } from "ghost-cursor"
import puppeteer from "puppeteer"

const run = async (url) => {
  const selector = "#sign-up button"
  const browser = await puppeteer.launch({ headless: false });
  const page = await browser.newPage()
  const cursor = createCursor(page)
  await page.goto(url)
  await page.waitForSelector(selector)
  await cursor.click(selector)
  // shorthand for
  // await cursor.move(selector)
  // await cursor.click()
}
cursor.move() will automatically overshoot or slightly miss and re-adjust for elements that are too far away
from the cursor's starting point.
Ghost cursor in action on a form
createCursor(page: puppeteer.Page, start?: Vector, performRandomMoves?: boolean, defaultOptions?: DefaultOptions): GhostCursorCreates the ghost cursor. Returns cursor action functions.
page.{ x: 0, y: 0 }.false.click, move, moveTo, and randomMove functions. Default values are described below.toggleRandomMove(random: boolean): voidToggles random mouse movements on or off.
click(selector?: string | ElementHandle, options?: ClickOptions): Promise<void>Simulates a mouse click at the specified selector or element.
hesitate (number): Delay before initiating the click action in milliseconds. Default is 0.waitForClick (number): Delay between mousedown and mouseup in milliseconds. Default is 0.moveDelay (number): Delay after moving the mouse in milliseconds. Default is 2000. If randomizeMoveDelay=true, delay is randomized from 0 to moveDelay.randomizeMoveDelay (boolean): Randomize delay between actions from 0 to moveDelay. Default is true.move(selector: string | ElementHandle, options?: MoveOptions): Promise<void>Moves the mouse to the specified selector or element.
paddingPercentage (number): Percentage of padding to be added inside the element. Default is 0 (may move to anywhere within the element). 100 will always move to center of element.waitForSelector (number): Time to wait for the selector to appear in milliseconds. Default is to not wait for selector.moveDelay (number): Delay after moving the mouse in milliseconds. Default is 0. If randomizeMoveDelay=true, delay is randomized from 0 to moveDelay.randomizeMoveDelay (boolean): Randomize delay between actions from 0 to moveDelay. Default is true.maxTries (number): Maximum number of attempts to mouse-over the element. Default is 10.moveSpeed (number): Speed of mouse movement. Default is random.overshootThreshold (number): Distance from current location to destination that triggers overshoot to occur. (Below this distance, no overshoot will occur). Default is 500.moveTo(destination: Vector, options?: MoveToOptions): Promise<void>Moves the mouse to the specified destination point.
x and y coordinates representing the target position. For example, { x: 500, y: 300 }.moveSpeed (number): Speed of mouse movement. Default is random.moveDelay (number): Delay after moving the mouse in milliseconds. Default is 0. If randomizeMoveDelay=true, delay is randomized from 0 to moveDelay.randomizeMoveDelay (boolean): Randomize delay between actions from 0 to moveDelay. Default is true.getLocation(): VectorGet current location of the cursor.
installMouseHelper(page: Page): Promise<void>Installs a mouse helper on the page. Makes pointer visible. Use for debugging only.
getRandomPagePoint(page: Page): Promise<Vector>Gets a random point on the browser window.
path(point: Vector, target: Vector, options?: number | PathOptions): Vector[] | TimedVector[]Generates a set of points for mouse movement between two coordinates.
spreadOverride.
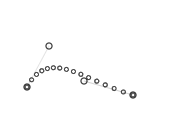
spreadOverride (number): Override the spread of the generated path.moveSpeed (number): Speed of mouse movement. Default is random.useTimestamps (boolean): Generate timestamps for each point based on the trapezoidal rule.Bezier curves do almost all the work here. They let us create an infinite amount of curves between any 2 points we want and they look quite human-like. (At least moreso than alternatives like perlin or simplex noise)

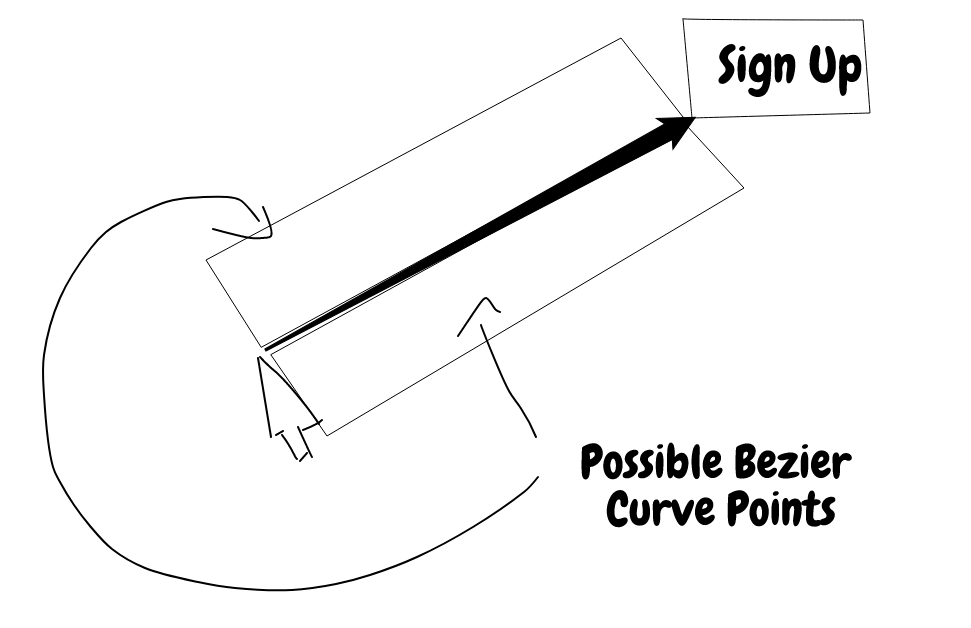
The magic comes from being able to set multiple points for the curve to go through. This is done by picking 2 coordinates randomly in a limited area above and under the curve.

However, we don't want wonky looking cubic curves when using this method because nobody really moves their mouse that way, so only one side of the line is picked when generating random points.
 When calculating how fast the mouse should be moving we use Fitts's Law
to determine the amount of points we should be returning relative to the width of the element being clicked on and the distance
between the mouse and the object.
DEBUG="ghost-cursor:*"DEBUG="ghost-cursor:*"set DEBUG=ghost-cursor:*$env:DEBUG = "ghost-cursor:*"FAQs
Move your mouse like a human in puppeteer or generate realistic movements on any 2D plane
The npm package ghost-cursor-fork receives a total of 1 weekly downloads. As such, ghost-cursor-fork popularity was classified as not popular.
We found that ghost-cursor-fork demonstrated a healthy version release cadence and project activity because the last version was released less than a year ago. It has 0 open source maintainers collaborating on the project.
Did you know?

Socket for GitHub automatically highlights issues in each pull request and monitors the health of all your open source dependencies. Discover the contents of your packages and block harmful activity before you install or update your dependencies.

Research
Four npm packages disguised as cryptographic tools steal developer credentials and send them to attacker-controlled Telegram infrastructure.

Security News
Ruby maintainers from Bundler and rbenv teams are building rv to bring Python uv's speed and unified tooling approach to Ruby development.

Security News
Following last week’s supply chain attack, Nx published findings on the GitHub Actions exploit and moved npm publishing to Trusted Publishers.