hapi-authy 
Two-Factor Authentication with Authy and hapi
This is a plugin that you can use to add 2fa to your hapi apps with ease. It works with the Authy service. Head over to Authy and register for an account.
Check out the example under examples/basic for a full working example of form based email/password and authy authentication (Authy API Key required)
Getting started
- Register with Authy
- Create an app
- Grab your api key
Installation
npm install --save hapi-authy
Usage
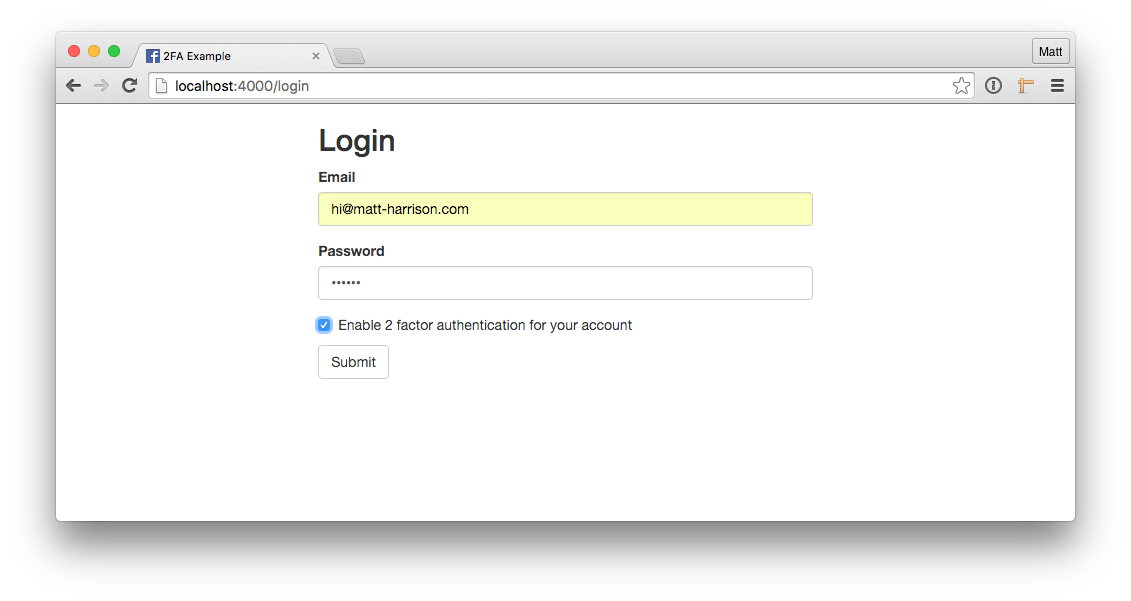
This would normally be used to implement the second step in a login process. After a successful step 1 (usually username/password login), a user with a 2fa-enabled account would be redirected to the 2fa route. Everything is then handled by the plugin.
This plugins defines a hapi auth scheme called authy. To get started, create a strategy from this scheme:
server.auth.strategy('authy', 'authy', {
    apiKey: 'your api key',
    sandbox: false,
    cookieOptions: {
        isSecure: false,
        path: '/',
        encoding: 'iron',
        password: 'cookiepass'
    }
});
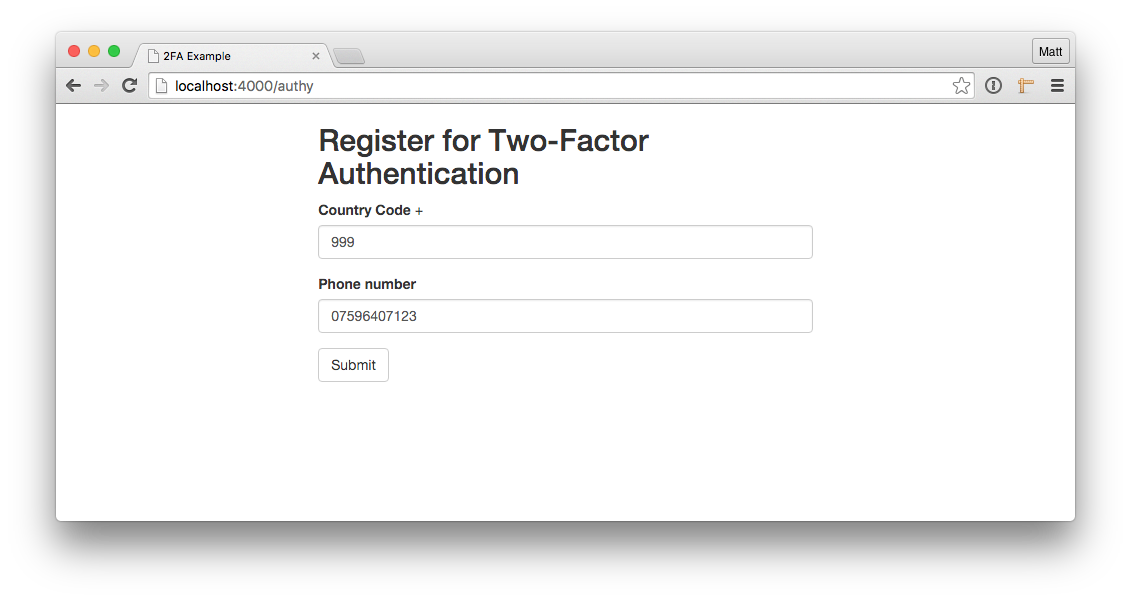
Then define the 2FA route where you will redirect users to:
server.route({
method: ['GET', 'POST'],
path: '/authy',
config: {
auth: {
strategies: ['authy'],
payload: true
},
handler: function (request, reply) {
const credentials = request.auth.credentials;
const user = users[credentials.email];
user.requireTfa = true;
user.authyId = credentials.authyId;
request.auth.session.set(user);
return reply.redirect('/');
}
}
});
The plugin will then take over fetching the relevant information from the user. The handler for this route will be finally executed once the user has successfully entered their 2FA token, either via SMS or the vis from the Authy app.

Configuration/customisation
Section coming soon. Please checkout examples for now.