OnePostUI
OnePost is social media management infrastructure for the internet. Companies use our API to create, post, and manage their social presence via programmatic communication. You can think of it like a headless Hootsuite built for developers. Learn more at https://www.getonepost.com/.
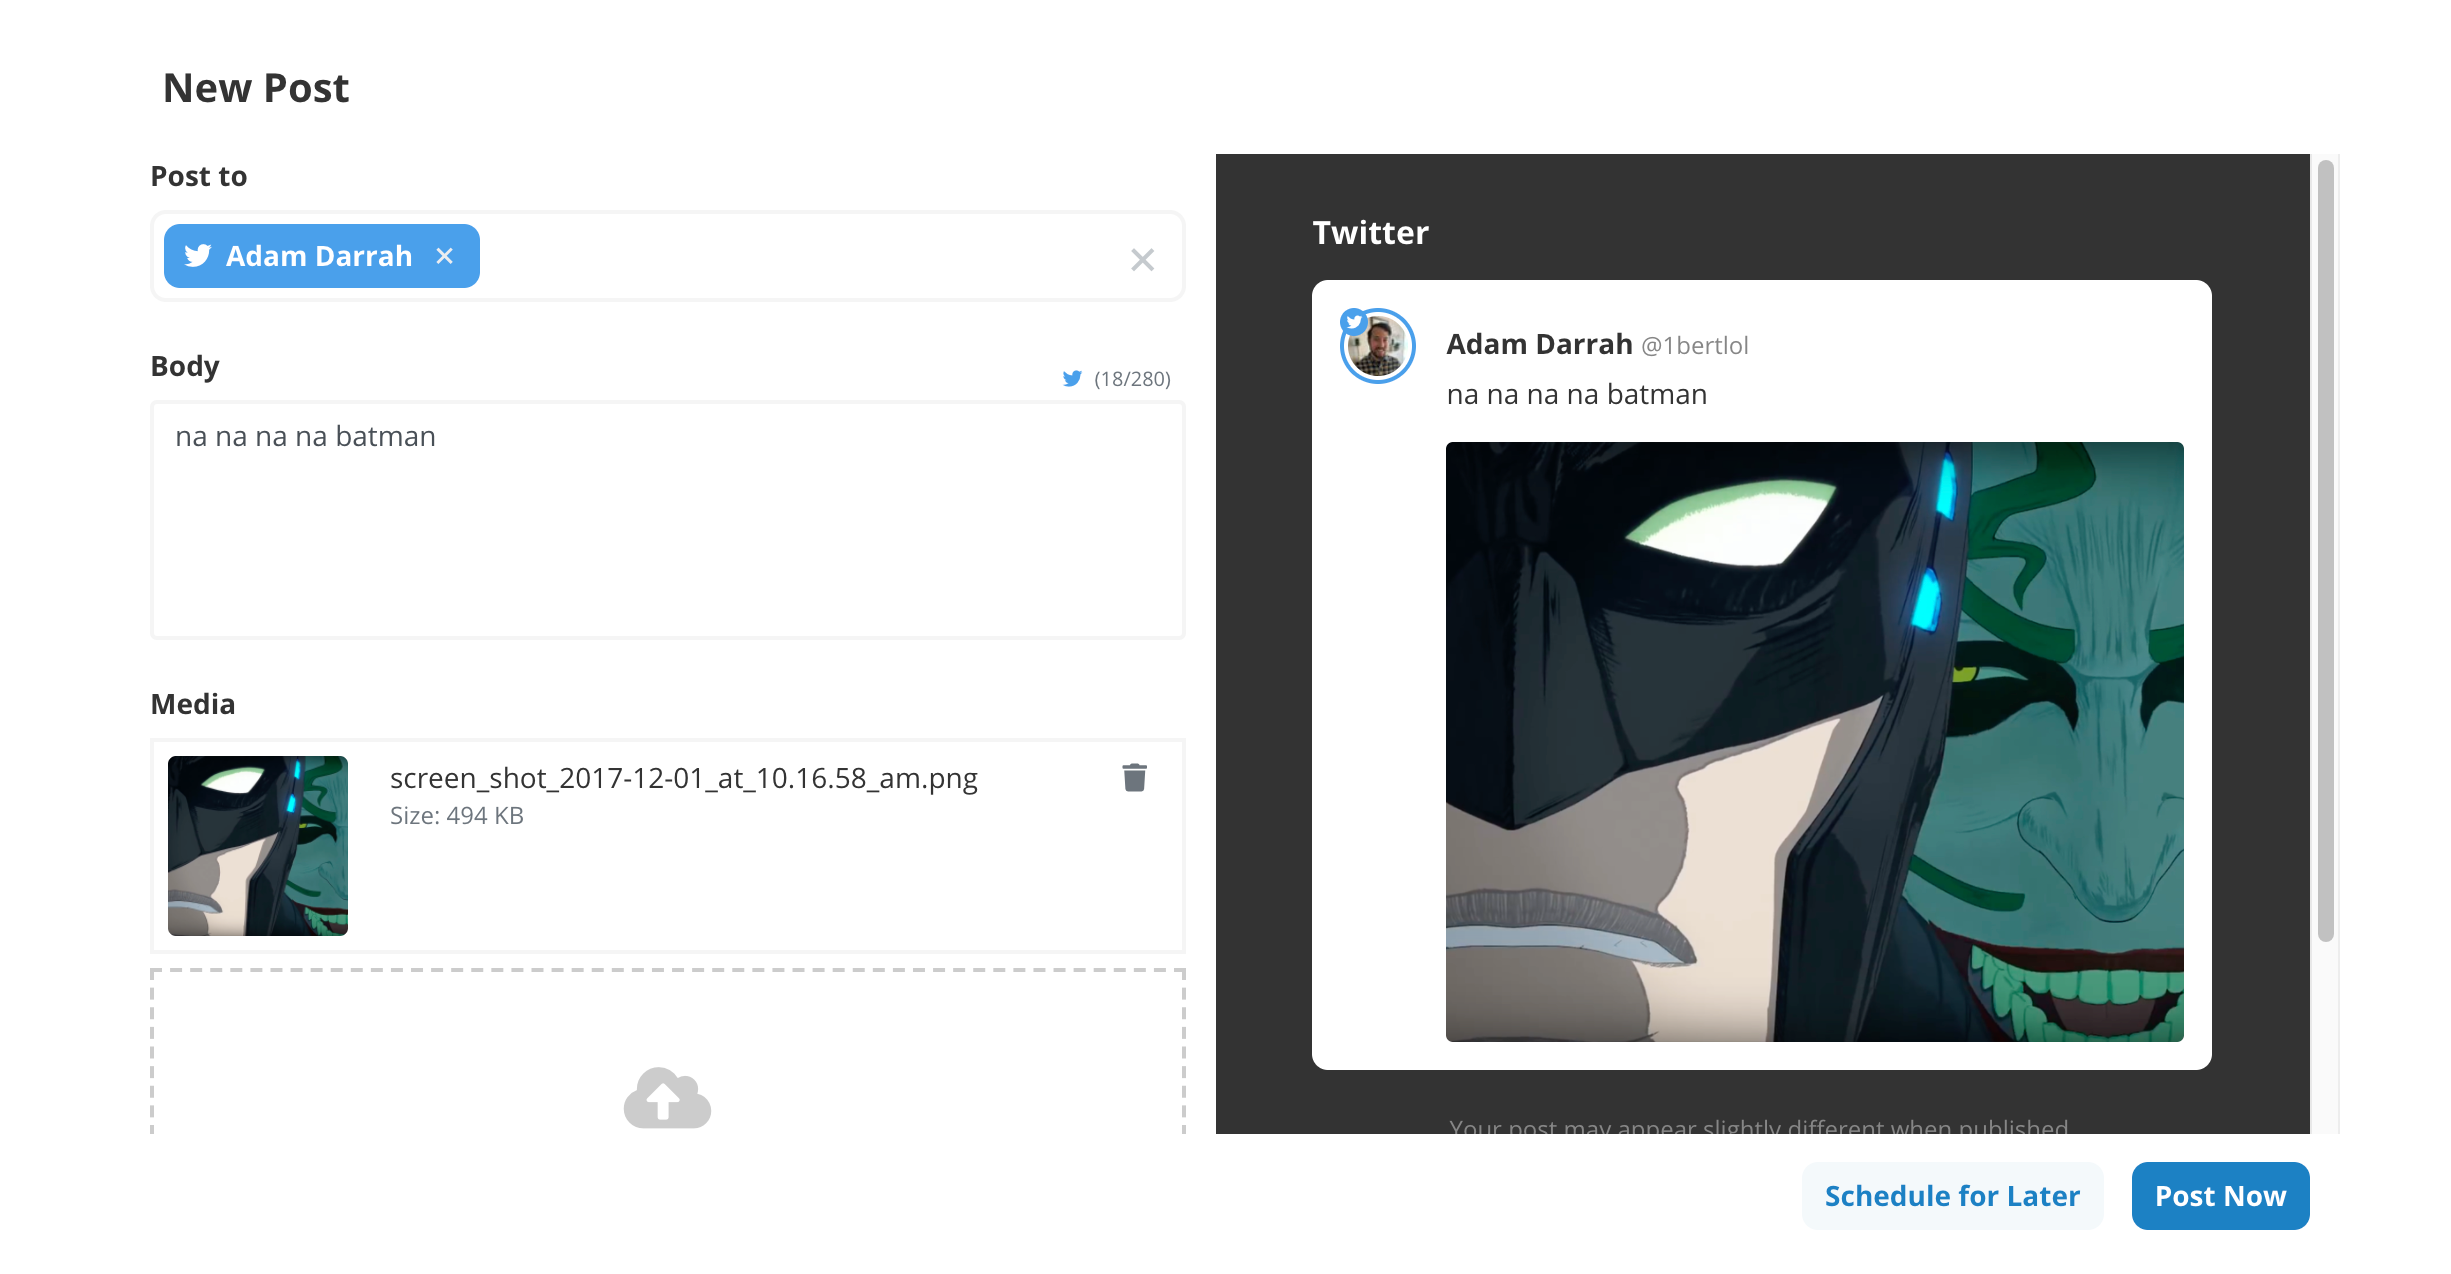
If you're using the OnePost API to build a web application, use this prebuilt UI to get up and running as quickly as possible with a beautiful responsive form.
- Pick your social accounts (Twitter, Facebook, or Instagram) you want to post to.
- Add your post's text and/or image. You can preview what your post will look for each social network as you type.
- Publish your post immediately to all accounts when your post is perfect (or schedule for a later time).
This UI was designed to work with the OnePost API hosted on RapidAPI. If you're using Ruby, be sure to check out the Official OnePost Ruby Gem.
Installation
Install using yarn:
yarn add onepost-ui
Then, import to get access to OnepostUI:
import OnepostUI from "onepost-ui";
Usage
Take a look at demo/index.html to see a working example.
Styles
OnePostUI makes use of an iframe to render the form. Make sure your iframe is styled nicely using CSS. We also use iframe-resizer to make sure the content of the form is always visible.
iframe {
  border: none;
  width: 1px;
  min-width: 100%;
}
HTML
OnePostUI needs to know where it should be rendered. Add an HTML element somewhere in your page to use as the target HTML node:
<div id="onepost-demo"></div>
Javascript
You can get your publicKey by registering for a user account on our website. Then, use the OnePost API to add at least one Provider, Authorization, and AuthorizedPage record to your account.
Add this Javascript to your page to see the form in action:
var target = document.getElementById("onepost-demo");
var publicKey = "pk-cbe628a0-5538-0139-b375-76de50b5e55c";
var authorizedPageIds = [13, 14, 15];

var onSuccess = function(data){
  console.log("success!", data);
}

var onFailure = function(error){
  console.log("failure...", error.response);
}

var onepost = new OnepostUI(target, publicKey, authorizedPageIds, {
  onSuccess: onSuccess,
  onFailure: onFailure
});

onepost.attach();
Server-side Processing
When registering for a OnePost user account, you will be given a secret_key and a public_key. It is extremely important that your secret_key always remains a secret. Therefore, you must not use the secret_key in the frontend of your website where it could be exposed to users. As a result, OnePostUI uses your public_key for authentication.
When the form is successfully submitted, a PostIntent record will be created with a token (you have access to this token in the onSuccess callback function). When you receive the token, you can submit a request to your web application for server side processing (where it is safe to use your secret_key).
Use the Get a Post Intent endpoint along with the token from the frontend to fetch the PostIntent data. WARNING: It is extremely important and highly recommend that you compare the authorized_page_ids of this record with the AuthorizedPages the user is allowed to post to. Because of the nature of this architecture, it is possible the user could have modified (or added) an AuthorizedPage ID they should not have access to (resulting in posting to someone else's account).
Once you are absolutely sure the authorized_page_ids are correct and valid, use the Create a Post endpoint along with your token to create a new Post record (See the "With Post Intent Token" Request body example).
Editing a Post
You will receive a token as part of the JSON response once you've successfully created a Post record using the API. If you need to edit the post, you can pass the token to OnepostUI to initialize the form with the existing post data.
var onepost = new OnepostUI(target, publicKey, authorizedPageIds, {
  token: "00e230f0659501396b072cde48001122"
});
A new PostIntent record will be created once the form has been submitted. You should verify the authorized_page_ids of this new record to verify the user has access (See Server-side Processing
). Once verified, use the Update a Post endpoint to update your Post.
Image Options
It is possible to preload the UI with image options available for the user to choose from by using the Image API Endpoints.

Once you've used the API to create some images, pass the IDs as an option to OnepostUI to make them appear:
var onepost = new OnepostUI(target, publicKey, authorizedPageIds, {
  imageIds: [1,2,3]
});
Development
After checking out the repo, run yarn install to install dependencies. Then, run yarn test to run the tests. To build the project onto your local machine, run gulp. Finally, run npm publish to publish a new version to npm.
Contributing
Bug reports and pull requests are welcome on GitHub at https://github.com/akdarrah/onepost-ui. This project is intended to be a safe, welcoming space for collaboration, and contributors are expected to adhere to the code of conduct.
License
The gem is available as open source under the terms of the MIT License.
Code of Conduct
Everyone interacting in the OnePostUI project's codebases, issue trackers, chat rooms and mailing lists is expected to follow the code of conduct.


