napari-stpt
A napari viewer which reads stpt images as zarr files.
Installation Windows
Start -> Anaconda3 (64-bit) -> Anaconda Prompt (Anaconda3)
Type:
>conda create -n py37 python=3.7
>conda activate py37
>pip install napari-stpt --upgrade
Installation Linux
Applications -> Terminal Emulator
Type:
>pip install napari-stpt --upgrade
How to run
The napari viewer can be run from command line by typing:
>napari-stpt
How to use
- If working within the IMAXT Windows VMware or Linux remote desktop, the Data folder containing the STPT images will have been automatically selected (windows server: N:/stpt/; linux: /data/meds1_c/storage/processed/stpt). If not, please select the location of the folders with STPT Zarr files using the "Set folder" button.
- The dropdown box should now have all the available STPT images.
- Select the image file from the dropdown box.
2D rendering (slice view)
- Select the slice you wish to view using the scroll bar.
- Press the "Load slice" button to load the image.
- When zooming using the mouse wheel the resolution will update dynamically.
3D rendering
- The "Output pixel size" is the resolution to which the images are reformatted (after applying the translations based on the bead locations).
- The "Maximum number of optical slices" can be set in case the optical slices go beyond the slice thickness of 15um. For example, if we have 9 optical slices of 2um we should use only 7 slices.
- Select which channels to load.
- Press "Load image 3D".
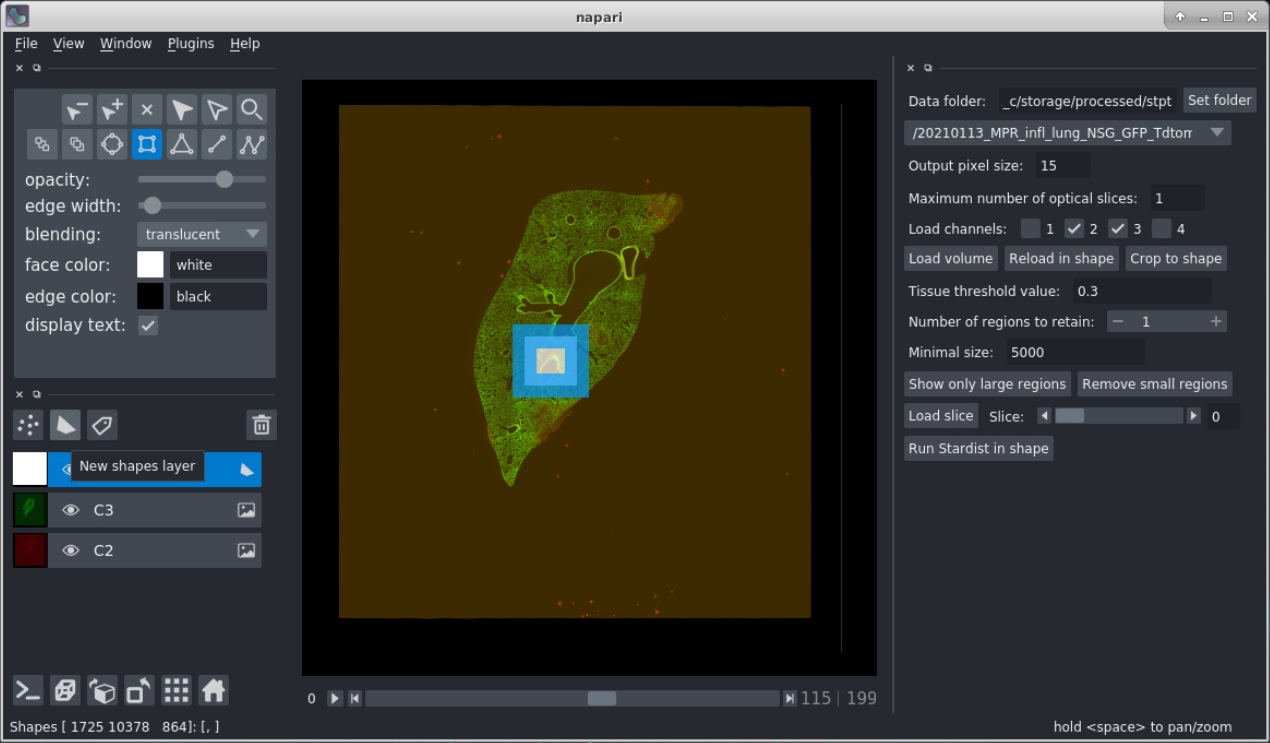
- To crop the volume draw a shape using the add rectangles button of napari. To do this select the "New shapes layer" button and then "Add rectangles" button. Draw a box across the image according to the region you wish to crop.
- Pressing "Crop to shape" will just crop the colume to this region.
- Pressing "Reload in shape" will reload the slices. In this case you can set a different output pixel size. To get the full resolution use a value of 0.5, although a value of 1 or 2 will in most cases suffice. Be aware that due to the limited memory the region will have to be rather small if the resolution increases.
- Press "Save volume" to save the multi-channel volume to a tiff file.
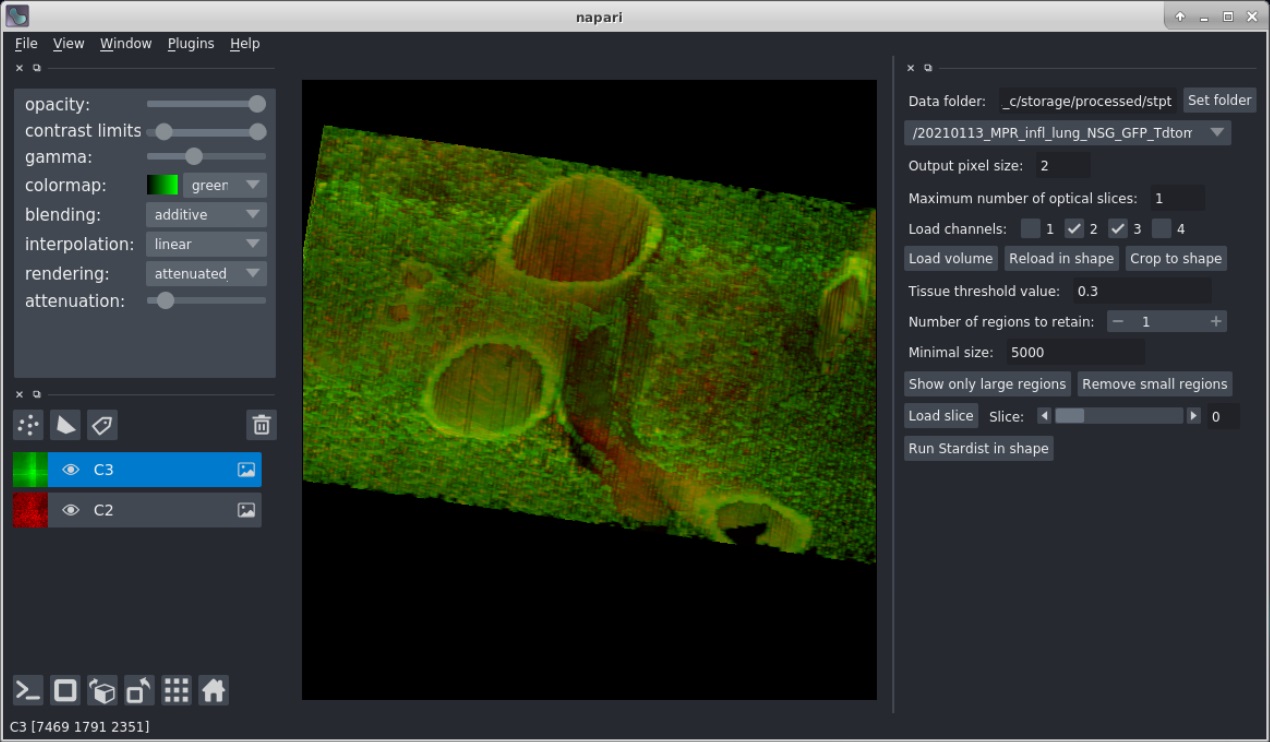
- Press the "Toggle number of display dimensions" button at the botton left (or press Ctrl-Y) to see the volume in 3D.
Bead removal
Removing the beads requires a "Tissue threshold value" to be set which separates the tissue from background. Move the mouse over the image to get an idea of the values, which are shown in the status bar. There are two ways to remove the beads in a volume:
- Press button "Show only large regions" to remove all but the largest regions. The number of regions to retain can be selected for this.
- Press button "Remove small regions" to remove all the regions smaller than the size as defined by the "Minimum size".


