Research
/Security News
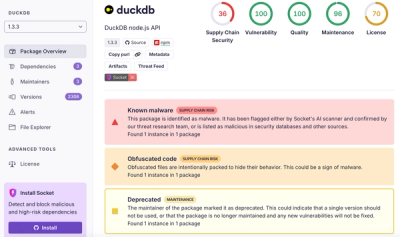
DuckDB npm Account Compromised in Continuing Supply Chain Attack
Ongoing npm supply chain attack spreads to DuckDB: multiple packages compromised with the same wallet-drainer malware.
Build simple workflows by enumerating the steps to execute. Know if it succeeds or not and get at the failures. A nice way to write service objects.
Add this line to your application's Gemfile:
gem 'workout'
And then execute:
$ bundle
Or install it yourself as:
$ gem install workout
Make a simple service object that does one thing:
class SayHello
  include Workout

  work do
    puts "Hello"
  end
end

SayHello.new.() # => # prints Hello
Calling the class method ::work will define an instance method
#work and define it as the only step to execute when #call is
called.
Or if you need to do three things: (Steps are executing in the order they are defined.)
class SayStuff
  include Workout

  step :one do
    puts "one"
  end

  step :two do
    puts "two"
  end

  step :three do
    puts "three"
  end
end

SayStuff.new.() # => # prints one, then two, then three
::step will define a method named the same as the symbol argument
passed. In this example, instances of SayStuff will have the methods
#one, #two, and #three. Those method names are stored in an array
so they are executed in the correct order when #call is called.
If any step #fails or #raises, then the execution stops at that point:
class SayStuff
  include Workout

  step :one do
    puts "one"
  end

  step :two do
    raise "What is going on here?"
  end

  step :three do
    puts "three"
  end
end

workflow = SayStuff.new.() # => # prints one

workflow.errors.first.to_a # => [:two, { message: "What is going on here?", ... }]

workflow.complete? # => true
workflow.valid?    # => false
workflow.success?  # => false
Including Workout also means including
ActiveModel::Validations.
An example of how to use it is:
class EmailReceipt
  include Workout

  attr_reader :email

  validates :email, format: { with: /.+@.+\..+/ }

  def initialize(email, receipt)
    @email = email
    @receipt = receipt
  end

  step :pdf do
    @receipt.prepare_pdf
  end

  step :send_email do
    ReceiptMailer.email(email, receipt).deliver_later
  end
end
class ChargeStripeCard
  include Workout

  attr_reader :payment, :payable

  def initialize(stripe_account:, card_token:, payable:, current_user:)
    super

    @stripe_account = stripe_account
    @card_token = card_token
    @payable = payable
    @current_user = current_user
  end

  def description
    "Charge for #{@current_user.email} for #{@payable.description}"
  end

  def application_percentage
    0.005
  end

  def amount
    @payable.amount
  end

  def application_fee
    (amount * application_percentage).to_i
  end

  validates :amount, numericality: { only_integer: true, greater_than_or_equal_to: 100 }

  step :stripe_charge do
    Stripe::Charge.create({
      amount: @payable.amount,
      currency: @payable.currency,
      card: @card_token,
      description: description,
      application_fee: application_fee
    }, @stripe_account.access_token)
  end

  # The return value of the previous step is optionally passed in as an
  # argument to the current step. The first step would be passed nil.
  step :build_payment do |charge|
    charge_response = StripeChargeResponse.new(body: charge.to_hash)
    Payment.new({
      stripe_charge_response: charge_response,
      payable: @payable,
      stripe_charge_id: charge.id,
      amount: charge.amount,
      currency: charge.currency,
      application_fee: application_fee # TODO: retreive this from the stripe api?
    })
  end

  step :save_and_complete do |payment|
    @payable.payment = payment

    Payable.transaction do
      payment.save!
      @payable.pay!
      @payment = payment
      complete! # one can force the workflow to be complete at anytime
    end
  end
end
git checkout -b my-new-feature)git commit -am 'Add some feature')git push origin my-new-feature)FAQs
Unknown package
We found that workout demonstrated a not healthy version release cadence and project activity because the last version was released a year ago. It has 1 open source maintainer collaborating on the project.
Did you know?

Socket for GitHub automatically highlights issues in each pull request and monitors the health of all your open source dependencies. Discover the contents of your packages and block harmful activity before you install or update your dependencies.

Research
/Security News
Ongoing npm supply chain attack spreads to DuckDB: multiple packages compromised with the same wallet-drainer malware.

Security News
The MCP Steering Committee has launched the official MCP Registry in preview, a central hub for discovering and publishing MCP servers.

Product
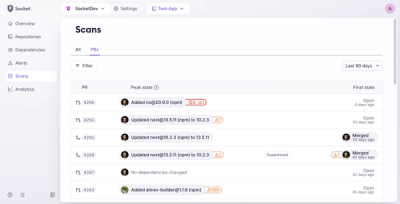
Socket’s new Pull Request Stories give security teams clear visibility into dependency risks and outcomes across scanned pull requests.