ReNative Chat Template


build universal cross-platform apps with react native


Features:
Development platforms


Requirements

Firebase Setup
Below you will find steps to enable Firebase on your chat app.
These are platform specific steps, if you do not care about performance,
you may only do the WEB & MacOS section and make data/Provider/instances/FirebaseProvider/index.web.js your main data provider,
this will ignore React-Native-Firebase package, and iOS with Android will operate on the JS thread.
General
- Create Firebase project, documentation:
- Create Firebase RealTime Database on your project console (IMPORTANT, by default it will be used for message storage)
- Enable Firebase Authentication on your project console (IMPORTANT, used for user authentication)
WEB & MacOS
- Register your WEB App with Firebase on your project
- Get Firebase config file, documentation: https://support.google.com/firebase/answer/7015592
- Create a .env file in the root directory, you can find the example in .env.test, file should look something like this:
API_KEY=<your-api-key>
AUTH_DOMAIN=<your-auth-domain>'
DATABASE_URL=<your-database-url>
PROJECT_ID=<your-cloud-firestore-project>
STORAGE_BUCKET=<your-storage-bucket>
MESSAGING_SENDER_ID=<your-sender-id>
APP_ID=<your-app-id>
Android
- Register your Android App with Firebase on your project
- Make sure your Android App package name on Firebase matches your projects, you can find it in platformBuilds/android/app/src/main/AndroidManifest.xml
- Get google-services.json Firebase config file, documentation: https://support.google.com/firebase/answer/7015592
- Place the file in /appConfigs/base/builds/android/app
iOS
- Register your iOS App with Firebase on your project
- Make sure your iOS bundle id on Firebase matches your projects
- Get GoogleService-Info.plist Firebase config file, documentation: https://support.google.com/firebase/answer/7015592
- Place the file in /platformBuilds/ios/RNVApp/GoogleService-Info.plist
Project structure
You may read this section if you feel confused how all platforms come together.
These are the the things specific to ReNative and this template specifically.
All of the Authentication logic is kept in src/context/auth
All of the data manipulation and managing logic is kept in src/data
If you wish to change data provider from Firebase to some other, all you need to do is create your own
provider implementation in src/data/Provider/instances.
Most of the components in this app are used by all of the supported platforms, you may read
how it works in ReNative documentation. What you need to know here, is that main difference
between the platforms is the navigation technology used.
1. For WEB we use the NextJS native navigation, so all the routes are in src/pages/ folder
2. For Mobile we use React-Navigation, we keep all the routes in src/MainNavigator.js
3. For MacOS we use the Reach Router, you can find the entry file in src/app.macos.js
Everything else should be understandable if you have any experience with React/React Native projects

Web


- Supports Chrome, Safari, Firefox, IE10+
Requirements
- no extra requirements required
Project Configuration
| Webpack | 3.11.0 |
| react-native-web | 0.9.1 |
| Babel Core | 7.1.2 |
Run
rnv run -p web
RNV will run local server and attempt to open browser URL: http://0.0.0.0:8080/
If you only want to run server:
rnv start -p web
Build
rnv build -p web
your deployable web app folder will be located in ./platformBuilds/<APP_ID>_web/public
Advanced
Clean and Re-build platform project
rnv run -p web -r
Run with verbose logging:
rnv run -p web --info
Run app on custom port 9999:
rnv run -p web --port 9999

Android
- Latest Android project
- Kotlin Support
- Support for Gradle 4.9
Requirements
Project Configuration
| Gradle | 4.10.1 |
| Android Gradle | 3.3.1 |
| Kotlin | 1.3.20 |
| Target SDK | 27 |
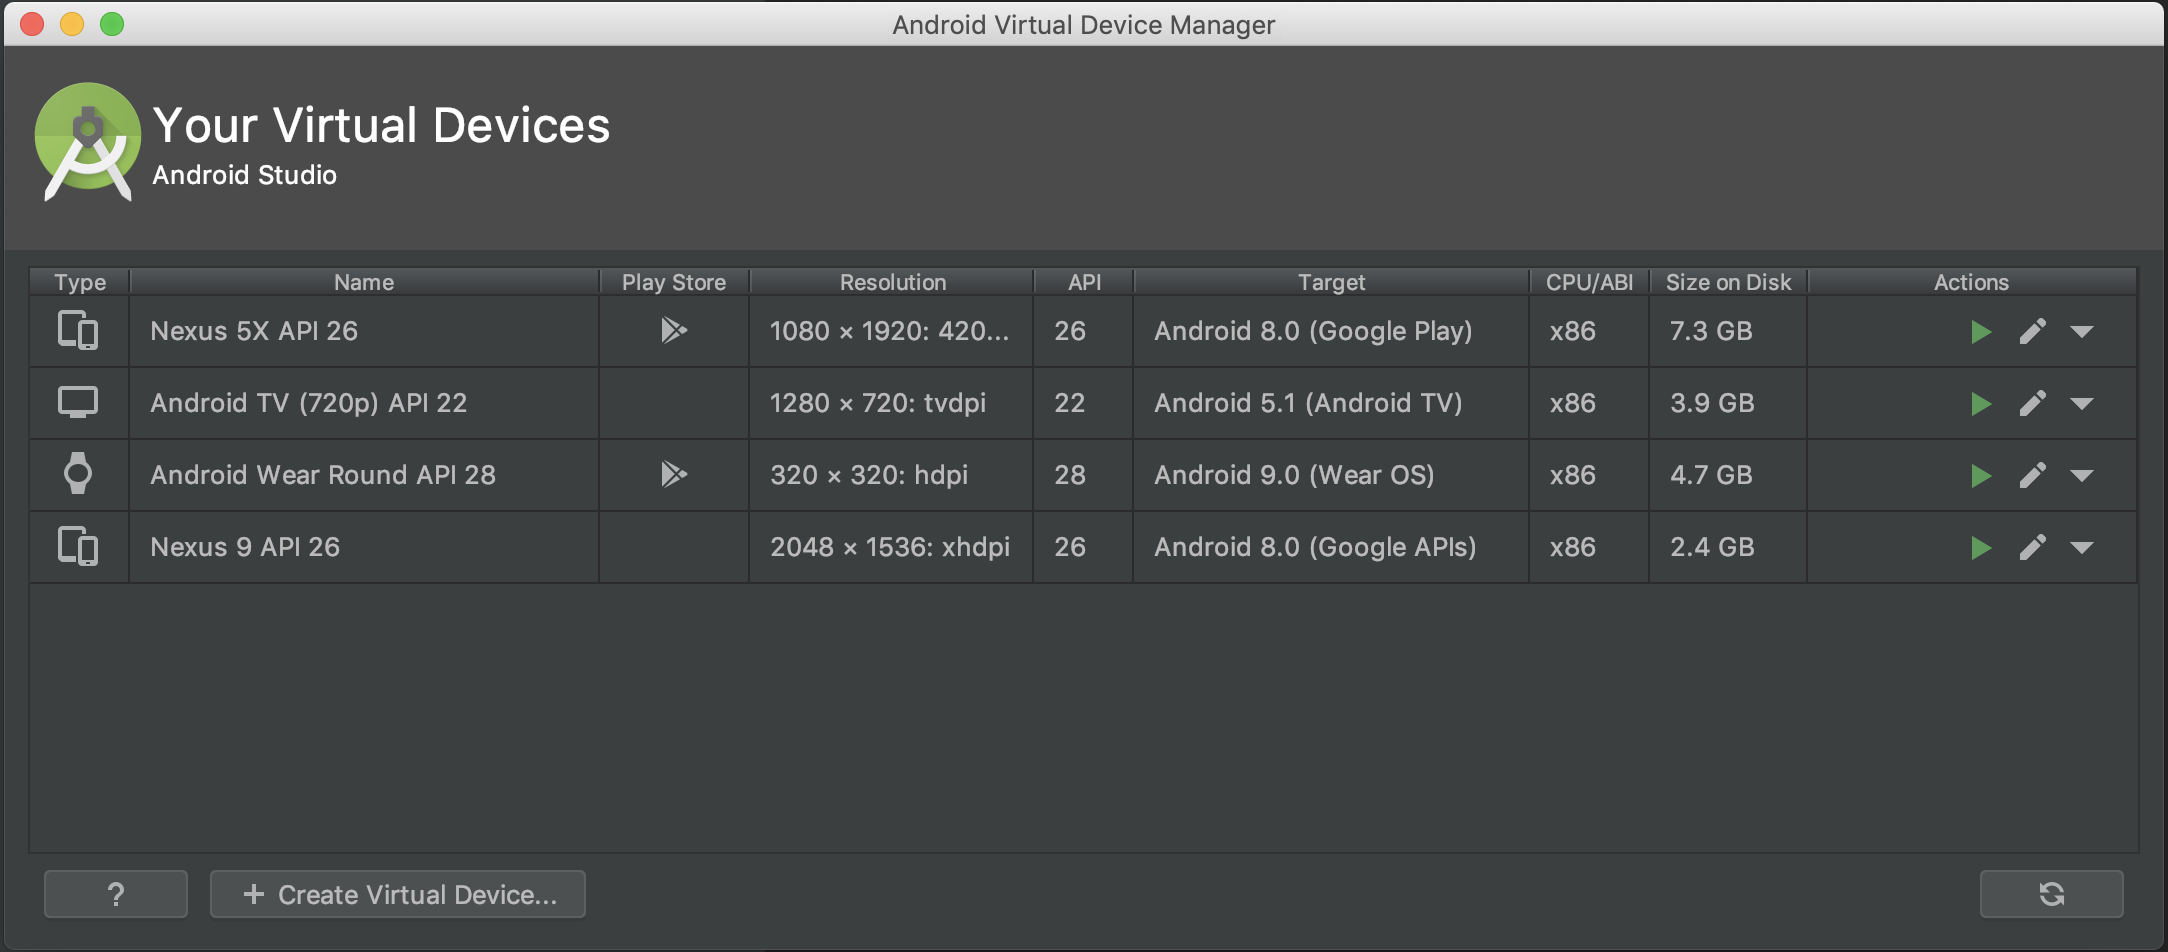
Emulators
You can create variety of emulators via Android Studio IDE
Run on Simulator
NOTE: make sure you have 1 android device connected or 1 emulator running
rnv start
rnv run -p android
Run on Device
rnv start
rnv run -p android -d
Deploy on Device
This will run production version on your device (not connected to metro bundler)
You can configure each buldScheme ie -s release in your config file ./appConfigs/<YOUR_APP_CONFIG>/config.json
rnv start
rnv run -p android -s release -d
Advanced
Clean and Re-build platform project
rnv run -p android -r
Launch specific android emulator:
rnv target launch -p android -t Nexus_5X_API_26
Launch app with specific iOS simulator (let ReNative to give you the list of available options):
rnv run -p android -t ?
Launch specific emulator :
rnv target launch -p android -t Nexus_5X_API_26
Launch specific emulator (let ReNative to give you the list of available options):
rnv target launch -p android -t ?
Get list of all available devices
rnv target list -p android
Get device/simulator logs
rnv log -p android
Get device/simulator logs with filter
rnv log -p android -f com.myapp

macOS


- support for OSX/macOS
- Based on Electron
Requirements
Project Configuration
| electron | 2.0.0 |
| react-native-web | 0.9.9 |
| electron-builder | 20.28.2 |
Run
rnv run -p macos
Deploy on Electron Simulator
This will run production version on your simulator (not connected to devserver)
You can configure each buldScheme ie -s release in your config file ./appConfigs/<YOUR_APP_CONFIG>/config.json
rnv run -p macos -s release