

Research
Two Malicious Rust Crates Impersonate Popular Logger to Steal Wallet Keys
Socket uncovers malicious Rust crates impersonating fast_log to steal Solana and Ethereum wallet keys from source code.
By Kirill Boychenko - Sep 24, 2025
@cometchat-pro/chat
Advanced tools

CometChat Pro enables you to add voice, video & text chat for your website & app. This guide demonstrates how to add chat to a WebSite using CometChat Pro.
Push Notification | Email Notification | SMS Notification | Thumbnail Generation | Link Preview | Rich Media Preview | Voice Transcription | Smart Reply | Message Translation | Emojis | Polls | Reactions | Stickers | Video Broadcasting | Collaborative Documents | Collaborative Whiteboards | Data Masking Filter | Profanity Filter | Image Moderation| Sentiment Analysis | In-flight Message Moderation | Virus & Malware Scanner | XSS Filter


Before you begin, ensure you have met the following requirements:
✅ You have Visual Studio Code or any other code editor installed in your machine.
✅ You have npm installed in your machine.
✅ You have read CometChat Key Concepts.
To setup Javascript SDK, you need to first register on CometChat Dashboard. Click here to sign up.
Signup for CometChat and then:
npm install @cometchat-pro/chat@3.0.11 --save
<script type="text/javascript" src="https://unpkg.com/@cometchat-pro/chat@3.0.11/CometChat.js"></script>
You can refer to the below link for instructions on how to do so:
📝 Add CometChat Dependency
We suggest you call the init() method on app startup, preferably in the index.js file.
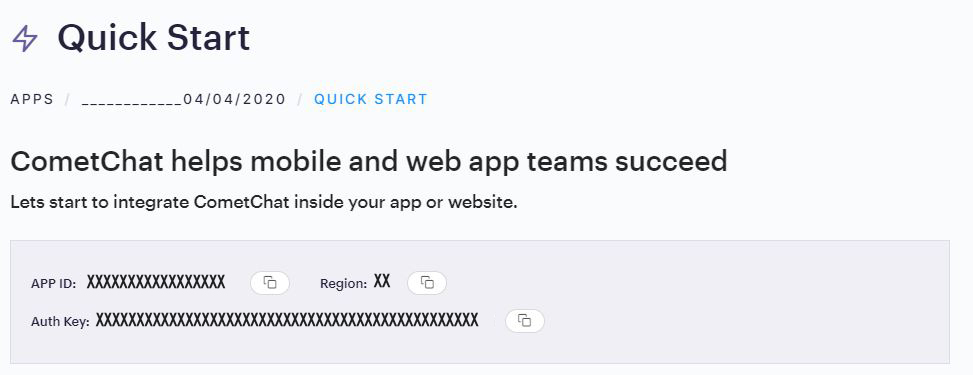
var appID = "APP_ID";
var region = "REGION";
var appSetting = new CometChat.AppSettingsBuilder().subscribePresenceForAllUsers().setRegion(region).build();
CometChat.init(appID, appSetting).then(
  () => {
    console.log("Initialization completed successfully");
  },
  error => {
    console.log("Initialization failed with error:", error);
  }
);
:information_source: Note: Make sure to replace region and appID with your credentials. |
|---|
Once initialisation is successful, you will need to create a user. You need to use createUser() method to create user on the fly.
let authKey = "AUTH_KEY";
var uid = "user1";
var name = "Kevin";

var user = new CometChat.User(uid);

user.setName(name);

CometChat.createUser(user, authKey).then(
  user => {
    console.log("user created", user);
  },error => {
    console.log("error", error);
  }
);
:information_source: Note: Make sure that UID and name are specified as these are mandatory fields to create a user.
Once you have created the user successfully, you will need to log the user into CometChat using the login() method.
var UID = "SUPERHERO1";
var authKey = "AUTH_KEY";

CometChat.getLoggedinUser().then(
  user => {
    if(!user){
      CometChat.login(UID, authKey).then(
        user => {
          console.log("Login Successful:", { user });
        },
        error => {
          console.log("Login failed with exception:", { error });
        }
      );
    }else{
      // User already logged in
    }
  }, error => {
    console.log("getLoggedinUser failed with exception:", { error });
  }
);
| :information_source: Note - The login() method needs to be called only once. Also replace AUTH_KEY with your App Auth Key. |
|---|
📝 Please refer to our Developer Documentation for more information on how to configure the CometChat Pro SDK and implement various features using the same.
Angular UI Kit | React UI Kit | Vue UI Kit
Thanks to the following people who have contributed to this project: 👨💻 @ajaygajra 👨💻 @mayur-bhandari
Contact us via real time support present in CometChat Dashboard.
FAQs
A complete chat solution.
The npm package @cometchat-pro/chat receives a total of 1,585 weekly downloads. As such, @cometchat-pro/chat popularity was classified as popular.
We found that @cometchat-pro/chat demonstrated a not healthy version release cadence and project activity because the last version was released a year ago. It has 8 open source maintainers collaborating on the project.
Did you know?

Socket for GitHub automatically highlights issues in each pull request and monitors the health of all your open source dependencies. Discover the contents of your packages and block harmful activity before you install or update your dependencies.
Research
Socket uncovers malicious Rust crates impersonating fast_log to steal Solana and Ethereum wallet keys from source code.

Research
A malicious package uses a QR code as steganography in an innovative technique.

Research
/Security News
Socket identified 80 fake candidates targeting engineering roles, including suspected North Korean operators, exposing the new reality of hiring as a security function.