Security News
Google’s OSV Fix Just Added 500+ New Advisories — All Thanks to One Small Policy Change
A data handling bug in OSV.dev caused disputed CVEs to disappear from vulnerability feeds until a recent fix restored over 500 advisories.
@inlang/cli
Advanced tools


@inlang/cli is a command line interface (CLI) tool that allows you to interact with the Inlang infrastructure. It can be used to automate localization tasks, such as machine translation, linting, and more.
Get started with the CLI by using the following npx command:
npx @inlang/cli [command]
See all available commands here.
You can use the CLI to automate localization tasks like machine translation, linting, and more.
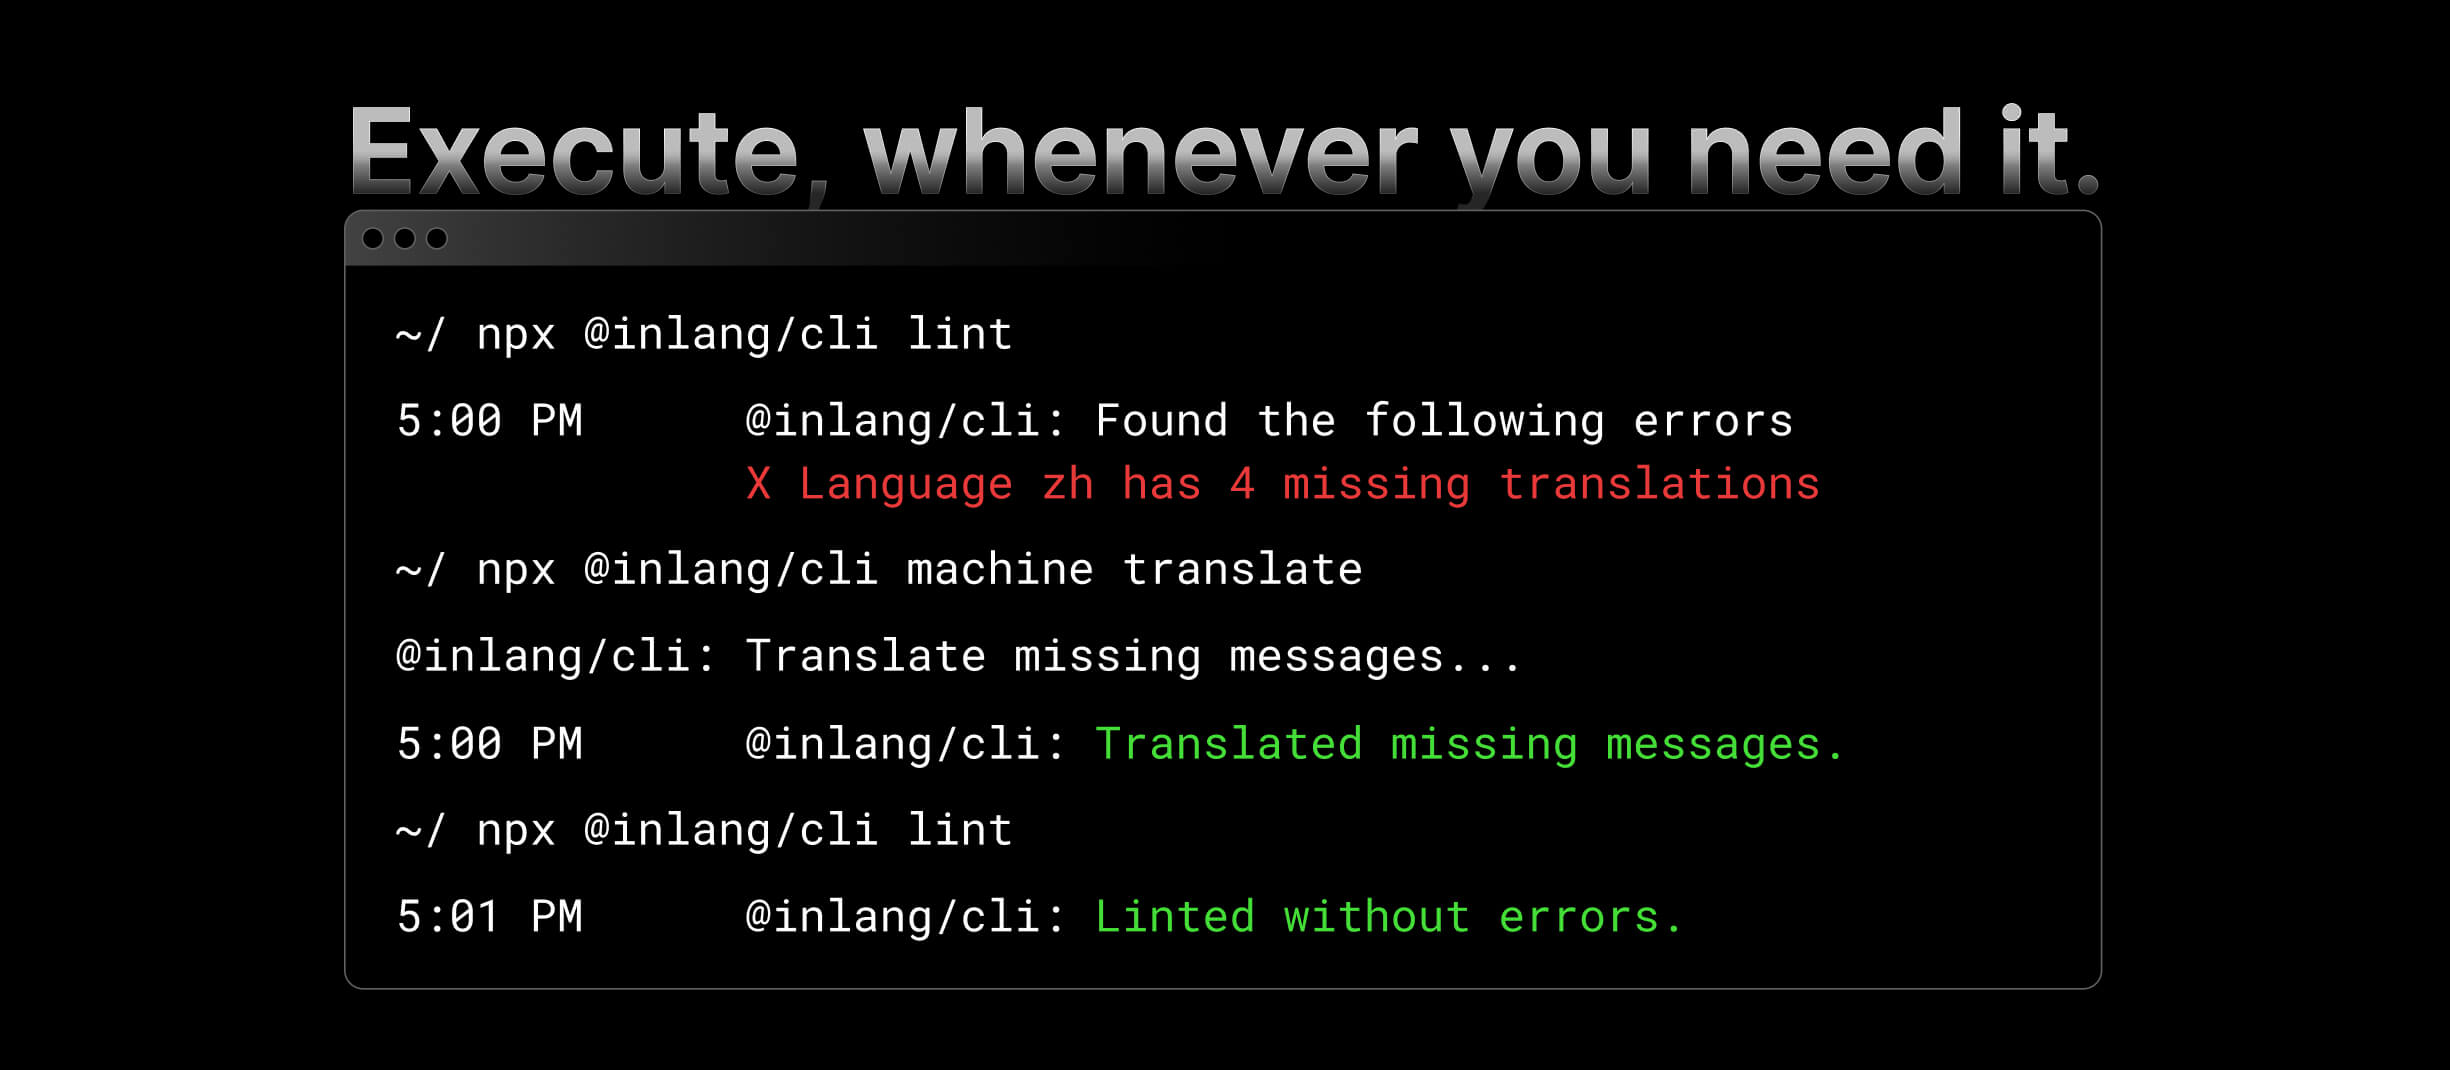
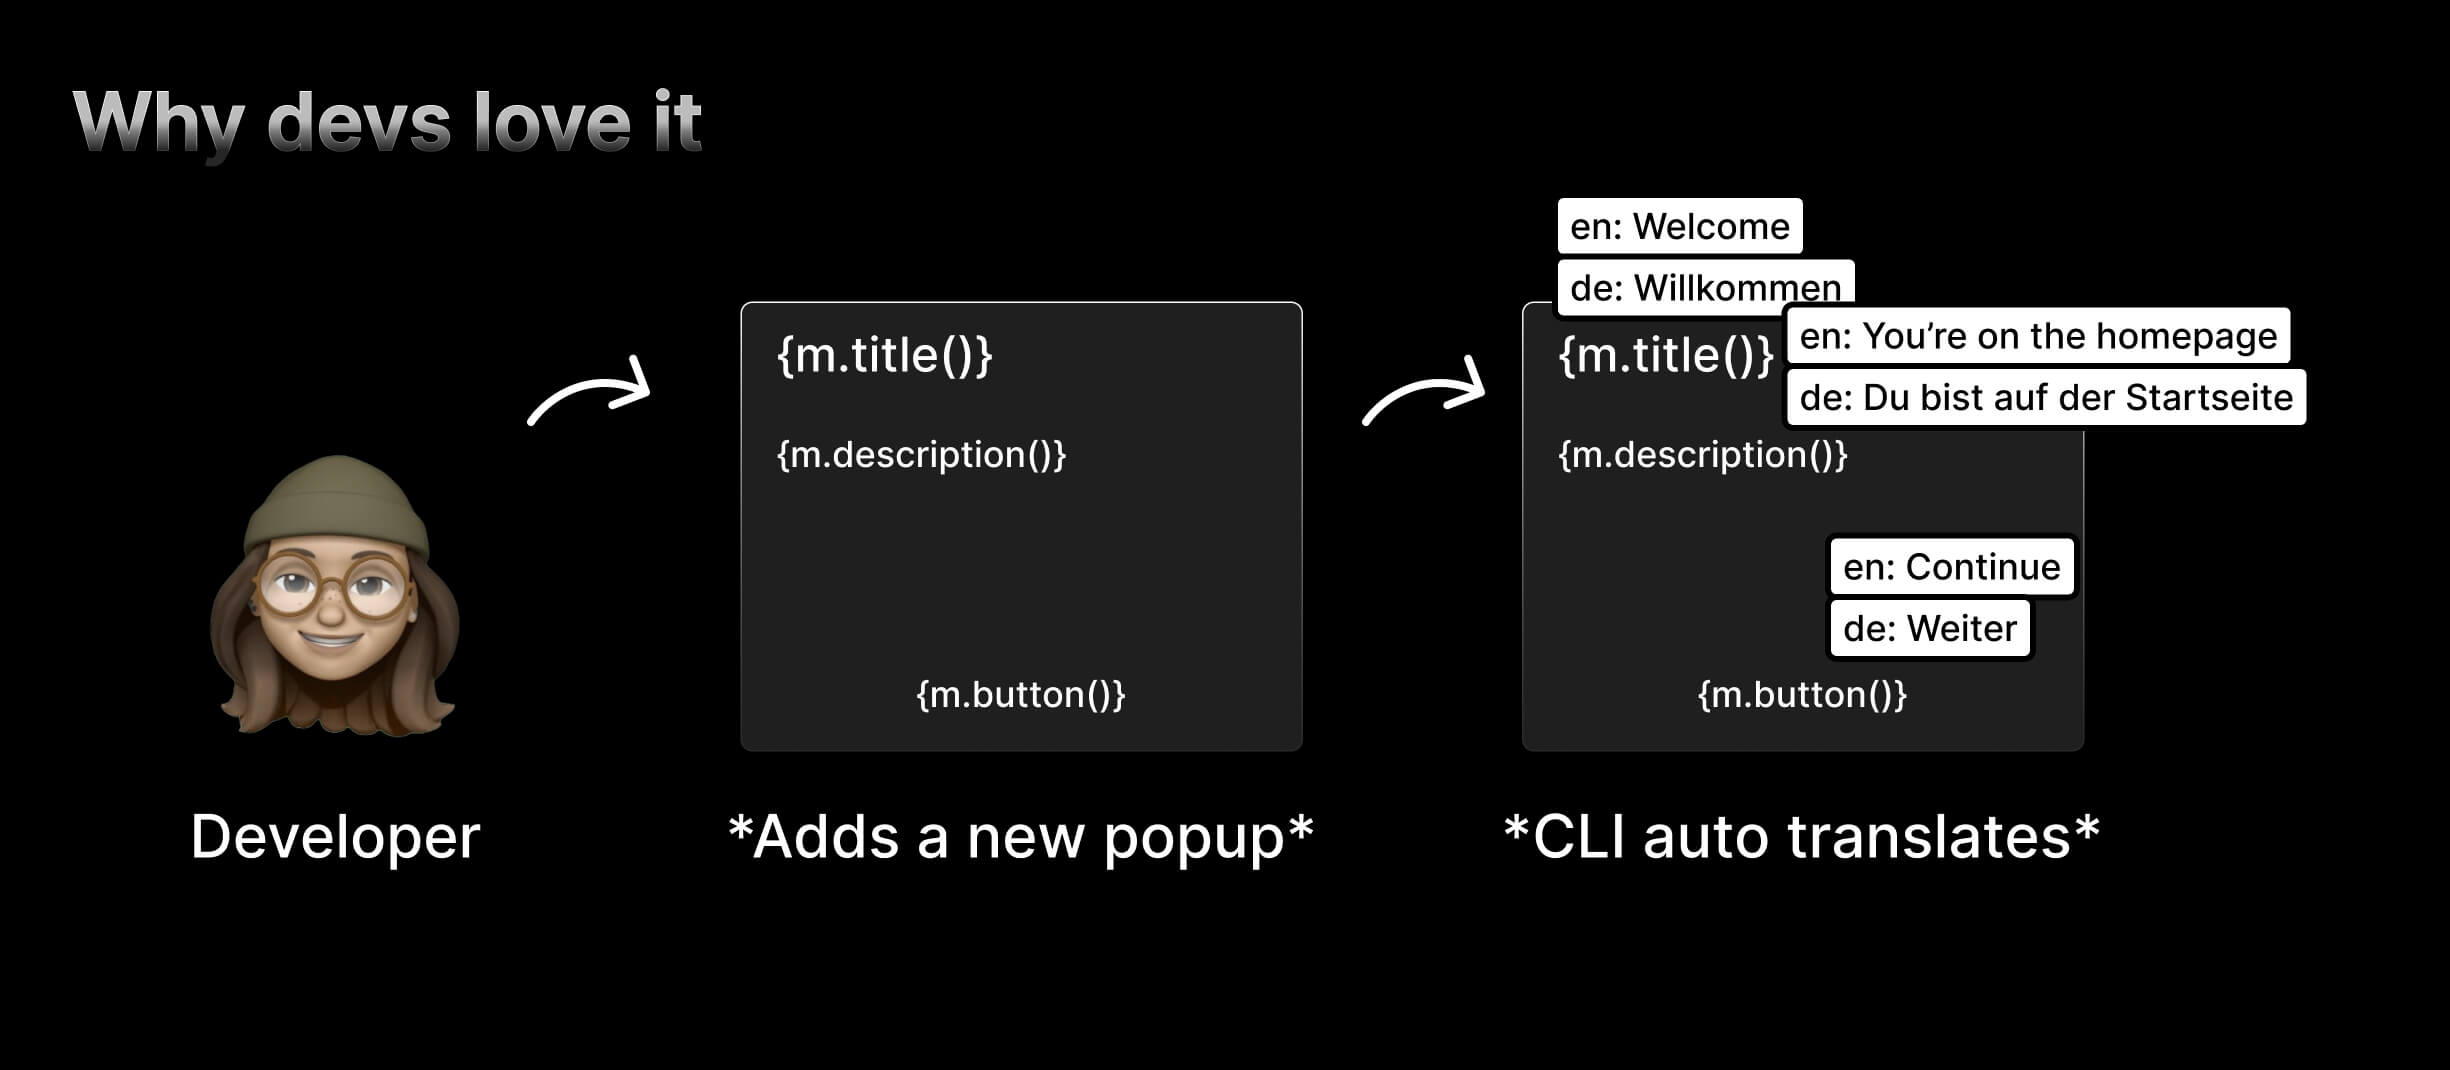
The CLI allows you to machine translate your resources. This is useful if you want to get a first draft of your translations and then have them reviewed by a human translator. Via machine translation, you can do translation automation e.g. in your CI/CD pipeline.
The CLI allows you to validate your inlang project. This is useful if you want to make sure that your configuration file is valid before you commit it to your repository.

You can install the @inlang/cli with this command:
npm install -D @inlang/cli
or
yarn add --dev @inlang/cli
best
npx @inlang/cli [command]
Minimum node version: v18.0.0
If one of the commands can't be found, you probably use an outdated CLI version. You can always get the latest version by running npx @inlang/cli@latest [command].
| Name | Command | Description |
|---|---|---|
| CLI Version | npx @inlang/cli@latest [command] | Get the latest version of the inlang CLI. |
| Validate | npx @inlang/cli validate [options] | Validate if the project is working correctly. |
| Machine | npx @inlang/cli machine translate [options] | Automate translation processes. Options include -f, --force, --project <path>, --locale <source> and --targetLocales <targets...> |
| Plugin | npx @inlang/cli plugin [command] | Interact with Inlang plugins, including initialization and building. build [options] build an inlang module. Options include --type, --entry, and --outdir. |
We recommend using the CLI with npx to avoid installing the CLI globally. Not installing the CLI globally has the following advantages:
npx is auto-installed with Node and NPM.
If one of the commands can't be found, you probably use an outdated CLI version. You can always get the latest version by running npx @inlang/cli@latest [command].
CLI for inlang.

Options:
  -V, --version         Output the version number
  -h, --help            Display help for command

Commands:
  project [command]  Commands for managing your inlang project
  lint [options]     Commands for linting translations.
  machine [command]  Commands for automating translations.
  open [command]     Commands for open parts of the inlang ecosystem.
  module [command]   Commands for build inlang modules.
  help [command]     Display help for command
The following commands are available with the inlang CLI:
machineThe machine command is used to automate localization processes.
machine translateThe translate command machine translates all resources.
To initiate machine translation, run the following command:
npx @inlang/cli machine translate
Options
The translate command has the following options:
-f, --force: If this option is set, the command will not prompt confirmation. This is useful for CI/CD build pipelines. We advise you to only use machine translate in build pipelines to avoid out-of-context/wrong translations.--project <path>: Specifies the path to the project root. The default project root is the current working directory.--locale <source>: Specifies the base locale.--targetLocales <targets...>: Specifies the target locales as comma seperated list (e.g. sk,zh,pt-BR).The translations are performed using machine translation services. The translated messages are added to the respective language resources. Finally, the updated resources are written back to the file system.
validateValidates a project.
npx @inlang/cli validate --project ./path/to/{project-name}.inlang
Options
The validate command has the following options:
--project <path>: Specifies the path to the project root. The default project root is the current working directory.This will launch an interactive prompt that will guide you through the process of migrating the inlang configuration file.
pluginThe plugin command is used to interact with the Inlang module. It allows to initialize a new module or run the modules build commands.
plugin buildIf you are developing an inlang module, the plugin build command builds your Inlang module for development & in production.
To build a plugin, run the following command:
npx @inlang/cli plugin build --entry ./path/to/index.ts --outdir ./path/to/dist
Options
--entry <entry>: Specifies the path to the module's entry point, typically src/index.js or src/index.ts.
--outdir <path>: Specifies the output directory for the build files. The default output directory is "./dist."
--watch: An optional flag that, when provided, enables a watch mode to monitor for changes and automatically rebuild the module when changes are detected.
See how there is also a --watch flag, which enables a watch mode to monitor for changes and automatically rebuild the module when changes are detected. This command runs with esbuild under the hood. -->
If something isn't working as expected or you are getting errors, make sure to run on the latest version of the CLI.
You can always get the latest version by executing npx @inlang/cli@latest.
If the error persists, please create an issue – we're happy to help.
FAQs

The npm package @inlang/cli receives a total of 14,490 weekly downloads. As such, @inlang/cli popularity was classified as popular.
We found that @inlang/cli demonstrated a healthy version release cadence and project activity because the last version was released less than a year ago. It has 2 open source maintainers collaborating on the project.
Did you know?

Socket for GitHub automatically highlights issues in each pull request and monitors the health of all your open source dependencies. Discover the contents of your packages and block harmful activity before you install or update your dependencies.

Security News
A data handling bug in OSV.dev caused disputed CVEs to disappear from vulnerability feeds until a recent fix restored over 500 advisories.

Research
/Security News
175 malicious npm packages (26k+ downloads) used unpkg CDN to host redirect scripts for a credential-phishing campaign targeting 135+ organizations worldwide.

Security News
Python 3.14 adds template strings, deferred annotations, and subinterpreters, plus free-threaded mode, an experimental JIT, and Sigstore verification.