
Product
Introducing Webhook Events for Alert Changes
Add real-time Socket webhook events to your workflows to automatically receive software supply chain alert changes in real time.
By Phil Gates-Idem - Nov 21, 2025
diff-conflict-marker
Advanced tools
diff-conflict-marker is a command-line tool that reads the saved file state from `.git` and converts the `diff` into a merge-conflict marker format. This enables easier line-by-line inspection and review of changes.
Diff Conflict Marker is a command-line tool that adds merge-conflict markers to a file based on the diff between the file and its version in the Git repository. This simplifies line-by-line inspection and review of changes.
Modern development increasingly relies on AI-assisted tools like VS Code, Cursor, and others. These tools are not limited to programming—they are also used for tasks like documentation editing. However, a common risk is that AI systems can introduce unnecessary or unintended modifications. To maintain reliability, users need a mechanism to verify AI-generated edits against the existing repository state.
Diff Conflict Marker solves this problem by generating conflict markers that compare AI-generated content with the committed version in Git. This allows users to review both versions side-by-side and decide which changes to accept.
An IDE like VS Code can read the output and display the conflict markers in a user-friendly format, allowing you to browse the changes and decide which ones to keep.
For example, suppose you have a README.md file committed to Git. You have added the file to the Git repository.
git add README.md
You then run the following prompt in the Gemini CLI:
Fix the grammar mistakes in @README.md
The AI then applies grammar corrections. At this point, you can check the changes with git diff.
Alternatively, you can run:
diff-conflict-marker README.md
Opening the file in VS Code (or any VS Code-powered IDE) will display the AI's edits alongside the original content, formatted as merge-conflict markers. This provides a clear, line-by-line comparison, so you can confidently choose the correct version.
If you are using the Gemini CLI, you can combine the process above into a single custom command.
description = "Grammar Correction"

prompt = """
Act as a Senior Technical Editor. Your primary task is to review and edit a provided document for two purposes: correcting all grammatical errors and adjusting the tone to ensure it is professional, precise, and appropriate for a technical document.

If no file content is provided, state: 'Please provide the document content to be reviewed.'

Before editing the document, run the following command and ignore the output and error:

git add "${filename}"

After editing the document, run the following command and ignore the output and error:

diff-conflict-marker --backup "${filename}"
"""
npm install -g diff-conflict-marker
diff-conflict-marker your_file
diff-conflict-marker --orig README.orig.md README.md
By default, Diff Conflict Marker reads the original version from the Git repository (HEAD or the index). You can override this by providing a local file path.
When diff-conflict-marker modifies a file, you can create a backup of the original content by using the --backup flag.
diff-conflict-marker --backup your_file
This command saves a copy of your_file before adding conflict markers. The backup is stored in the same directory with a .bk extension.
If a backup file with the same name already exists, the tool will automatically rotate the existing backups by renaming them with an incremental suffix (e.g., .bk-001, .bk-002).
To set up the development environment, clone this repository and install the dependencies:
npm install
To build the project, run:
npm install
npm run build
npm install -g .
To run the tests, use the following command:
npm test
To lint the code, use:
npm run lint
To format the code, run:
npm run format
FAQs
diff-conflict-marker is a command-line tool that reads the saved file state from `.git` and converts the `diff` into a merge-conflict marker format. This enables easier line-by-line inspection and review of changes.
We found that diff-conflict-marker demonstrated a healthy version release cadence and project activity because the last version was released less than a year ago. It has 1 open source maintainer collaborating on the project.
Did you know?

Socket for GitHub automatically highlights issues in each pull request and monitors the health of all your open source dependencies. Discover the contents of your packages and block harmful activity before you install or update your dependencies.
Product
Add real-time Socket webhook events to your workflows to automatically receive software supply chain alert changes in real time.
Security News
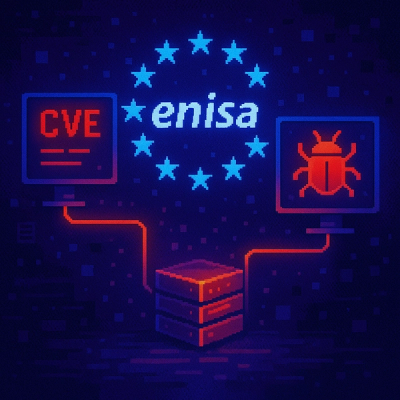
ENISA has become a CVE Program Root, giving the EU a central authority for coordinating vulnerability reporting, disclosure, and cross-border response.

Product
Socket now scans OpenVSX extensions, giving teams early detection of risky behaviors, hidden capabilities, and supply chain threats in developer tools.