Mollie API client for Node.js

Note:
This is the README of the v2 Node client. If you are looking for the README of v1 you should look here.
About
Mollie builds payment products, commerce solutions and APIs that let you accept online and mobile payments, for small online stores and Fortune 500s alike. Accepting iDEAL, Bancontact/Mister Cash, SOFORT Banking, Credit Card, SEPA Bank transfer, SEPA Direct debit, Bitcoin, PayPal, Belfius Direct Net, paysafecard, Gift Cards, and ING Home’Pay, Giropay and EPS online payments without fixed monthly costs or any punishing registration procedures. Just use the Mollie API to receive payments directly on your website or easily refund transactions to your customers.
Features
- Payments: are the heart of the Mollie API: this is where most implementations start off.
- Methods: show all the payment methods activated on the website profile. Also allows you to integrate iDEAL's bank selection screen into your own payment flow.
- Refunds: allow you to make refunds in relation to a payment.
- Customers: allow you to manage your customer's details.
- Mandates: allow you to charge a customer's credit card or bank account recurrently.
- Subscriptions: allow you to schedule recurring payments to take place at regular intervals.
Getting started
Prerequisites
Mollie API client requires Node 4.8.x or higher to be installed.
Requirements
To use the Mollie API client, the following things are required:
- Get yourself a free Mollie account. No sign up costs.
- Login to your Dashboard to get your API keys (live and test mode).
- Now you're ready to use the Mollie API client in test mode.
- In order to accept payments in live mode, payment methods must be activated in your account. Just follow a few steps and let us handle the rest.
Installation
Using npm:
npm install @mollie/api-client --save
Or using yarn:
yarn add @mollie/api-client
This will add @mollie/api-client to your project's dependencies.
You may also git checkout or download all the files, and include the Mollie API client manually.
Check the releases page to know which versions are available.
How to receive payments
To successfully receive a payment, these steps should be implemented:
-
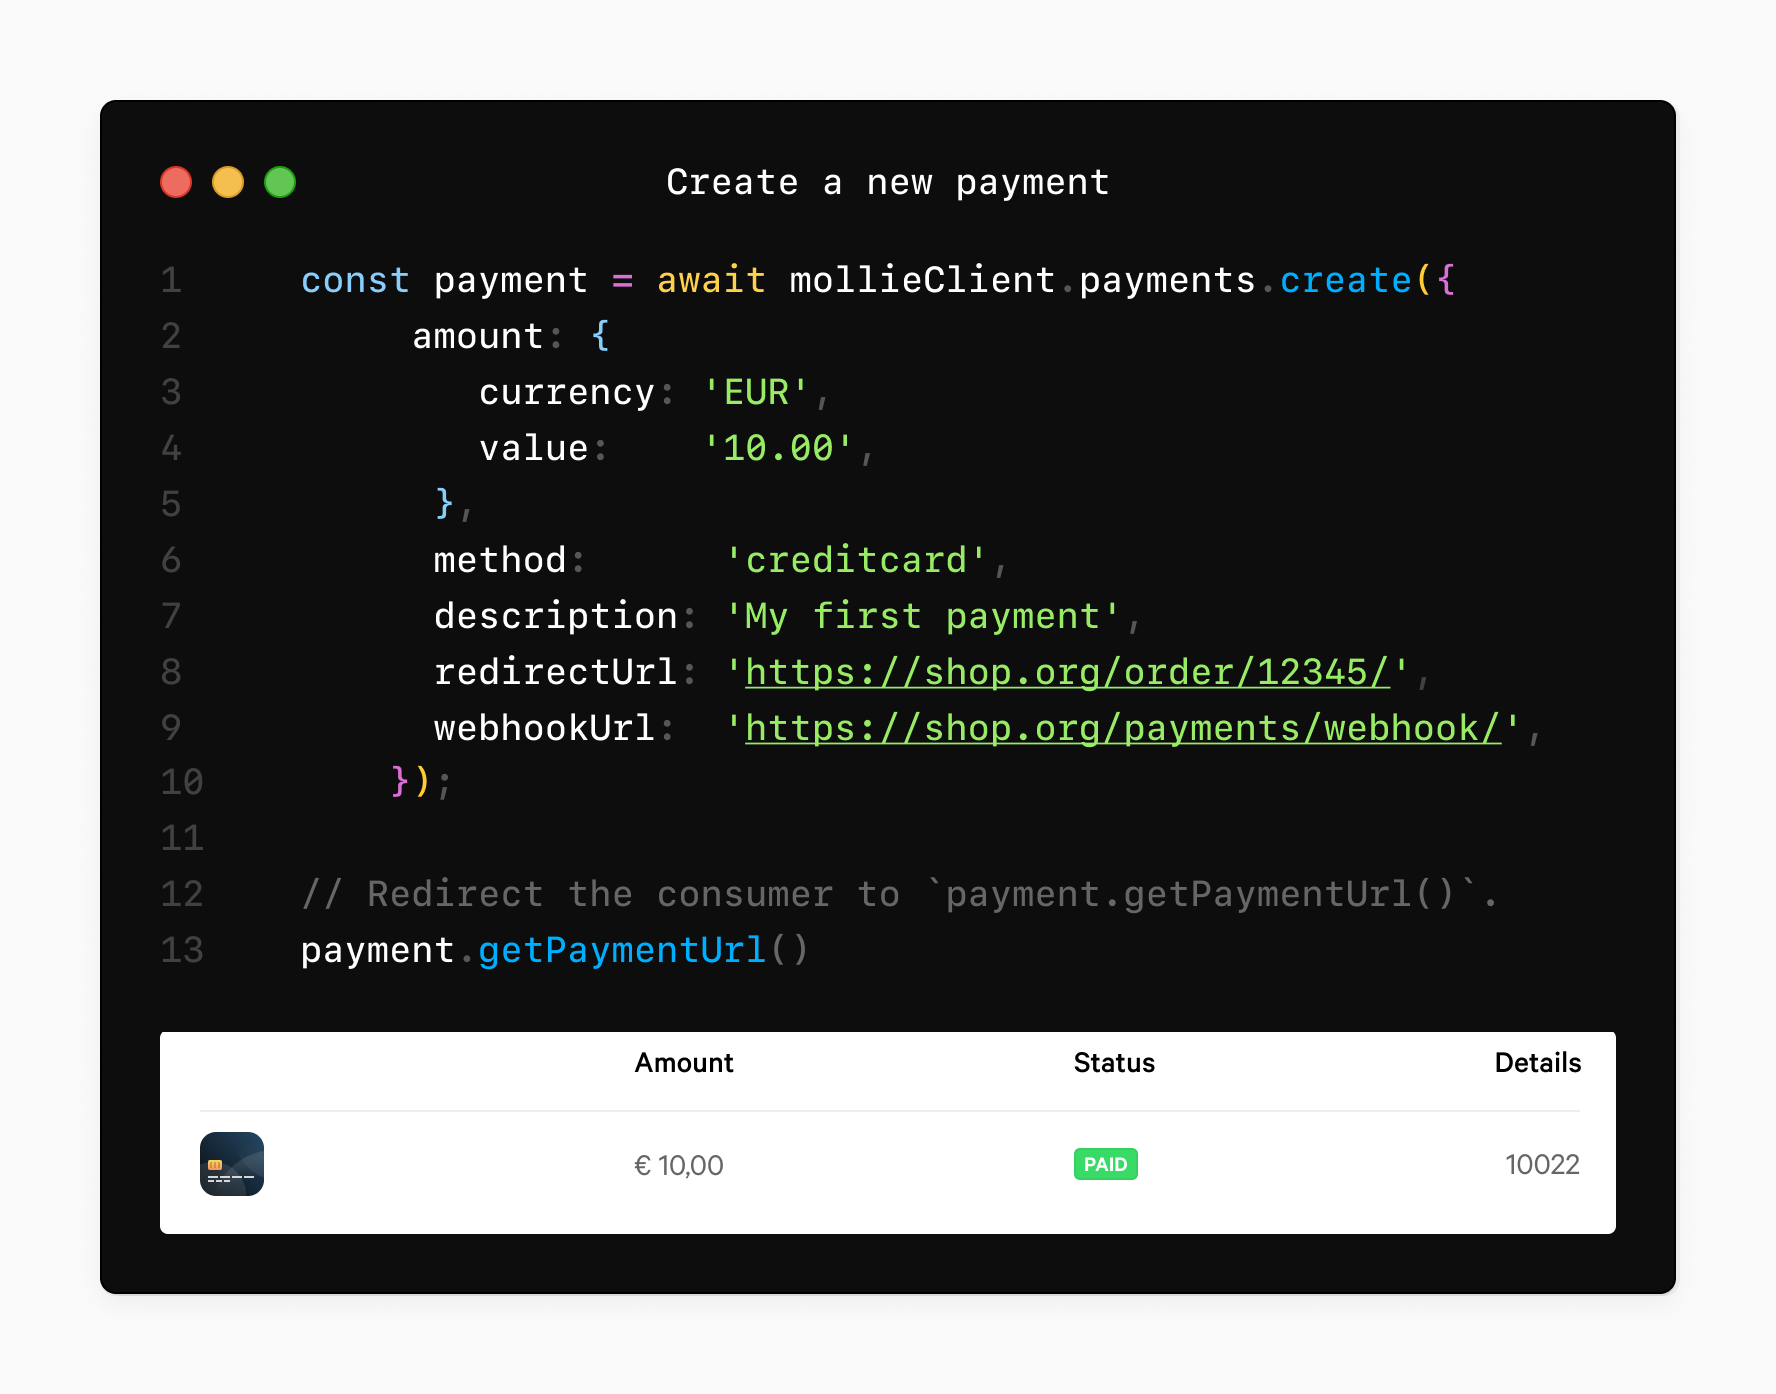
Use the client to create a payment with the requested amount, description, redirectUrl and webhookUrl and optionally, a payment method. It is important to specify a unique redirectUrl where the customer is supposed to return to after the payment is completed.
-
After the payment is completed, our platform will send a request to the provided webhookUrl to allow the payment details to be retrieved, so you know exactly when to start processing the customer's order.
-
The customer returns, and should be satisfied to see that the order was paid and is now being processed.
Authentication
To be able to receive data from the API, an app should authenticate with a bearer token, referred to as API keys.
We've already prepared this step by creating a test and live key for you in your Dashboard.
Making your first request
Import the client and set your API key
const mollie = require('@mollie/api-client')({ apiKey: 'test_dHar4XY7LxsDOtmnkVtjNVWXLSlXsM' });
Create a new payment
mollie.payments.create({
amount: {
value: '10.00',
currency: 'EUR'
},
description: 'My first API payment',
redirectUrl: 'https://yourwebshop.example.org/order/123456',
webhookUrl: 'https://yourwebshop.example.org/webhook'
})
.then((payment) => {
})
.catch((err) => {
});
Retrieve a payment
mollie.payments.get(payment.id)
.then((payment) => {
})
.catch((err) => {
});
That's it!
Fetching all objects of a resource can be convenient. At the same time, returning too many objects at once can be unpractical from a performance perspective. Doing so might be too much work for the Mollie API to generate, or for your website to process. The maximum number of objects returned is 250.
If you want to programmatically browse through a list of objects, use the nextPage and previousPage methods.
mollie.payments
.all({
limit: 15
})
.then((payments) => {
payments.nextPage().then((nextPayments) => {
})
}
To retrieve a list of 15 payments, starting with { id: 'tr_8WhJKGmgBy' }, add the first payment ID with the from parameter.
mollie.payments
.all({
limit: 15,
from: 'tr_8WhJKGmgBy'
})
.then((payments) => {
console.log(`First payment on next page will be: ${payments.nextPageCursor}`);
}
Documentation
To help you get the most out of this client, we've prepared reference documentation, tutorials and other examples that will help you learn and understand how to use this library.
Guides
For a deep dive in how our systems function we refer to our excellent guides. These guides provide a complete overview of the Mollie API and cover specific topics dealing with a number of important aspects of the API.
API reference
This library is a wrapper around our Mollie API. Some more specific details such as query parameters and pagination are better explained in our API reference, and you can also get a better understanding of how the requests look under the hood.
Migrating from v1.x
The API client v2.0 was a major rewrite, with some breaking changes. While the basic functionality stayed the same and the method names did not change, some function signatures have changed.
See the migration guide for more information.
Contributing
Want to help us make our API client even better? We take pull requests.
Working at Mollie
Mollie is always looking for new talent to join our teams. We’re looking for inquisitive minds with good ideas and strong opinions, and, most importantly, who know how to ship great products. Want to join the future of payments? Check out our vacancies.
License
New BSD (Berkeley Software Distribution) License. Copyright 2013-2018, Mollie B.V.


