


A Javascript library for the browser, regular-table exports a
custom element
named <regular-table>, which renders a regular HTML <table> to a sticky
position within a scollable viewport. Only visible cells are rendered and
queried from a natively async virtual data model, making regular-table ideal
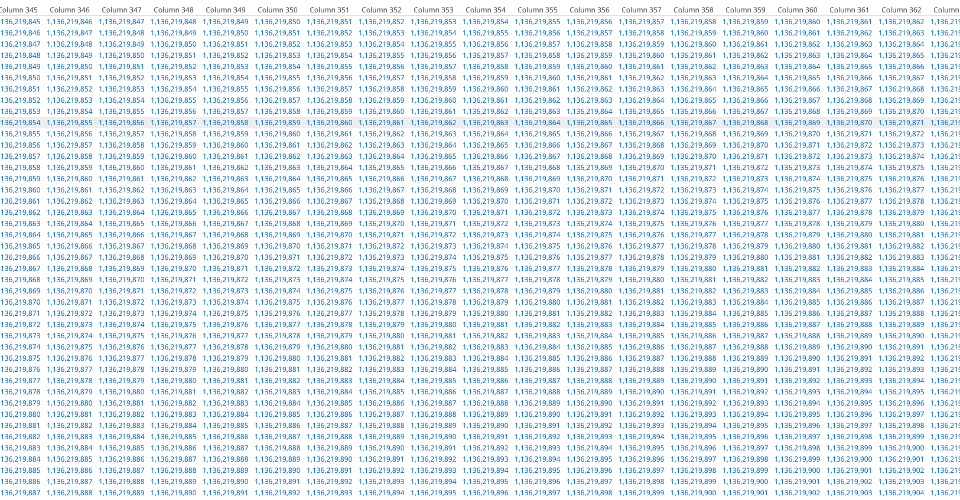
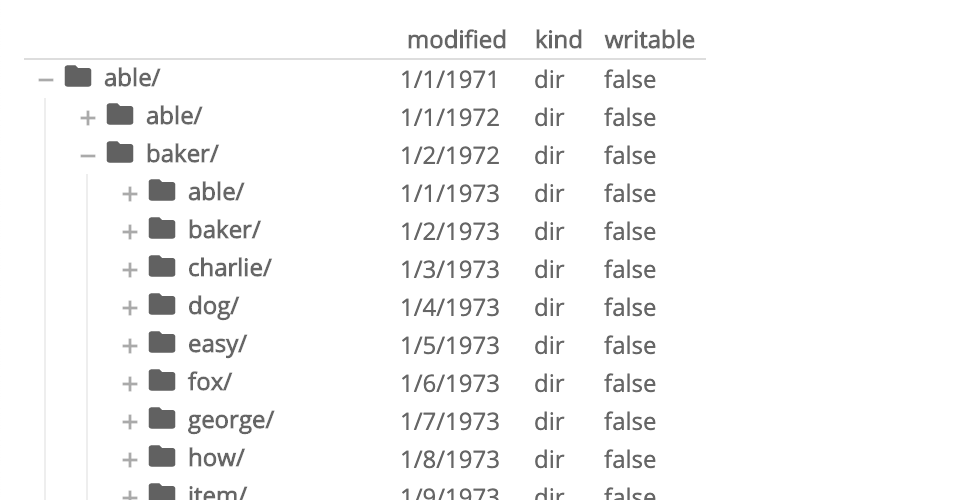
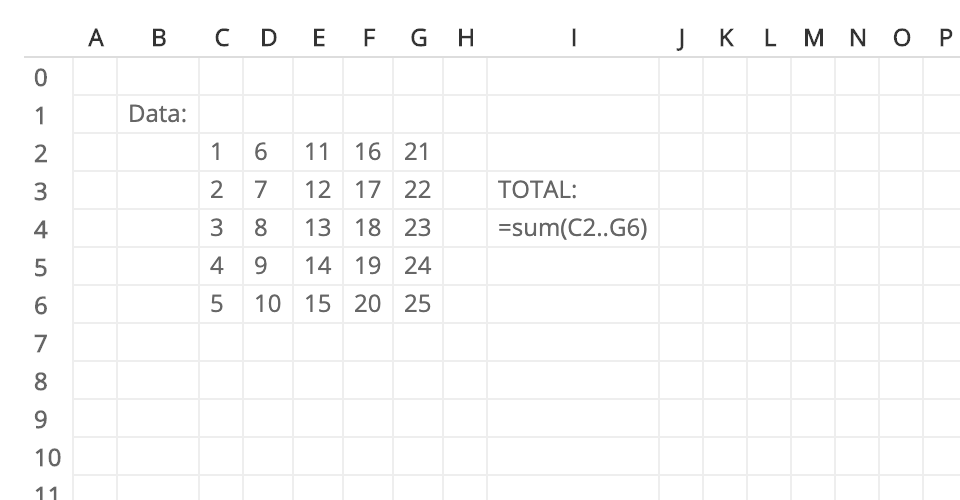
for enormous or remote data sets. Use it to build Data Grids, Spreadsheets,
Pivot Tables, File Trees, or anytime you need:
- Just a regular
<table>.
- Virtually rendered for high-performance.
async data model handles slow, remote, enormous, and/or distributed
backends.- Easy to style, works with any regular CSS for
<table>.
- Small bundle size, no dependencies.
Examples


Documentation
What follows functions as a quick-start guide, and will explain the basics of
the Virtual Data Models, Styling and Interaction APIs. Complete
API docs and
documented
examples are also
available.
Installation
Include via a CDN like JSDelivr:
<script type="module" src="https://cdn.jsdelivr.net/npm/regular-table"></script>
<link
    rel="stylesheet"
    href="https://cdn.jsdelivr.net/npm/regular-table/dist/css/material.css"
/>
Or, add to your project via npm:
npm add regular-table
... then import into your asset bundle.
import "regular-table";
import "regular-table/dist/css/material.css";
<regular-table> Custom Element
regular-table exports no symbols, only the <regular-table> Custom Element
which is registered as a module import side-effect. Once loaded,
<regular-table> can be used just like any other HTMLElement, using regular
browser APIs:
const regularTable = document.createElement("regular-table");
document.body.appendChild(regularTable);
... or from regular HTML:
<regular-table></regular-table>
... or from your library of choice, as long as it supports regular HTML! Here's
an example for React/JSX:
const App = () => <regular-table></regular-table>;
ReactDOM.render(<App />, document.getElementById("root"));
.setDataListener() Virtual Data Model
Let's start with with a simple data model, a two dimensional Array. This one
is very small at 3 columns x 6 rows, but even for very small data sets,
regular-table won't read your entire dataset at once. Instead, we'll need to
write a simple virtual data model to access DATA and COLUMN_NAMES
indirectly.
const DATA = [
    [0, 1, 2, 3, 4, 5],
    ["A", "B", "C", "D", "E", "F"],
    [true, false, true, false, true, false],
];
When clipped by the scrollable viewport, you may end up with a <table> of just
a rectangular region of DATA, rather than the entire set. A simple viewport
2x2 may yield this <table>:
{
    "num_rows": 26,
    "num_columns": 3,
    "data": [
        [0, 1],
        ["A", "B"]
    ]
}
Here's a an implementation for this simple virtual data model, the function
getDataSlice(). This function is called by your <regular-table> whenever it
needs more data, with coordinate arguments, (x0, y0) to (x1, y1). Only this
region is needed to render the viewport, so getDataSlice() returns this
rectangular slice of DATA. For the window (0, 0) to (2, 2), getDataSlice()
would generate an Object as above, containing the data slice, as well as the
overall dimensions of DATA itself ( num_rows, num_columns), for sizing the
scroll area. To render this virtual data model to a regular HTML <table>,
register this data model via the setDataListener() method:
function getDataSlice(x0, y0, x1, y1) {
    return {
        num_rows: (num_rows = DATA[0].length),
        num_columns: DATA.length,
        data: DATA.slice(x0, x1).map((col) => col.slice(y0, y1)),
    };
}

regularTable.setDataListener(getDataSlice);
This will render your regular HTML <table> ! Your DOM will look something like
this, depending on the size of your viewport. Notice there are fewer rows and
columns in the resulting HTML, e.g. the column Column 3 (boolean) - as you
scroll, more data will be fetched from getDataSlice(), and parts of the
<table> will redrawn or extended as needed.
<regular-table>
    <table>
        <tbody>
            <tr>
                <td>0</td>
                <td>A</td>
            </tr>
            <tr>
                <td>1</td>
                <td>B</td>
            </tr>
        </tbody>
    </table>
</regular-table>
virtual_mode Option
regular-table supports four modes of virtual scrolling, which can be
configured via the virtual_mode optional argument. Note that using a
virtual_mode other than the default "both" will render the entire
<table> along the non-virtual axis(es), and may cause rendering performance
degradation.
- "both" (default) virtualizes scrolling on both axes.
- "vertical" only virtualizes vertical (y) scrolling.
- "horizontal" only virtualizes horizontal (x) scrolling.
- "none" disable all scroll virtualization.
table.setDataListener(listener, { virtual_mode: "vertical" });
Column and Row Headers
regular-table can also generate Hierarchial Row and Column Headers, using
<th> elements which layout in a fixed position within the virtual table. It
can generate Column Headers (within the <thead>), or Row Headers (the first
children of each tbody tr), via the column_headers and row_headers
properties (respectively) of your data model's Response object. This can be
renderered with column_headers, a two dimensional Array which must be of
length x1 - x0, one Array for every column in your data window.
{
    "num_rows": 26,
    "num_columns": 3,
    "data": [
        [0, 1],
        ["A", "B"]
    ],
    "column_headers": [["Column 1 (number)"], ["Column 2 (string)"]]
}
regular-table supports multiple <tr> of <th>, and also uses colspan and
rowspan to merge simple consecutive names, which allows description of simple
Row and Column Group Hierarchies such as this:
{
    "num_rows": 26,
    "num_columns": 3,
    "data": [
        [0, 1],
        ["A", "B"]
    ],
    "row_headers": [
        ["Rowgroup 1", "Row 1"],
        ["Rowgroup 1", "Row 2"]
    ],
    "column_headers": [
        ["Colgroup 1", "Column 1"],
        ["Colgroup 1", "Column 2"]
    ]
}
Note that in the rendered HTML, for these Row and Column Array, repeated
elements in a sequence will be automatically merged via rowspan and colspan
attributes. In this example, e.g. "Rowgroup 1" will only output to one <th>
node in the resulting <table>.
Header merging can be disabled with the merge_headers option.
metadata Data-Aware Styling
A dataListener may also optionally provide a metadata field in its response,
a two dimensional Array of the same dimensions as data. The values in this
field will accompany the metadata records returned by regular-table's
getMeta() method (as described in the next section).
{
    "num_rows": 26,
    "num_columns": 3,
    "data": [
        [-1, 1],
        ["A", "B"]
    ],
    "metadata": [
        ["pos", "neg"],
        ["green", "red"]
    ]
}
Rendering Options
Additional rendering options which can be set on the object returned by a
setDataListener callback include:
column_header_merge_depth: number configures the number of rows to include
from colspan merging. This defaults to header_length - 1.row_height: number configures the pixel height of a row for virtual
scrolling calculation. This is typically auto-detected from the DOM, but can
be overridden if needed.merge_headers: "column" | "row" | "both" | "none" configures whether
equivalent, contiguous <th> elements are merged via rowspan or colspan
for "row" and "column" respectively (defaults to "both").
async Data Models
With an async data model, it's easy to serve getDataSlice() remotely from
node.js or re-implement the JSON response protocol in any language. Just
return a Promise() from, or use an async function as an argument to,
setDataListener(). Your <regular-table> won't render until the Promise is
resolved, nor will it call your data model function again until the current call
is resolved or rejected. The following async example uses a Web Worker, but
the same principle applies to Web Sockets, readFile() or any other
asynchronous source. Returning a Promise blocks rendering until the Web Worker
replies:
let callback;
worker.addEventListener("message", (event) => {
callback(event.data);
});
regularTable.setDataListener((...viewport) => {
return new Promise(function (resolve) {
callback = resolve;
worker.postMessage(viewport);
});
});
self.addEventListener("message", async (event) => {
const response = await getDataSlice.apply(null, event.data);
self.postMessage(response);
});
.addStyleListener() and getMeta() Styling
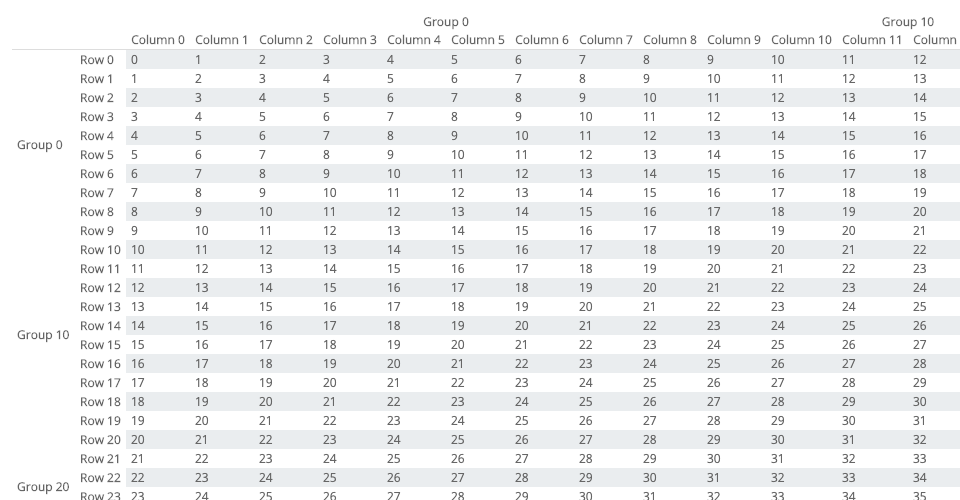
regular-table can be styled trivially with just regular CSS for <table>.
// Zebra striping!
regular-table tr:nth-child(even) td {
    background: rgba(0, 0, 0, 0.2);
}
However, CSS alone cannot select on properties of your data - if you scroll
this example, the 2nd row will always be the striped one. Some other
data-reliant style examples include:
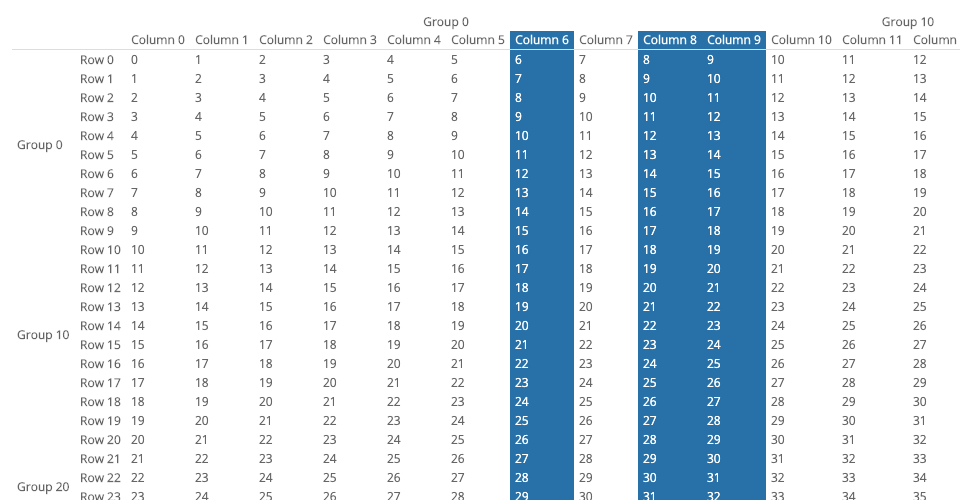
- Styling a specific column in the virtual data set, as
<td> may represent a
different column based on horizontal scroll position.
- Styling cells by value, +/-, heatmaps, categories, etc.
- Styling cells based on data within-or-outside of the virtual viewport,
grouping depth, grouping categories, etc.
To make CSS that is virtual-data-model-aware, you'll need to use
addStyleListener(), which invokes a callback whenever the <table> is
re-rendered, such as through API invocations of draw() and user-initiated
events such as scrolling. Within this optionally async callback, you can
select <td>, <th>, etc. elements via regular DOM API methods like
querySelectorAll().
table.addStyleListener(() => {
for (const th of table.querySelectorAll("tbody th")) {
style_th(th);
}
});
Once you've selected the <td> and <th> you want to paint, getMeta() will
return a MetaData record of information about the HTMLElement's virtual
position. This example uses meta.x, the position in data-space, to make
virtual-scroll-aware zebra striping.
function style_th(th) {
    const meta = table.getMeta(th);
    th.classList.toggle("zebra-striped", meta.x % 2 === 0);
}
.zebra-striped {
    background-color: rgba(0, 0, 0, 0.2);
}
.addEventListener() Interaction
<regular-table> is a normal HTMLElement! Use the regular-table API in
concert with regular DOM API methods that work on other HTMLElement to create
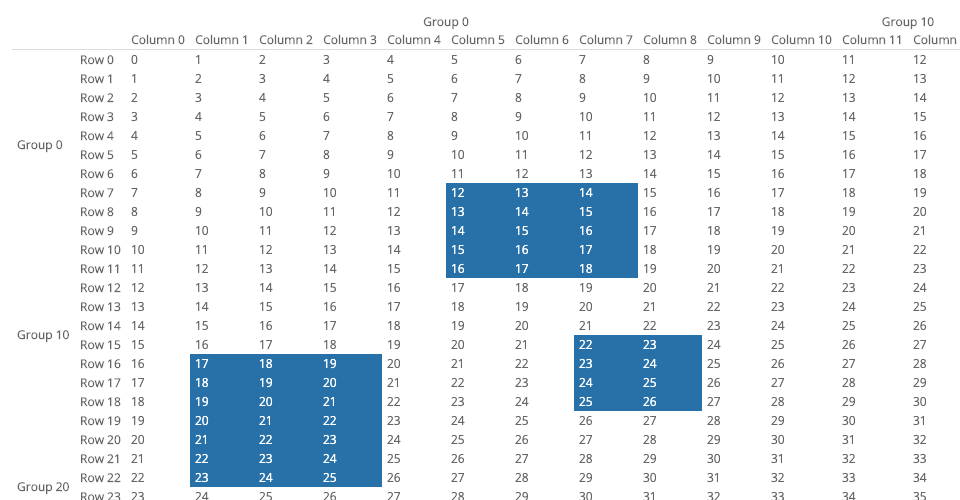
advanced functionality, such as this example of virtual row select:
const selected_rows = [];

table.addEventListener("mousedown", (event) => {
    const meta = table.getMeta(event.target);
    if (meta && meta.y >= 0) {
        selected_rows.push(meta.y);
        table.draw();
    }
});

table.addStyleListener(() => {
    for (const td of table.querySelectorAll("td")) {
        const meta = table.getMeta(td);
        td.classList.toggle("row-selected", selected_rows.includes(meta.y));
    }
});
Advanced examples can be found in the
examples
directory, and in the
bl.ocks example gallery.
Scrolling
Because of the structure of the HTML <table> element, <td> elements must be
aligned with their respective row/column, which causes default <regular-table>
to only be able to scroll in increments of a cell, which can be irregular when
column data is of different lengths. Optionally, you may implement sub-cell
scrolling in CSS via <regular-table> slotted CSS variables. The provided
material.css theme does exactly this, or you can implement this in any custom
style by importing the sub_cell_scrollling.css stylesheet explicitly:
<link
    rel="stylesheet"
    href="https://cdn.jsdelivr.net/npm/regular-table/dist/css/sub-cell-scrolling.css"
/>
Pivots, Filters, Sorts, and Column Expressions with perspective
regular-table is natively compatible with
perspective, a WebAssembly streaming
visualization engine. By using a perspective.Table as a Virtual Data Nodel, it
becomes simple to achieve user-driven row and column pivots, filters, sorts, and
column expressions, as well as charts and persistent layouts, from
high-frequency updating data.
Development
First install dev_dependencies:
pnpm install
Build the library
pnpm run build
Run the test suite
pnpm run test
Start the example server at
http://localhost:8080/examples/
pnpm run start
OpenSSF
The Regular Table project achieves the
"Passing" Open Source Security Foundation (OpenSSF) Best Practices status.
License
This software is licensed under the Apache 2.0 license. See the
LICENSE file for details.


