Interswitch for Vue 3.x


Interswitch Community Vue3 package to easily integrate to Quickteller Business to recieve payments online.
Note: You need an account at Quickteller Business to obtain the required credentials to proceed.
Installation
To install, run:
npm install vue-interswitch --save
Usage
This package has two ways of integrating with vue project - component and plugin methods
As Component
Below are the various implementations using options or composition api
<script lang="ts">
import Interswitch from 'vue-interswitch';
import {defineComponent} from "vue"
export default defineComponent({
components: {
Interswitch
},
setup(){
const onCallback = (response)=>{
console.log(response)
}
return {onCallback}
}
});
</script>
<script lang="ts" setup>
import Interswitch from 'vue-interswitch';
const onCallback = (response)=>{
console.log(response)
}
</script>
<script>
import Interswitch from 'vue-interswitch';
export default {
components: {
Interswitch
},
methods: {
onCallback(response){
console.log(response)
}
}
}
</script>
The template will look as seen below
<template>
<main>
<Interswitch
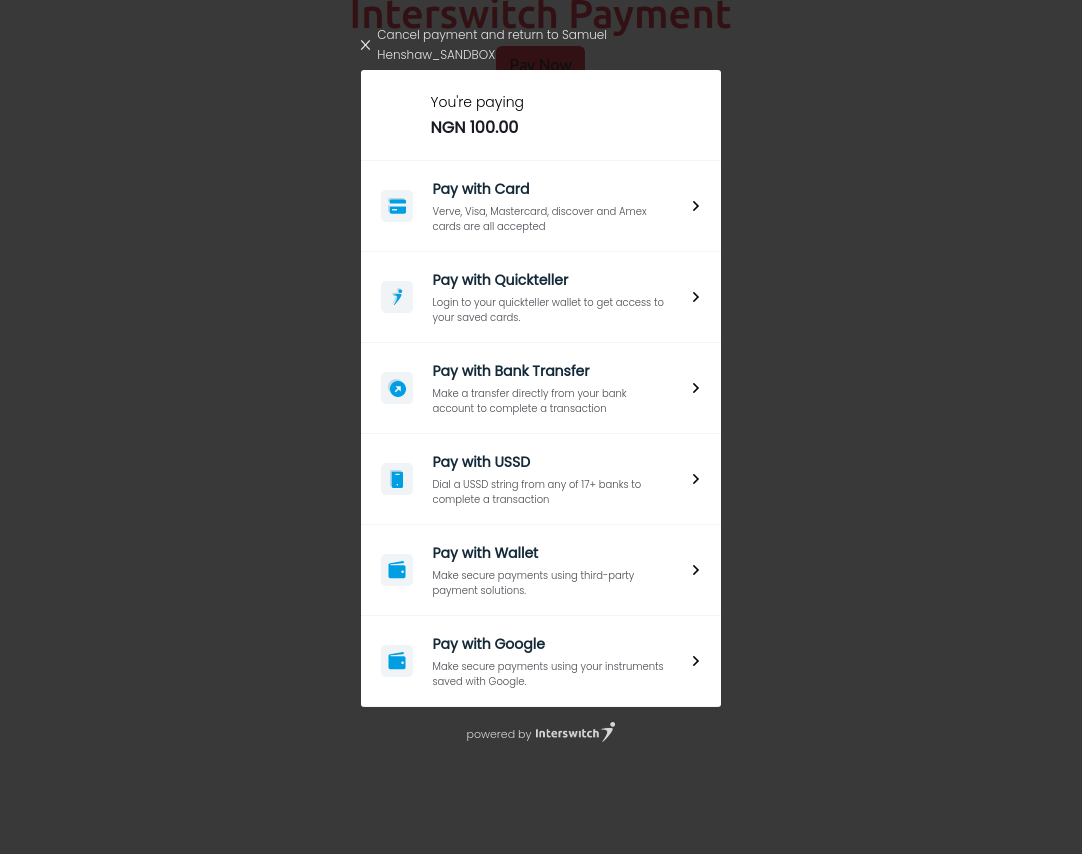
merchantCode='MX#####'
payItemID='Default_Payable_MX#####'
customerEmail='johndoe@gmail.com'
redirectURL="http://localhost:3000"
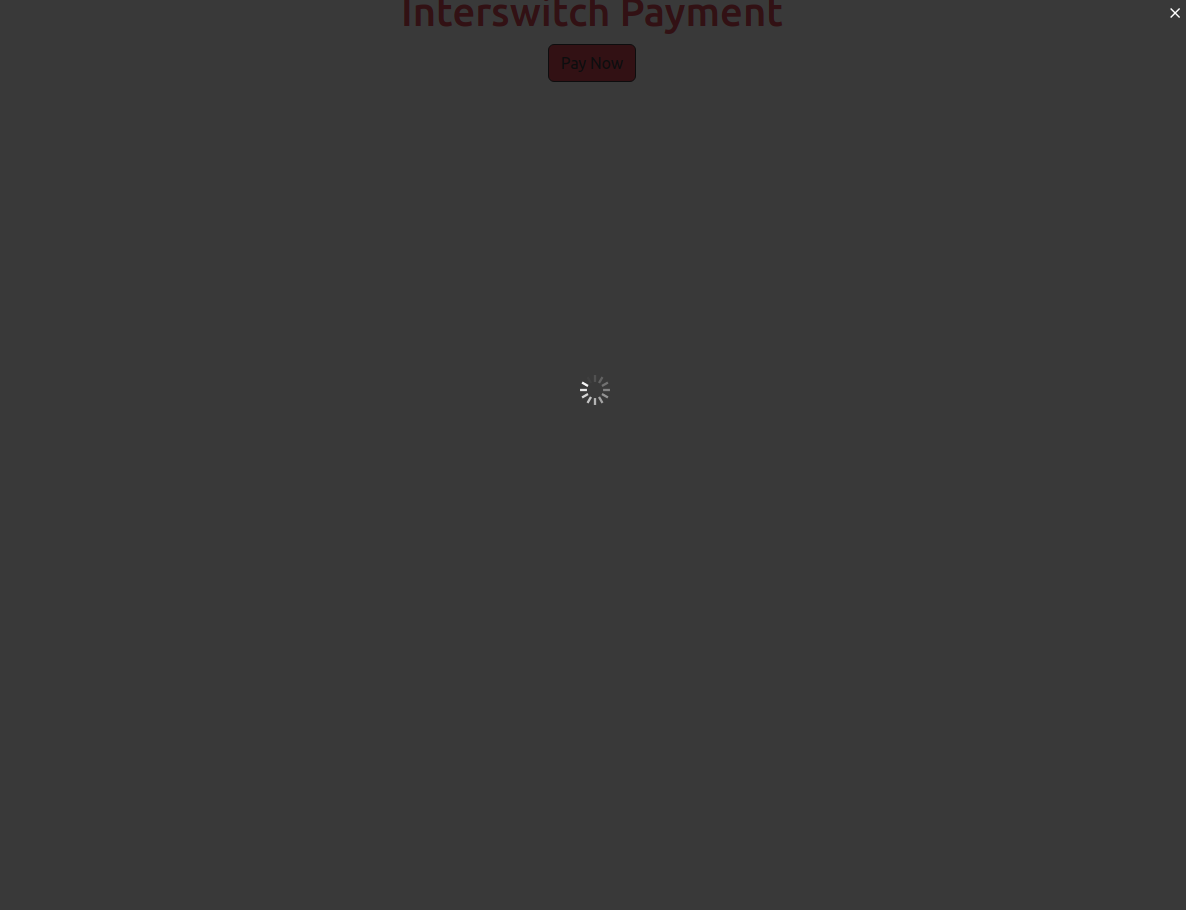
text="Pay Now"
mode='TEST'
:transactionReference="Date.now().toString()"
:amount="100"
class="custom, bootstrap or tailwind class here"
:callback="onCallback"
/>
</main>
</template>
Handle Error Event
Within the module, an event emitter is used to emit errors, hence binding a function to handle the error and get the error message or error stack trace (for debug=true mode only). Below is a guide
Note: to get development level error with stack trace set debug=true on the <Interswitch :debug="true" /> component then bind function to the @error event on the component. see guide below.
<Interswitch :debug="true" @error="onError" />
const onError = (err) => {
console.log(err)
}
As Plugin
vue-interswitch package also exposes a plugin isw. Imported the plugin in main.(ts|js) file as seen below
import { createApp } from 'vue'
import App from './App.vue';
import {isw} from "vue-interswitch";
const app = createApp(App);
app.use(isw)
app.mount('#app')
According to vue documentation when creating custom plugin, app.provide(key, value) makes the plugin available for injecting using inject(key), hence, in your component inject iswcheckout. see below
<script setup lang="ts">
import { inject } from 'vue'
const iswcheckout: any = inject('iswcheckout')
const MakePayment = () => {
const props = {
merchantCode: 'MX#####',
payItemID: 'Default_Payable_MX#####',
customerEmail: 'johndoe@gmail.com',
redirectURL: 'http://localhost:3000',
text: 'Pay Now',
mode: 'TEST',
transactionReference: Date.now().toString(),
amount: 100,
callback: (response: any) => {
console.log('response: ', response)
}
}
iswcheckout(props)
}
</script>
Note:
debug=true is not needed for production as debug is automatically false if not included.- merchantCode and payItemID can be gotten on your Quickteller Business dashboard
- amount must be in kobo
Hence, that has been handled (with exception of the plugin approach), every amount provided is automatically multiplied by 100 within library logic
- Make sure to cast
iswcheckout as types if any any to avoid 'This expression is not callable' error (Typescript use only)
Parameters
Below is a list of all the Interswitch official supported parameters.
| merchantCode | string | true | This can be found on your dashboard. |
| payItemID | string | true | This can be found on your dashboard. |
| customerEmail | string | true | The email of the person making the payment. |
| amount | string | true | The cost of the item being paid for in kobo. |
| transactionReference | string | true | This is a unique reference string required for every transaction. You can create a method to generate this. |
| text | string | true | This represents the text on the payment button. |
| mode | string | true | This represents your integration mode. It can be 'TEST' or 'LIVE'. |
| callback | function | true | This function is called after every transaction. |
| redirectURL | string | false | The url you want the user to be redirected to after a transaction. |
| currency | string | false | The ISO code of the currency being used. If this field is not added, the currency naira is assumed. |
| customerName | string | false | The name of the person making the payment. |
| customerID | string | false | The ID of the person making the payment. |
| customerMobileNo | string | false | The mobile number of the person making the payment. |
| payItemName | string | false | The name of the item being paid for. |
| className | string | false | You can use this to add a CSS class to the payment button. |
| style | object | false | You can use this to add inline styles to the payment button. |
Response Sample
After a transaction, a sample response from the callback function will be like so:
{
    bpTrxnRef: "",
    bpResp: "",
    rechPin: "",
    amount: 10000,
    apprAmt: 10000,
    cardNum: "",
    desc: "Approved by Financial Institution",
    mac: "",
    payRef: "FBN|WEB|MX26070|13-04-2021|3512130|866194",
    resp: "00",
    retRef: "000106923853",
    txnref: "1618305656700",
    url: "http://localhost:3000",
}
if within your response, desc messsage reads MERCHANT_OR_PAYMENT_ITEM_DOES_NOT_EXIST and other fields shows undefined it implies information supplied might not be correct.
Below are additional list of parameters.
| text | string | true | It specifies the text to display on the button. |
| debug | boolean | false | Helps to show raw stack trace error for development purposes |
| disableAutoKobo | boolean | false | it is optional and it specifies if automatic multiplication of amount should apply or not. It is false by default. setting disableAutoKobo=true will allow developer to manually multiply amount with 100 to realize amount in kobo |
NOTE:
The key resp gives the final status of the transaction.
There are quite a number of response codes that can be returned, the full list can be viewed here
- Handling the Response
For integrity purpose, you are advised to make a server side request to get the final status of a transaction before giving value.
To do this, make a post request to the endpoint below:
Test mode:
https://qa.interswitchng.com/collections/api/v1/gettransaction.json?merchantcode={MERCHANT_CODE}&transactionreference={TRANSACTION_REFERENCE}&amount={AMOUNT_IN_KOBO}
Live mode:
https://webpay.interswitchng.com/collections/api/v1/gettransaction.json?merchantcode={MERCHANT_CODE}&transactionreference={TRANSACTION_REFERENCE}&amount={AMOUNT_IN_KOBO}
License
The MIT License (MIT). Please see License File for more information.


