Research
/Security News
Critical Vulnerability in NestJS Devtools: Localhost RCE via Sandbox Escape
A flawed sandbox in @nestjs/devtools-integration lets attackers run code on your machine via CSRF, leading to full Remote Code Execution (RCE).
POMMES is an open source framework to model investment pathways in multi-energy systems. The framework enables to minimise the system costs to meet the energy services demand by modelling the investment and operating costs of energy conversion, storage and transport technologies.
Documentation: The complete documentation for POMMES (methodology, examples and API) is available at DOCS
Choose the installation depending on your platform.
To integrate conda in PowerShell, run in the Anaconda Prompt:
On Windows
$ conda init powershell
On Linux
$ conda init bash
Ensure Conda is initiated in your shell: see prerequisites if needed.
Download the file
environment.yaml.
To create the environment, run in the file directory:
$ conda env create -f environment-all.yaml
Using python Pycharm IDE which can be downloaded from this webpage facilitates the interaction with the tool.
You can set this environment as python interpreter in Pycharm using:
Settings > Project: pommes > Python interpreter > Add interpreter > Add local interpreter ...

Then:
Conda Environment > Load Environments > Use existing environment > pommes-env If needed, update the conda executable path:
[your installation directory]\miniconda3\condabin\conda.bat.

All contributions are welcome with merge requests. Use pre-commit for code formatting.
$ pre-commit install
Solving optimisation model with linopy allows to interact easily with multiple solvers. Check linopy documentation to get all compatible solvers.
HiGHS solver is installed in the virtual environment
with the highspy package.
However, for the sake of performance, here is a short tutorial to get the commercial solver
Gurobi which presents much better resolution speed, and which is free for academic use.
Gurobi is already installed in the python virtual environment with the gurobipy package.
To generate a named academic license, visit the gurobi license webpage
and sign in with your academic e-mail address.
You will get a license token.
Then go to the download page of the license tool packages
You can then run the grbgetkey script and copy-paste your token in the console.
If you want to change the default directory of the gurobi.lic file,
make sure that the corresponding environment variable is modified.
The example study is stored in study\test_case. Data stored in study\test_case\data
and the import is described in the study\test_case\config.yaml file.
Try to run the run_study.py first to get some results.
Explore the results in the study\test_case\output directory structured as follow:
output
   |-- ref_(suffix?)
         |-- constraints
            |-- annualised_totex_def.csv
            |-- ...
         |-- plots
            |-- energy_balance
               |-- 2020_electricity.html
            |-- energybalance.html
         |-- variables
            |-- annualised_totex.csv
            |-- ...
         |-- dual.nc
         |-- input.nc
         |-- model.nc
         |-- objective.csv
         |-- solution.nc
Explore it!
constraints/ gathers the lagrangians of the constraintsvariables/ the solutionplots/.To run your own study, copy-paste the test_case/ study, rename it with your study name.
Let's take study_name for the example.
study
   |-- test_case
         |-- data
            |-- availability.csv
            |-- ...
         |-- config.yaml
   |-- study_name
         |-- data
            |-- availability.csv
            |-- ...
         |-- config.yaml
You can now change the inputs value of your scenario.
Waiting for an exhaustive description of the inputs, here are some guidelines:
Follow the workflow of the study\test_case\run_study.py script with the right study_name (and potentially change the solver)
Enjoy !
FAQs
Planning and Operation Model for Multi-Energy Systems
We found that pommes demonstrated a healthy version release cadence and project activity because the last version was released less than a year ago. It has 1 open source maintainer collaborating on the project.
Did you know?

Socket for GitHub automatically highlights issues in each pull request and monitors the health of all your open source dependencies. Discover the contents of your packages and block harmful activity before you install or update your dependencies.

Research
/Security News
A flawed sandbox in @nestjs/devtools-integration lets attackers run code on your machine via CSRF, leading to full Remote Code Execution (RCE).

Product
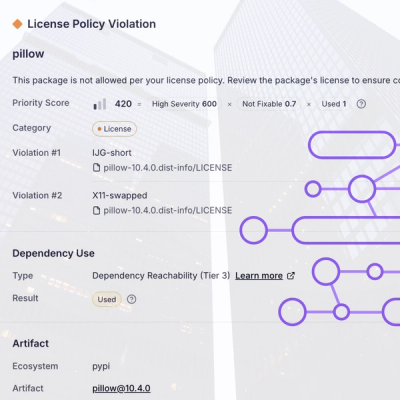
Customize license detection with Socket’s new license overlays: gain control, reduce noise, and handle edge cases with precision.

Product
Socket now supports Rust and Cargo, offering package search for all users and experimental SBOM generation for enterprise projects.