Security News
AI Agent Lands PRs in Major OSS Projects, Targets Maintainers via Cold Outreach
An AI agent is merging PRs into major OSS projects and cold-emailing maintainers to drum up more work.
wis3d
Advanced tools
Online Demo | Installation | Tutorial | Documentation
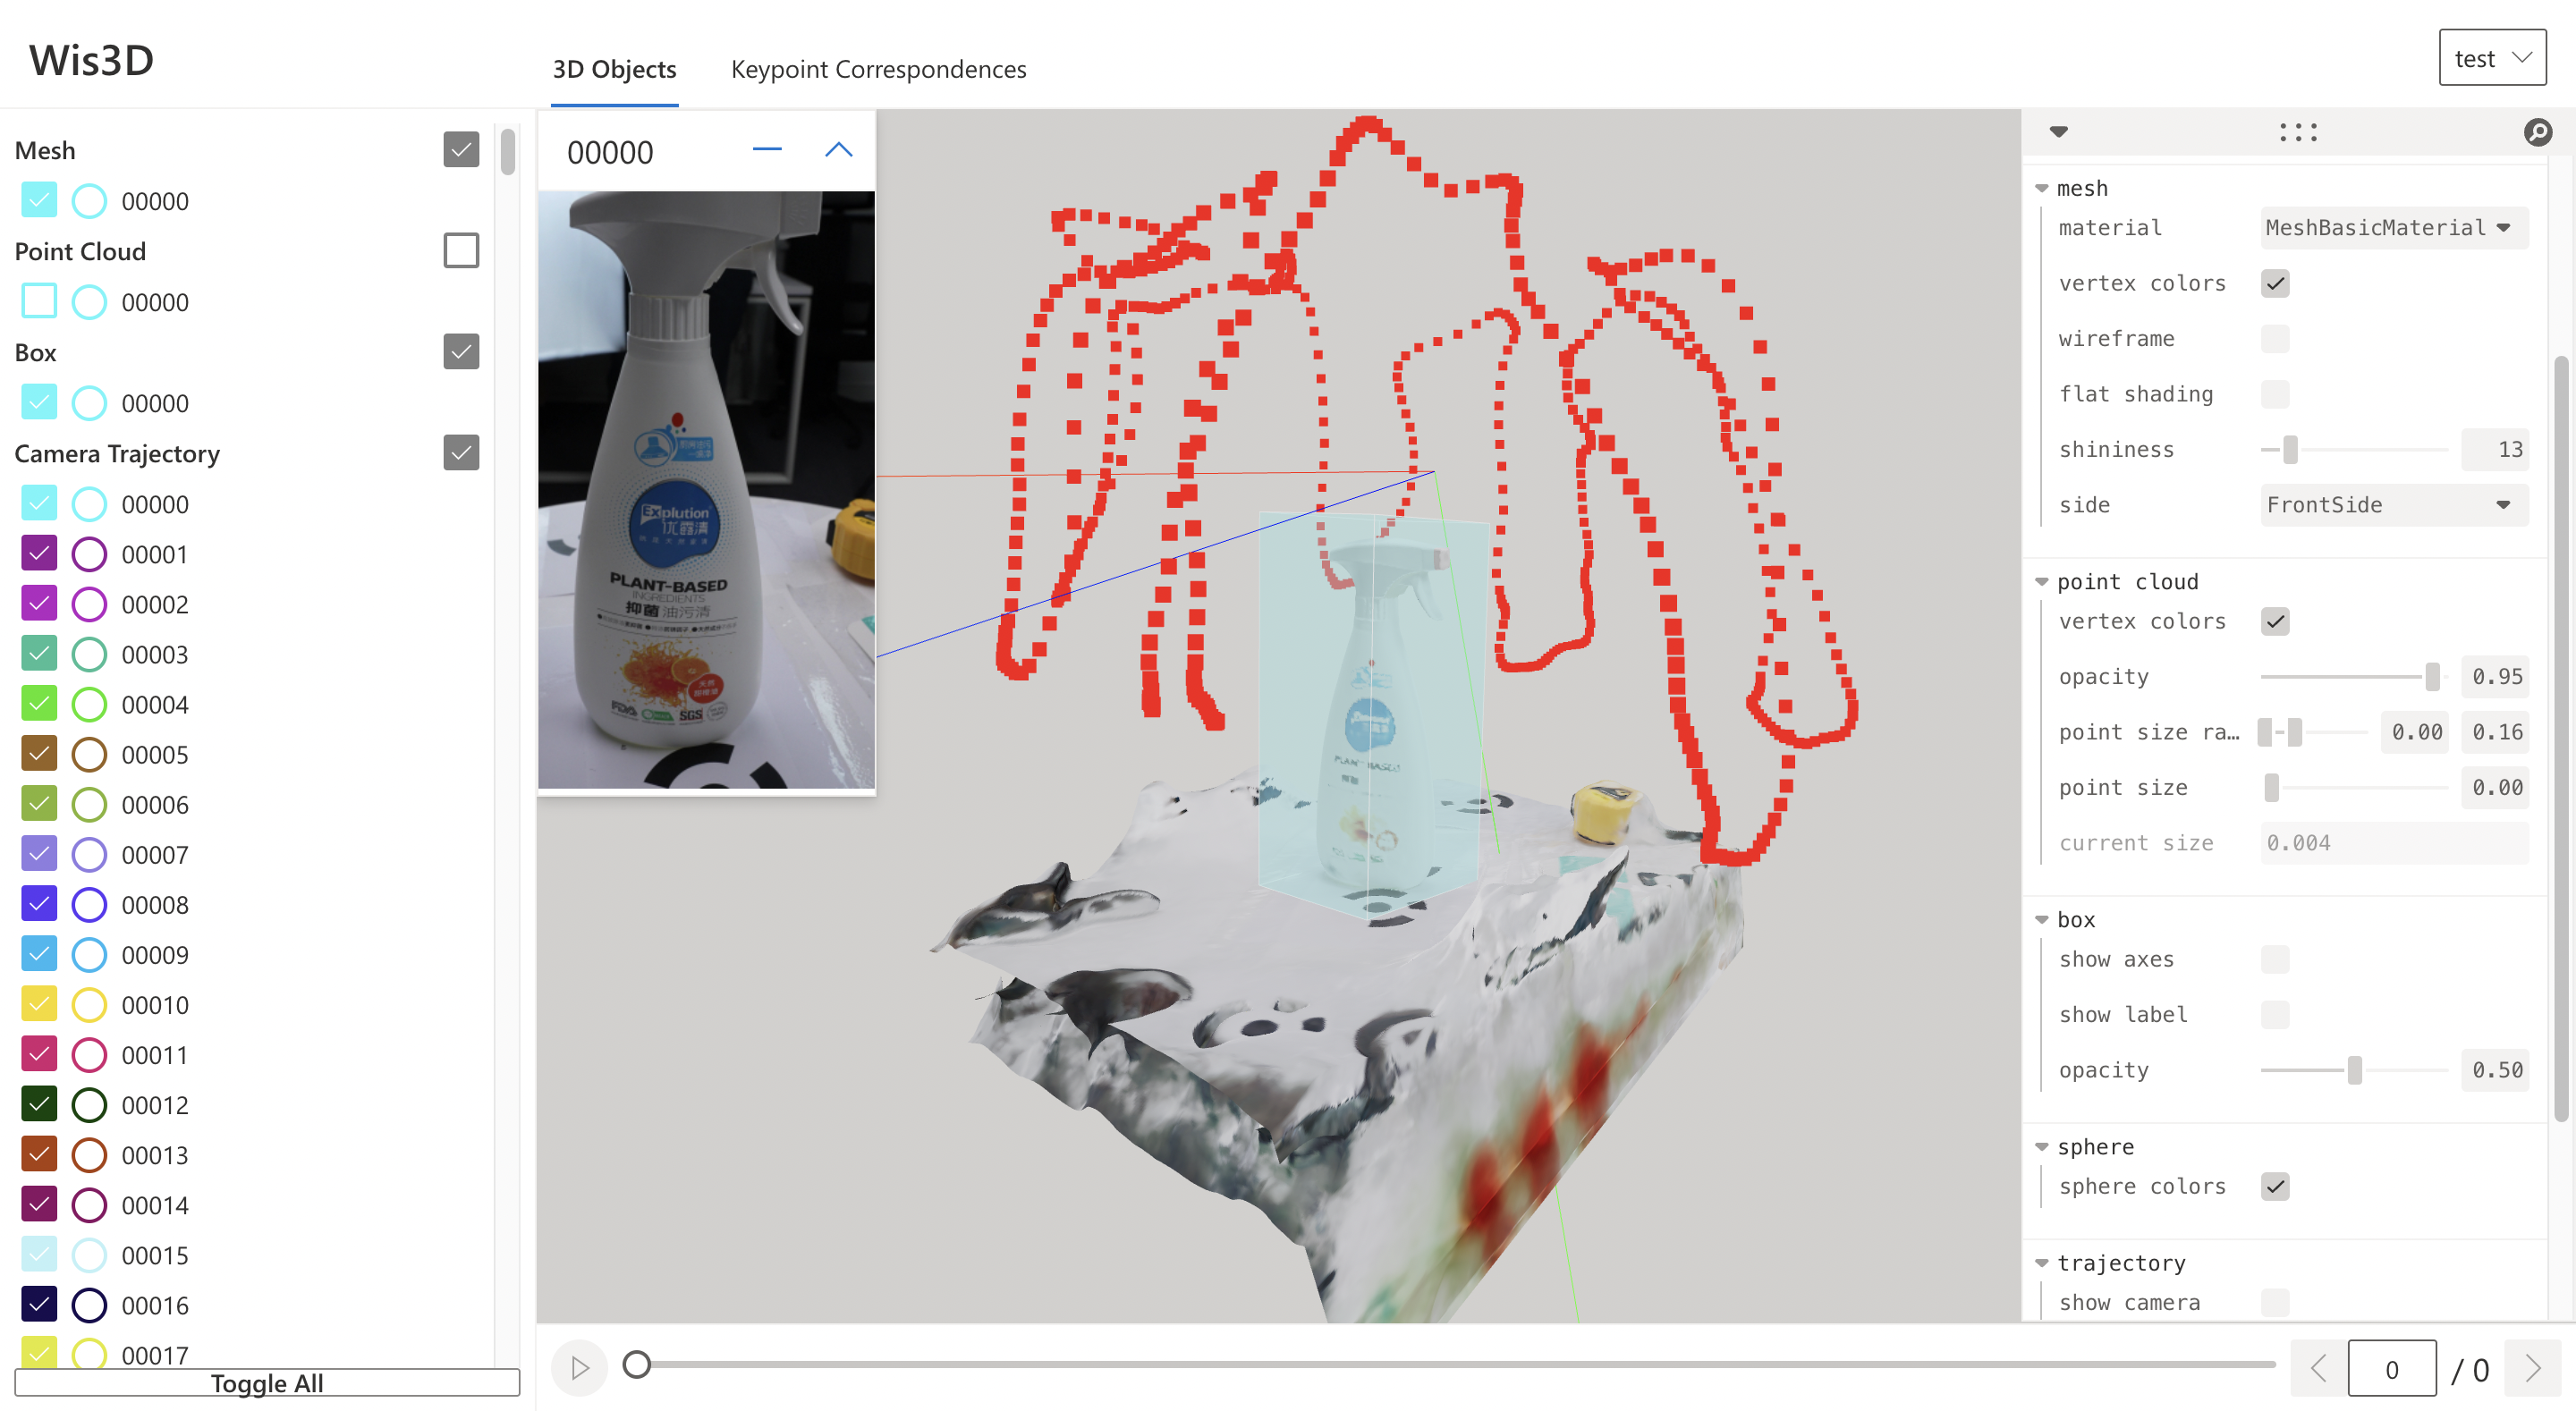
Wis3D is a web-based 3D visualization tool built for 3D computer vision researchers. You can import 3D bounding box, point clouds, meshes and feature correspondences directly from your python code and view them in your local browser. You can think of it as TensorBoard but with 3D data as the first-class citizen.


pip install wis3d
pip install -r requirements.txtcd wis3d/app
npm install # install dependencies
npx next build
npx next export
cd ../..
python setup.py develop


# coding=utf-8
from wis3d import Wis3D
import trimesh
from PIL import Image
from transforms3d import affines, quaternions
import os
import numpy as np

wis_dir = "path_to_vis_dir"
wis3d = Wis3D(wis_dir, 'test')

# add point cloud
pcd_path = 'path_to_ply_file'
wis3d.add_point_cloud(pcd_path, name='pcd0')
pcd = trimesh.load_mesh(pcd_path)
wis3d.add_point_cloud(pcd, name='pcd1')
wis3d.add_point_cloud(pcd.vertices, pcd.colors, name='pcd2')


# add mesh
mesh_path = 'path_to_mesh_file'
wis3d.add_mesh(mesh_path, name='mesh0')
mesh = trimesh.load_mesh(mesh_path)
wis3d.add_mesh(mesh, name='mesh1')
wis3d.add_mesh(mesh.vertices, mesh.faces,
               mesh.visual.vertex_colors[:, :3], name='mesh2')

# add image
image_path = 'path_to_image_file'
wis3d.add_image(image_path, name='image0')
image = Image.open(image_path)
wis3d.add_image(image, name='image1')
wis3d.add_image(np.asarray(image), name='image2')

# add box
points = np.array([
    [-0.5, -0.5, -0.5],
    [0.5, -0.5, -0.5],
    [0.5, -0.5, 0.5],
    [-0.5, -0.5, 0.5],
    [-0.5, 0.5, -0.5],
    [0.5, 0.5, -0.5],
    [0.5, 0.5, 0.5],
    [-0.5, 0.5, 0.5]
])
wis3d.add_boxes(points, name='box0', labels='test0')
wis3d.add_boxes(points.reshape(1, 8, 3) + 0.6, name='box1', labels=['test1'])
wis3d.add_boxes([0.5, 0.2, 0.1], [1.24, 3.0, 2.1], [0.5, 0.6, 0.7], name='box2', labels='test2')
wis3d.add_boxes([[0.2, 0.6, 0.3],[0.5, 0.9, 1.0]], [[2.24, 1.0, 3.1], [0.6, 2.9, 2.1]], [[0.2, 0.5, 0.8], [0.4, 0.6, 0.8]], name='box3', labels='test3')

# add line
wis3d.add_lines(np.array([0, 0, 0]),np.array([1, 1, 1]), name='line0')
colors = np.array([[0, 255, 0], [0, 0, 255]])
wis3d.add_lines(np.array([[0, 1, 0], [0, -1, 0]]), np.array([[1, 0, 0], [1, 0, 0]]), colors, name='line1')

# add voxel
wis3d.add_voxel(np.array([[1.0, 1.0, 1.0], [-1, -1, -1]]), 0.1, np.array([[255, 255, 255], [0, 0, 0]]), name='voxel0')

# add sphere
wis3d.add_spheres(np.array([0, 0, 0]), 0.5, name='sphere0')
wis3d.add_spheres(np.array([[0, 1, 0], [0, 0, 1]]), 0.5, name = 'sphere1')
wis3d.add_spheres(np.array([[0, 1, 0], [0, 0, 1]]), np.array([0.25, 0.5]),np.array([[0, 255, 0], [0, 0, 255]]), name='sphere2')
You can also reference to examples/test.py. For more usage, see Documentation
Start the web service to view the visualization in the browser.
wis3d --vis_dir $path_to_vis_dir --host 0.0.0.0 -port 19090
Open your browser, and enter http://localhost:19090 to see the results.
@article{sun2022onepose,
    title={{OnePose}: One-Shot Object Pose Estimation without {CAD} Models},
    author = {Sun, Jiaming and Wang, Zihao and Zhang, Siyu and He, Xingyi and Zhao, Hongcheng and Zhang, Guofeng and Zhou, Xiaowei},
    journal={CVPR},
    year={2022},
}
FAQs
A web-based 3D visualization tool for 3D computer vision.
We found that wis3d demonstrated a healthy version release cadence and project activity because the last version was released less than a year ago. It has 1 open source maintainer collaborating on the project.
Did you know?

Socket for GitHub automatically highlights issues in each pull request and monitors the health of all your open source dependencies. Discover the contents of your packages and block harmful activity before you install or update your dependencies.

Security News
An AI agent is merging PRs into major OSS projects and cold-emailing maintainers to drum up more work.

Research
/Security News
Chrome extension CL Suite by @CLMasters neutralizes 2FA for Facebook and Meta Business accounts while exfiltrating Business Manager contact and analytics data.

Security News
After Matplotlib rejected an AI-written PR, the agent fired back with a blog post, igniting debate over AI contributions and maintainer burden.