Product
Introducing Rust Support in Socket
Socket now supports Rust and Cargo, offering package search for all users and experimental SBOM generation for enterprise projects.
@bharathvaj/netlify-plugin-airbrake
Advanced tools
The Airbrake Netlify build plugin automatically notifies Airbrake of new deploys made to your site after it finishes building in Netlify.
Automatically notify Airbrake of new releases being deployed to your site after it finishes building in Netlify.
The Airbrake Netlify build plugin:
You can get more benefits by enabling Github Integration - Optional
Make sure build plugins are enabled on your site to see the plugin run.
To install plugins via the Netlify UI, go to your team sites list and select the Plugins tab (or follow this direct link to the plugins directory). Then find "Airbrake Build Plugin" and click Install.
UI installation is the recommended way to install this Build Plugin unless you need advanced configuration.
Alternatively, to install with file-based installation, add the following lines
to your netlify.toml file:
[[plugins]]
  package = "@bharathvaj/netlify-plugin-airbrake"

  [plugins.inputs]
    airbrakeProjectId = "123456"
    airbrakeEnvironment = "staging"
    airbrakeDeployUserName = "john"
    airbrakeDeployUserEmail= "john@smith.com"
    airbrakeVersion= "v2"
Note: The [[plugins]] line is required for each plugin installed via
file-based installation, even if you have other plugins in your netlify.toml
file already.
You can also differentiate the production and deploy preview enviroments using the Netlify's deploy context feature.
Save the internal integration token and any other environment variables as site environment variables:
AIRBRAKE_PROJECT_ID and
AIRBRAKE_PROJECT_KEY. For more configuration options see the
environment variables section below.
For more information about the parameters below, please see the Airbrake API docs.
You can use site environment variables to configure these values:
| name | description | example |
|---|---|---|
AIRBRAKE_PROJECT_ID | Project Id | - |
AIRBRAKE_PROJECT_KEY | Project Key | - |
AIRBRAKE_ENVIRONMENT | Deploy Environment | production |
AIRBRAKE_DEPLOY_USER_NAME | Deploy user name | john |
AIRBRAKE_DEPLOY_USER_EMAIL | Deploy user email | john@smith.com |
AIRBRAKE_VERSION | Deploy version | v2 |
| name | description | example |
|---|---|---|
airbrakeProjectId | Project Id | - |
airbrakeEnvironment | Deploy Environment | production |
airbrakeDeployUserName | Deploy user name | john |
airbrakeDeployUserEmail | Deploy user email | john@smith.com |
airbrakeVersion | Deploy version | v2 |
FAQs
The Airbrake Netlify build plugin automatically notifies Airbrake of new deploys made to your site after it finishes building in Netlify.
The npm package @bharathvaj/netlify-plugin-airbrake receives a total of 15 weekly downloads. As such, @bharathvaj/netlify-plugin-airbrake popularity was classified as not popular.
We found that @bharathvaj/netlify-plugin-airbrake demonstrated a not healthy version release cadence and project activity because the last version was released a year ago. It has 1 open source maintainer collaborating on the project.
Did you know?

Socket for GitHub automatically highlights issues in each pull request and monitors the health of all your open source dependencies. Discover the contents of your packages and block harmful activity before you install or update your dependencies.

Product
Socket now supports Rust and Cargo, offering package search for all users and experimental SBOM generation for enterprise projects.

Product
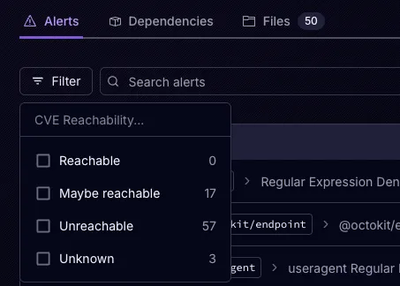
Socket’s precomputed reachability slashes false positives by flagging up to 80% of vulnerabilities as irrelevant, with no setup and instant results.

Product
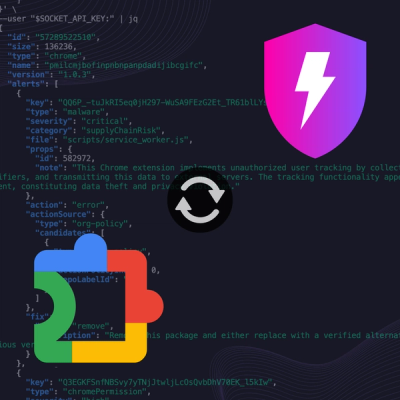
Socket is launching experimental protection for Chrome extensions, scanning for malware and risky permissions to prevent silent supply chain attacks.