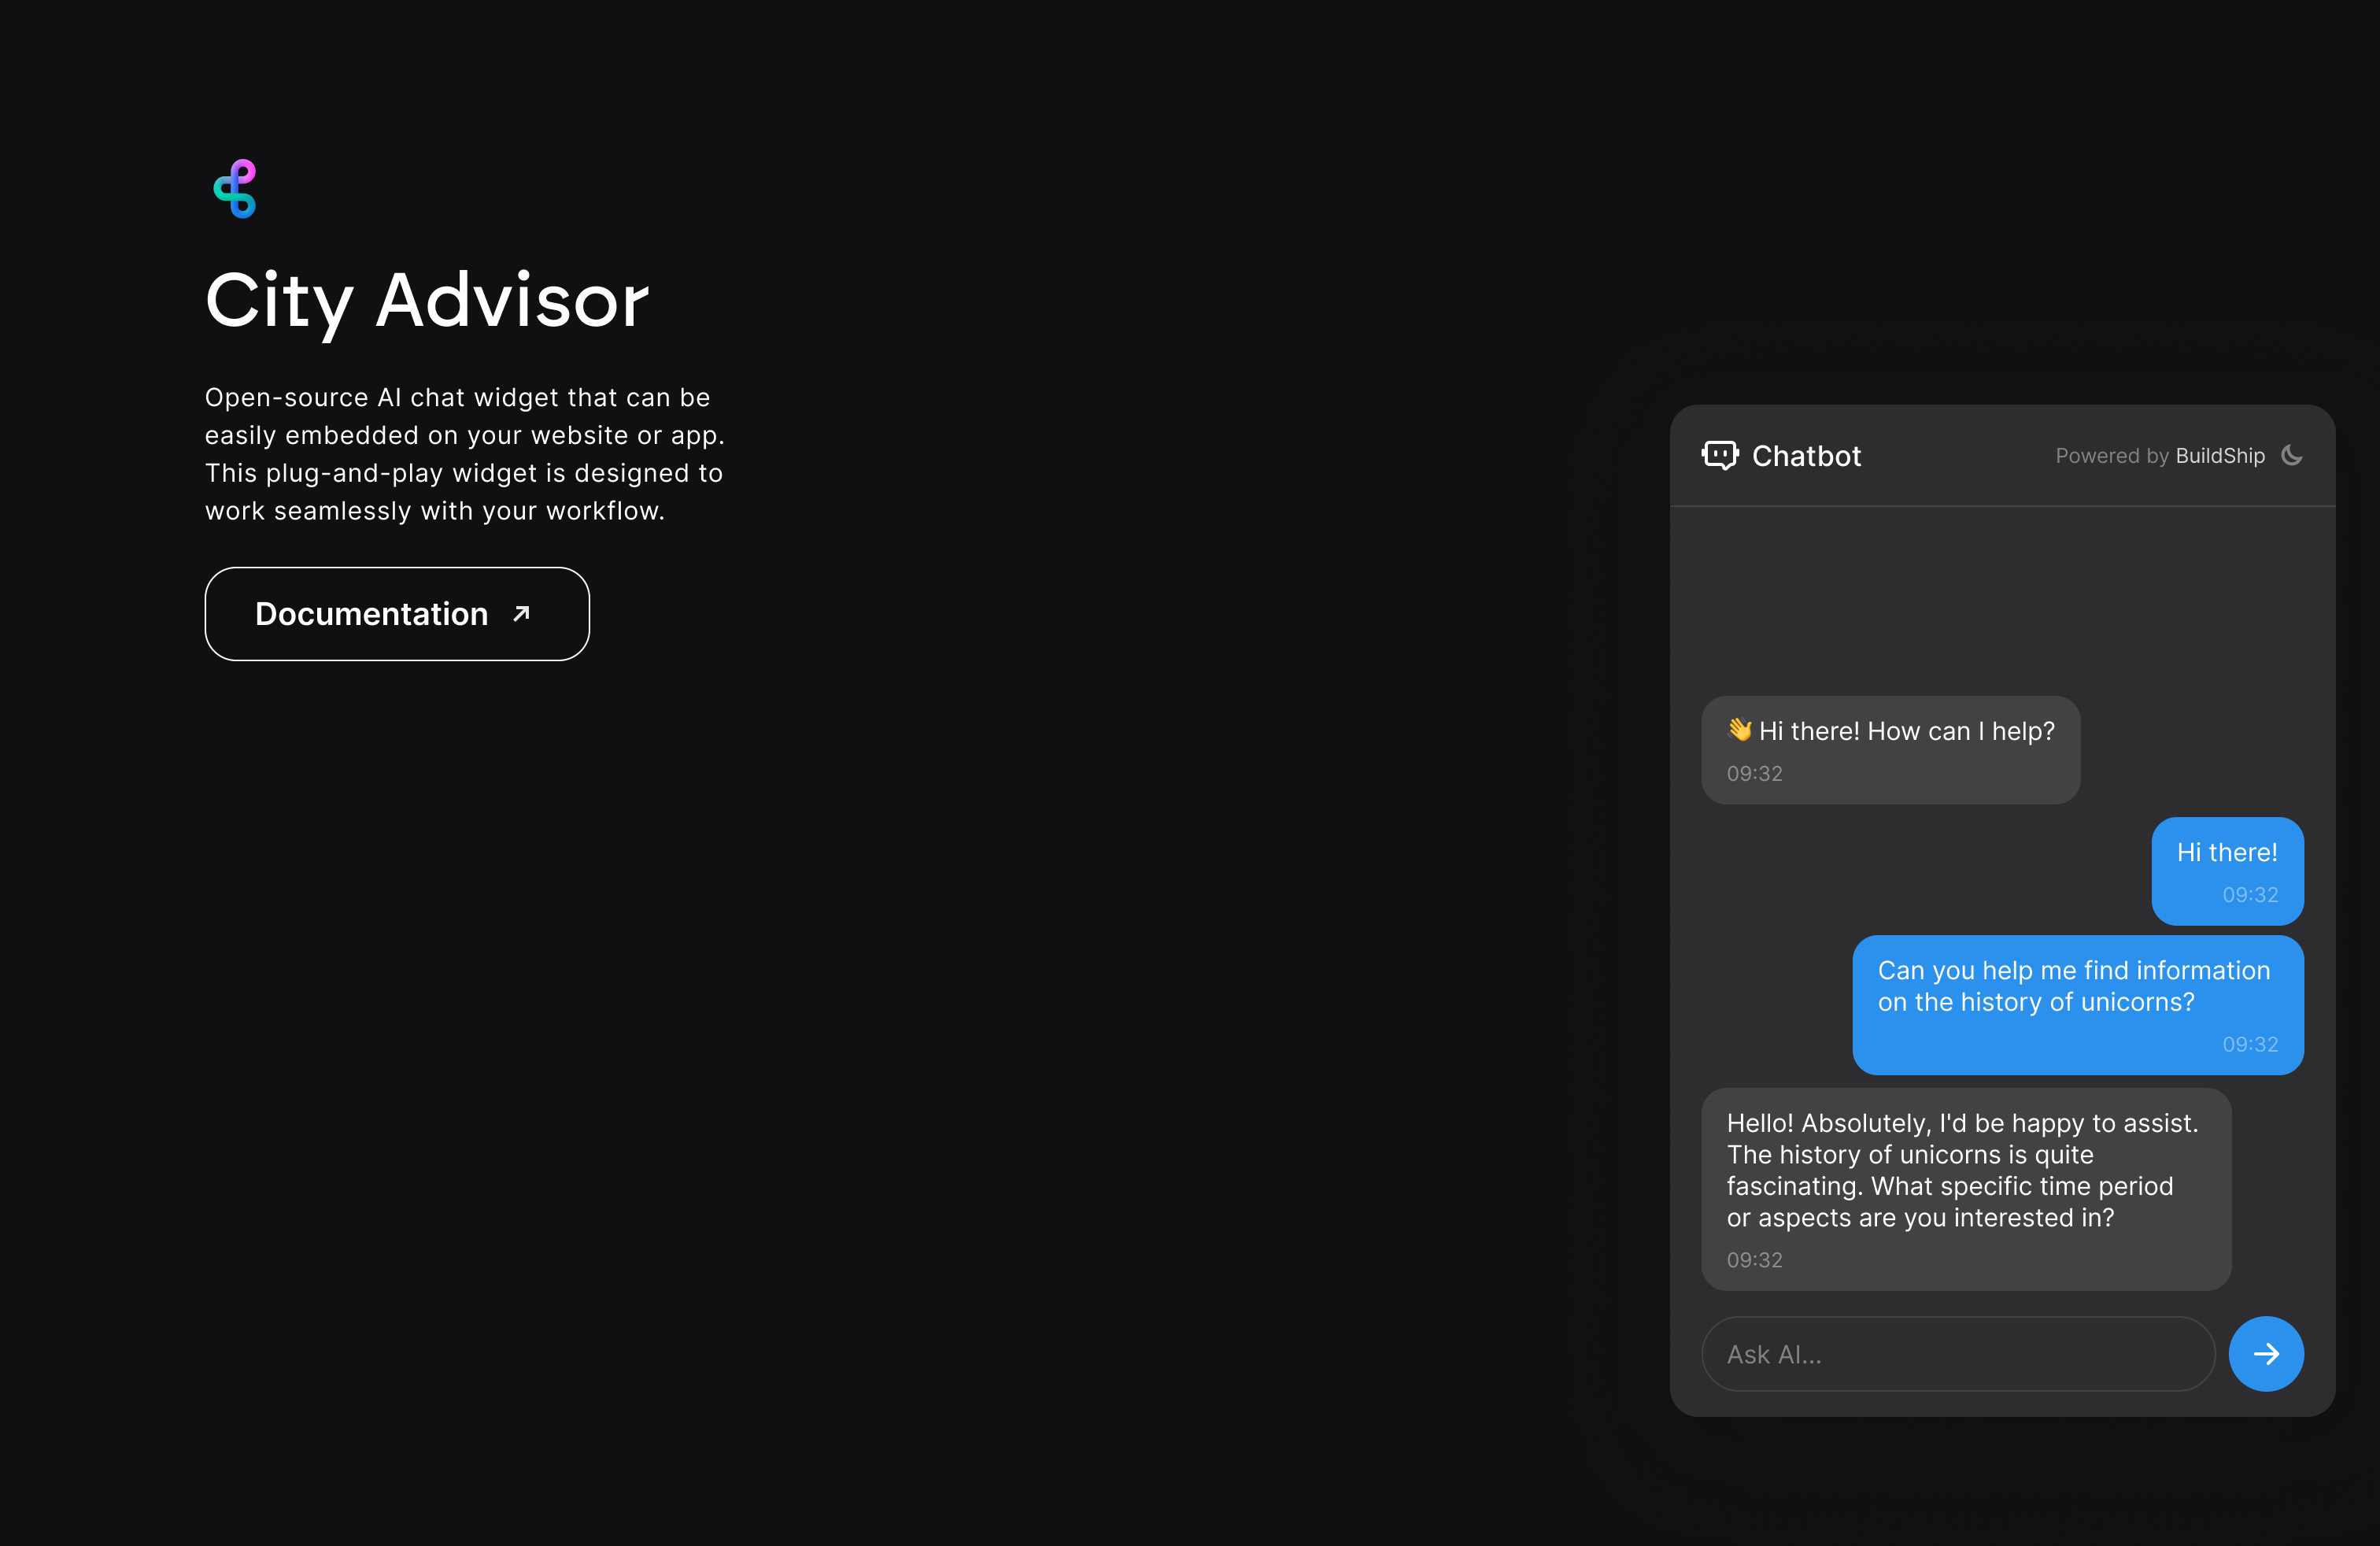
BuildShip AI Chat Widget
An open-source AI chat widget that can be easily embedded on your website or app. This plug-and-play widget is designed to work seamlessly with your custom BuildShip workflow, allowing it to connect with your database, knowledge repository, and any other tools that you use.
With this powerful AI chat assistant, you can enhance the user experience of your website or app significantly.
Getting started
Step 1. Add the widget to your website or app
-
First, load the chat widget on your page by adding the following code snippet. Then connect the widget to your BuildShip workflow by replacing the sample API URL with your BuildShip deployed API url as per the instructions in Step 2. Add any customization options as needed.
<script src="https://unpkg.com/@buildshipapp/chat-widget@^1" defer></script>
<script>
window.addEventListener("load", () => {
window.buildShipChatWidget.config.widgetTitle = "Chatbot";
window.buildShipChatWidget.config.greetingMessage =
"Hello! How may I help you today?";
window.buildShipChatWidget.config.url =
"https://<project_id>.buildship.run/chat/....";
});
</script>
You may also import it as a module if you're working with TypeScript or ES6 (type declarations are included):
import "@buildshipapp/chat-widget";
window.buildShipChatWidget.config.widgetTitle = "Chatbot";
window.buildShipChatWidget.config.greetingMessage =
"Hello! How may I help you today?";
window.buildShipChatWidget.config.url =
"https://<project_id>.buildship.run/chat/....";
-
Secondly, place a button with the following data-attribute anywhere on your website or app to open the widget:
<button data-buildship-chat-widget-button>Beep Boop</button>
Step 2. Connecting the chat widget to your BuildShip workflow
The widget is built to work with BuildShip - a lowcode backend builder for creating APIs, scheduled jobs visually and fast with a drag-and-drop interface.
- Get started by cloning any of these chat widget templates closest to your usecase
- Add in your OpenAI Assistant ID and API Key and then ship the workflow. You will get an API URL once you deploy your workflow.
- Plug in this workflow endpoint URL into the widget by setting the
window.buildShipChatWidget.config.url property. See Step 3 for more details.
- You can also customize this template workflow any way you would like.
Requirements for your BuildShip workflow
-
The widget will make a POST request to this URL. The request body will be an object containing the user's message and other data for the workflow to make use of, like so:
{
  "message": "The user's message",
  "threadId": "A unique identifier for the conversation (learn more below)",
  "timestamp": "The timestamp of when the POST request was initiated"

  ...Other miscellaneous user data (learn more in the 'Config Properties' section below)
}
You can learn more about each of the properties in the next section.
-
The widget will expect a response from the endpoint in the form of a JSON object containing the workflow's response (message) and the thread ID (threadId), like so:
{
  "message": "The bot's response",
  "threadId": "The unique identifier for the conversation (learn more below)"
}
Streamed responses
In case of a streamed response, the widget won't expect a JSON object as described above, but will instead expect a stream of chunks that eventually add up to the response message. The widget will aggregate these chunks as they're received and display and update the message in real time, finally ending with the full response.
Setting the threadId through the response
Optionally, there are two ways to set the threadId through the response.
-
Via a response header
If the response includes a header with the key x-thread-id with the thread ID as the value, the widget will automatically pick it up and set it as the threadId for the conversation (if it's not already set).
NOTE: Make sure to set the Access-Control-Expose-Headers header in your response to expose the x-thread-id header to the client widget.
-
Via the stream itself
If the endpoint responds with the message and the threadId in the following format: message + \x1f + threadId, where \x1f is the unit separator character, the widget will then extract the thread ID from the stream and set it as the threadId for the conversation (if it's not already set). For example:
readable.push("Hello ");
readable.push("world!");
readable.push("\x1f" + "tId_123");
Step 3. Config Properties and Customization
The widget can be customized by editing the properties present in the window.buildShipChatWidget.config object.
| window.buildShipChatWidget.config.url | Required | The URL of the endpoint to which the widget will make a POST request when the user sends a message. The endpoint should expect a JSON object in the request body and should respond with a JSON object containing the bot's response and the thread ID. |
| window.buildShipChatWidget.config.threadId | Optional | A unique identifier for the conversation. This can be used to maintain the context of the conversation across multiple messages/sessions. If not set, the widget will send the first user message without a thread ID. If you then design your workflow to have it return a thread ID as part of its response (as described in Request and Response), the widget will automatically use that for the rest of the conversation until the script remains loaded -- for example, the thread ID will be discarded if the page is refreshed. Note: The thread ID returned in the response will not be used if the threadId property is already set. |
| window.buildShipChatWidget.config.user | Optional | An object containing the user's data. This can be used to send the user's name, email, or any other data that the workflow might need. Example: window.buildShipChatWidget.config.user = { name: "Some User", email: "user@email.com", // ...Other user data}; |
| window.buildShipChatWidget.config.widgetTitle | Optional | The title of the widget. This will be displayed at the top of the widget. Defaults to Chatbot. |
| window.buildShipChatWidget.config.greetingMessage | Optional | The message that will be displayed (as though it were sent by the system) when the widget is first opened. Defaults to not displaying any greeting message. |
| window.buildShipChatWidget.config.disableErrorAlert | Optional | Disables error alerts if no URL is set, if the request fails, etc. Defaults to false. |
| window.buildShipChatWidget.config.closeOnOutsideClick | Optional | Closes the widget when the user clicks outside of the widget body. If set to false, you will need to use the close() method (provided in the window.buildShipChatWidget object) to be able to close the widget programmatically (for example, by attaching it to a button). Defaults to true. |
| window.buildShipChatWidget.config.openOnLoad | Optional | Automatically opens the widget when the page finishes loading (requires a button with the data-buildship-chat-widget-button attribute to be present on the page). Defaults to false. |
| window.buildShipChatWidget.config.responseIsAStream | Optional | If set to true, the widget will expect the response to be streamed back from the endpoint. The endpoint must respond with a series of chunks that finally add up to the endpoint's response. The widget will aggregate these chunks as they're received and display and update the message, finally ending with the full response. Learn more here. Defaults to false. |
Customizing the widget's appearance (optional)
The widget’s styling can be customized by overriding the CSS variables and/or the rules. (See here for a list of variables and selectors).
For example, the variables can be overridden like so:
:root {
--buildship-chat-widget-primary-color: #0000ff;
}
[data-theme*="light"] {
...;
}
Dark mode is activated when either:
-
the user's system theme is set to dark (i.e. @media (prefers-color-scheme: dark) is true) and that's what the page uses, or
-
the body has a data-theme attribute set to dark, like so:
<body data-theme="dark"></body>
Dark mode styles can be overridden as well:
@media (prefers-color-scheme: dark) {
  :root {
    ...;
  }
}

[data-theme*="dark"] {
  ...;
}
The font is inherited from the body.
How it works
When the script is loaded, it looks for any elements with the data-buildship-chat-widget-button attribute and opens the widget when any of those elements are clicked.
In addition to the config object, the window.buildShipChatWidget object also exposes the open(), close() and init() methods, which can be called directly.
The open() method accepts the click event, and uses event.target to compute the widget's position using Floating UI.
The close() method closes the widget.
The init() method initializes the widget, and is called automatically when the window finishes loading. It can be called manually to re-initialize the widget if needed (particularly useful in case of SPAs, where the widget might need to be re-initialized after a route change).