Product
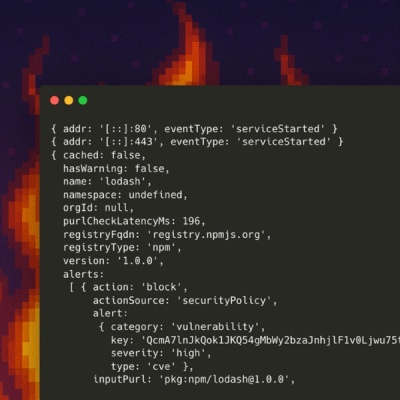
Introducing Socket Firewall Enterprise: Flexible, Configurable Protection for Modern Package Ecosystems
Socket Firewall Enterprise is now available with flexible deployment, configurable policies, and expanded language support.
@ritterim/handholdjs
Advanced tools
A configurable JavaScript hand held walk-through for user interfaces.
A configurable JavaScript hand held walk-through for user interfaces.
Install package via NPM.
npm install @ritterim/handholdJS
Import handholdJS into your project and instantiate it to a new variable.
main.js:
import Handhold from '@ritterim/handholdJS';
import '../path/to/node_modules/@ritterim/handholdJS/dist/style.css';

const handhold = new Handhold();
Create either a JSON file or JavaScript object and include the steps in an array:
handhold-config.json:
{
  "steps": [
    {
      "number": "1",
      "title": "Step 1",
      "description": "Lorem ipsum dolor sit amet"
    },
    {
      "number": "2",
      "title": "Step 2",
      "description": "Lorem ipsum dolor sit amet"
    },
    {
      "number": "3",
      "title": "Step 3",
      "description": "Lorem ipsum dolor sit amet"
    }
  ]
}
Inside your created JSON or JavaScript object, create a config property to include directions for customization:
handhold-config.json:
{
  "config": {
    // Config...
  },
  "steps": [
    // Steps...
  ]
}
You can customize the following Handhold elements:
boundingBox - Box that wraps around the highlighted element.modal - Modal element where steps will be displayed.nextButton - Button that moves to the next step.previousButton - Button that moves to the next step.finishBtn - Button that moves to the next step.Each Handhold element can be customized using the following properties:
classList - An array of classes to be applied to the element.style - An object containing CSS properties and values to apply to the element.handhold-config.json:
{
  "config": {
    "boundingBox": {
      "style": {
        "outlineStyle": "solid",
        "outlineColor": "var(--navy)"
      }
    },
    "finishBtn": {
      "classList": ["button", "button--orange", "text--white"]
    },
    "nextButton": {
      "classList": ["button"]
    },
    "previousButton": {
      "classList": ["button"]
    }
  },
  "steps": [
    {
      "number": "1",
      "title": "Step 1",
      "description": "Lorem ipsum dolor sit amet"
    },
    {
      "number": "2",
      "title": "Step 2",
      "description": "Lorem ipsum dolor sit amet"
    },
    {
      "number": "3",
      "title": "Step 3",
      "description": "Lorem ipsum dolor sit amet"
    }
  ]
}
Import the JSON file into your JavaScript and pass it into the .setup() method.
main.js:
import Handhold from '@ritterim/handholdJS';
import '../path/to/node_modules/@ritterim/handholdJS/dist/style.css';
import handholdConfig from '../path/to/handhold-config.json'

const handhold = new Handhold();
handhold.setup(handholdConfig);
Call the .init() method.
main.js:
import Handhold from '@ritterim/handholdJS';
import '../path/to/node_modules/@ritterim/handholdJS/dist/style.css';
import handholdConfig from '../path/to/handhold-config.json'

const handhold = new Handhold();
handhold.setup(handholdConfig);
handhold.init();
Inside your HTML you must include a clickable "start" element and pair the steps to relevant HTML elements.
On the start element, apply the data-handhold-start data attribute.
On related HTML elements add the data-step attribute and give it the value of the corresponding step number you want to display.
index.html:
<!-- On start button: -->
<button type="button" data-start-handhold>
  Start Product Tour
</button>

<!-- On elements: -->
<div class="element" data-step="1">
  <p>Lorem Ipsum</p>
</div>
<div class="element" data-step="2">
  <p>Lorem Ipsum</p>
</div>
<div class="element" data-step="3">
  <p>Lorem Ipsum</p>
</div>
npm install to install all dependenciesnpm run devFAQs
A configurable JavaScript hand held walk-through for user interfaces.
The npm package @ritterim/handholdjs receives a total of 113 weekly downloads. As such, @ritterim/handholdjs popularity was classified as not popular.
We found that @ritterim/handholdjs demonstrated a not healthy version release cadence and project activity because the last version was released a year ago. It has 1 open source maintainer collaborating on the project.
Did you know?

Socket for GitHub automatically highlights issues in each pull request and monitors the health of all your open source dependencies. Discover the contents of your packages and block harmful activity before you install or update your dependencies.

Product
Socket Firewall Enterprise is now available with flexible deployment, configurable policies, and expanded language support.

Security News
Open source dashboard CNAPulse tracks CVE Numbering Authorities’ publishing activity, highlighting trends and transparency across the CVE ecosystem.

Product
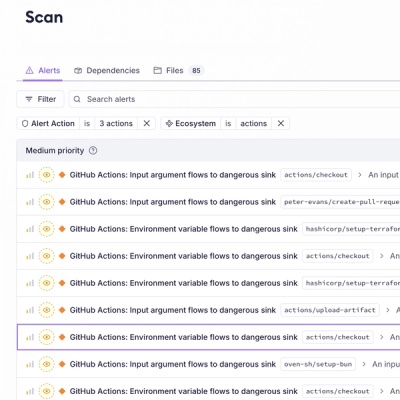
Detect malware, unsafe data flows, and license issues in GitHub Actions with Socket’s new workflow scanning support.