react-native-overlay
An component that brings content inside to the front of the view regardless of its current position in the component tree. This was extracted from react-native-modal because a modal is not the only time that you want to bring something to the front of the screen.
Add it to your project
- Run
npm install react-native-overlay --save - Open your project in XCode, right click on
Libraries and click Add Files to "Your Project Name" (Screenshot) then (Screenshot). - Add
libRNOverlay.a to Build Phases -> Link Binary With Libraries
(Screenshot). - Whenever you want to use it within React code now you can:
var Overlay = require('react-native-overlay');
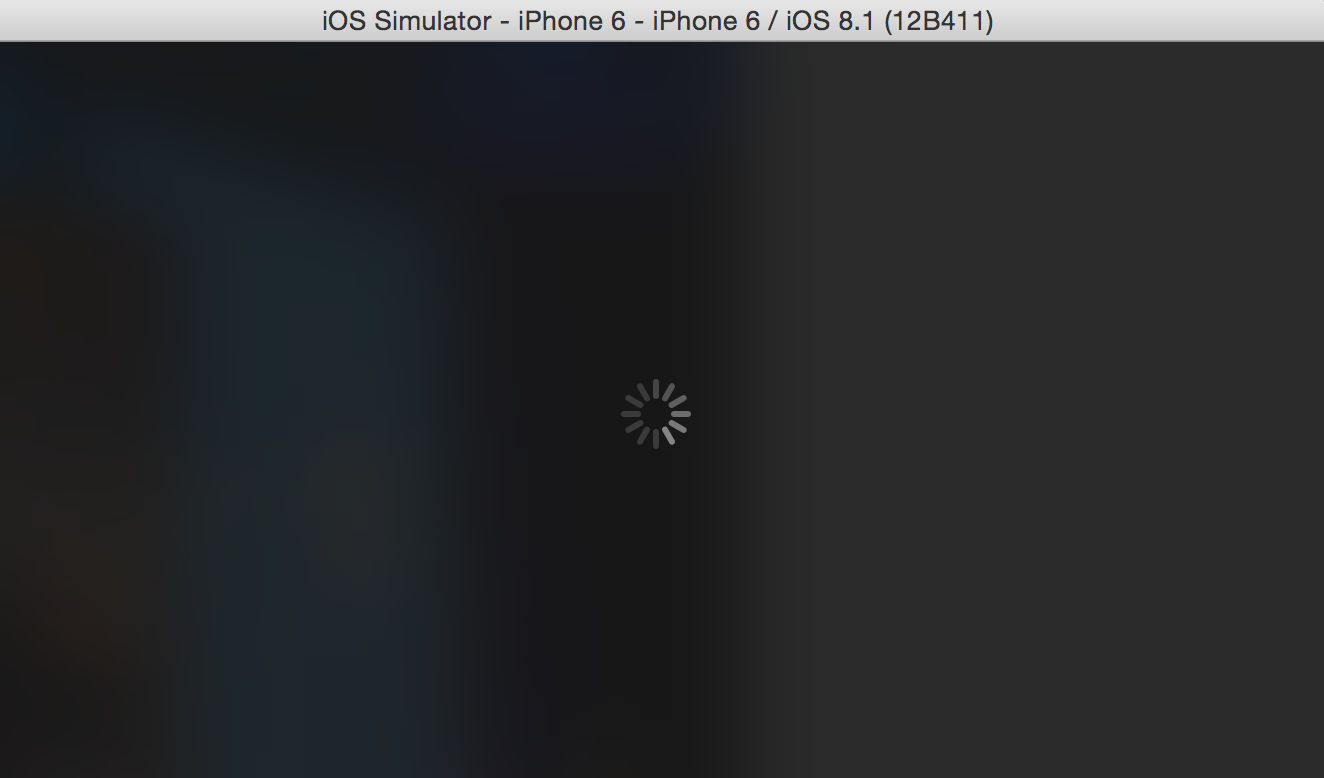
Example - Loading Overlay
This shows how you might implement a loading overlay and uses
react-native-blur to blur
the background. Notice that all we need to do is wrap the content that
we want to bring to the front in an Overlay element!
var React = require('react-native');
var Overlay = require('react-native-overlay');
var BlurView = require('react-native-blur').BlurView;

var {
  View,
  ActivityIndicatorIOS,
  StyleSheet,
} = React;

var LoadingOverlay = React.createClass({
  getDefaultProps(): StateObject {
    return {
      isVisible: false
    }
  },

  render(): ReactElement {
    return (
      <Overlay isVisible={this.props.isVisible}>
        <BlurView style={styles.background} blurType="dark">
          <ActivityIndicatorIOS
            size="large"
            animating={true}
            style={styles.spinner} />
        </BlurView>
      </Overlay>
    );
  }
});

var styles = StyleSheet.create({
  background: {
    flex: 1,
    justifyContent: 'center',
  },
})

module.exports = LoadingOverlay;
Elsewhere in our app, we can render this:
var LoadingOverlayExampleApp = React.createClass({
  render: function() {
    return (
      <View style={styles.container}>
        <Image source={require('image!announcement')} style={styles.image} />

        { /* It doesn't matter where we put this component, it can be nested */ }
        { /* anywhere within your component tree */ }
        <LoadingOverlay isVisible={true} />
      </View>
    );
  }
});
This would produce something like this:
You can try this code yourself by cloning this repo and running
Examples/LoaingOverlay.
Example - Toast
There are so many other types of overlays but I thought I'd give another
simple example to stir your imagination.
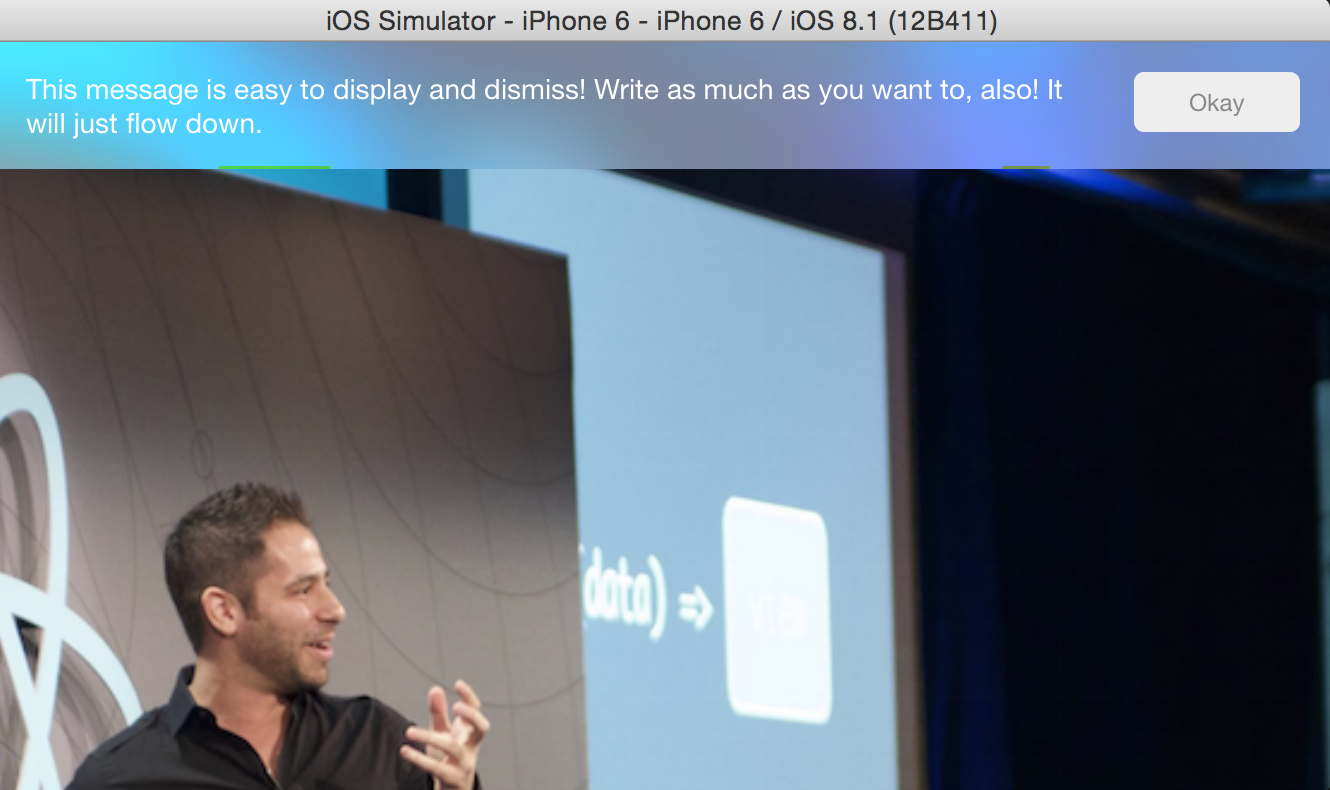
Check it out in Examples/Toast.


![Massive Automated Spam Campaign Abuses GitHub to Flood npm Registry with Thousands of Garbage Tea[.]xyz Packages](https://cdn.sanity.io/images/cgdhsj6q/production/a74d1072ff2bb5cb96a404be58a649931ced2ba5-1024x1024.webp?w=400&fit=max&auto=format)