Product
Introducing Rust Support in Socket
Socket now supports Rust and Cargo, offering package search for all users and experimental SBOM generation for enterprise projects.
fingerprint-enhancer
Advanced tools
Uses oriented gabor filter bank to enhance the fingerprint image. The orientation of the gabor filters is decided by the orientation of ridges in the input image.
pip install fingerprint_enhancer
Usage:
import fingerprint_enhancer								# Load the library
import cv2

img = cv2.imread('image_path', 0)						# read input image
out = fingerprint_enhancer.enhance_fingerprint(img)		# enhance the fingerprint image
cv2.imshow('enhanced_image', out);						# display the result
cv2.waitKey(0)											# hold the display window
The sample images are stored in the "images" folder
The enhanced image will be stored in the "enhanced" folder
run the command python devtool.py run to run linter checks.
The Develop Branch is what is up to date. Other branches might not be up to date.

This program is based on the paper: Hong, L., Wan, Y., and Jain, A. K. 'Fingerprint image enhancement: Algorithm and performance evaluation'. IEEE Transactions on Pattern Analysis and Machine Intelligence 20, 8 (1998), pp 777-789.
The author would like to thank Dr. Peter Kovesi (This code is a python implementation of his work)
FAQs
enhance fingerprint images
We found that fingerprint-enhancer demonstrated a healthy version release cadence and project activity because the last version was released less than a year ago. It has 1 open source maintainer collaborating on the project.
Did you know?

Socket for GitHub automatically highlights issues in each pull request and monitors the health of all your open source dependencies. Discover the contents of your packages and block harmful activity before you install or update your dependencies.

Product
Socket now supports Rust and Cargo, offering package search for all users and experimental SBOM generation for enterprise projects.

Product
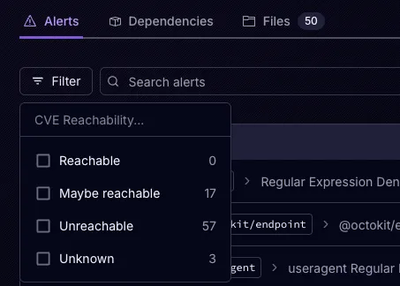
Socket’s precomputed reachability slashes false positives by flagging up to 80% of vulnerabilities as irrelevant, with no setup and instant results.

Product
Socket is launching experimental protection for Chrome extensions, scanning for malware and risky permissions to prevent silent supply chain attacks.