Frontastic Next.js Starter
:information_source: Full documentation can be found Here
This is a Frontastic starter project that uses Next.js
Getting Started With Frontend:
1- Start the development environment
Running locally in development mode
yarn install
yarn dev
Building and deploying in production
yarn install
yarn build
yarn start
2- Create a basic component
export default function MyComponent(props) {
  return <h1>{props.headline}</h1>;
}
3- Create a tastic for your component
Under /packages/frontend/frontastic/tastics/{{MyComponent}}
{
  "tasticType": "my-component",
  "name": "My Component",
  "icon": "favorite",
  "category": "Content",
  "schema": [
    {
      "name": "Basic Options",
      "fields": [
        {
          "label": "Headline",
          "field": "headline",
          "type": "string",
          "required": true
        }
      ]
    }
  ]
}
export default function MyComponentTastic(props) {
  return <MyComponent headline={props.data.headline} />;
}
You can find more about tastics Here
4- Register your tastic
Under /packages/frontend/frontastic/tastics/index.tsx
export const tastics = {
    ...
    'my-component': MyComponentTastic
}
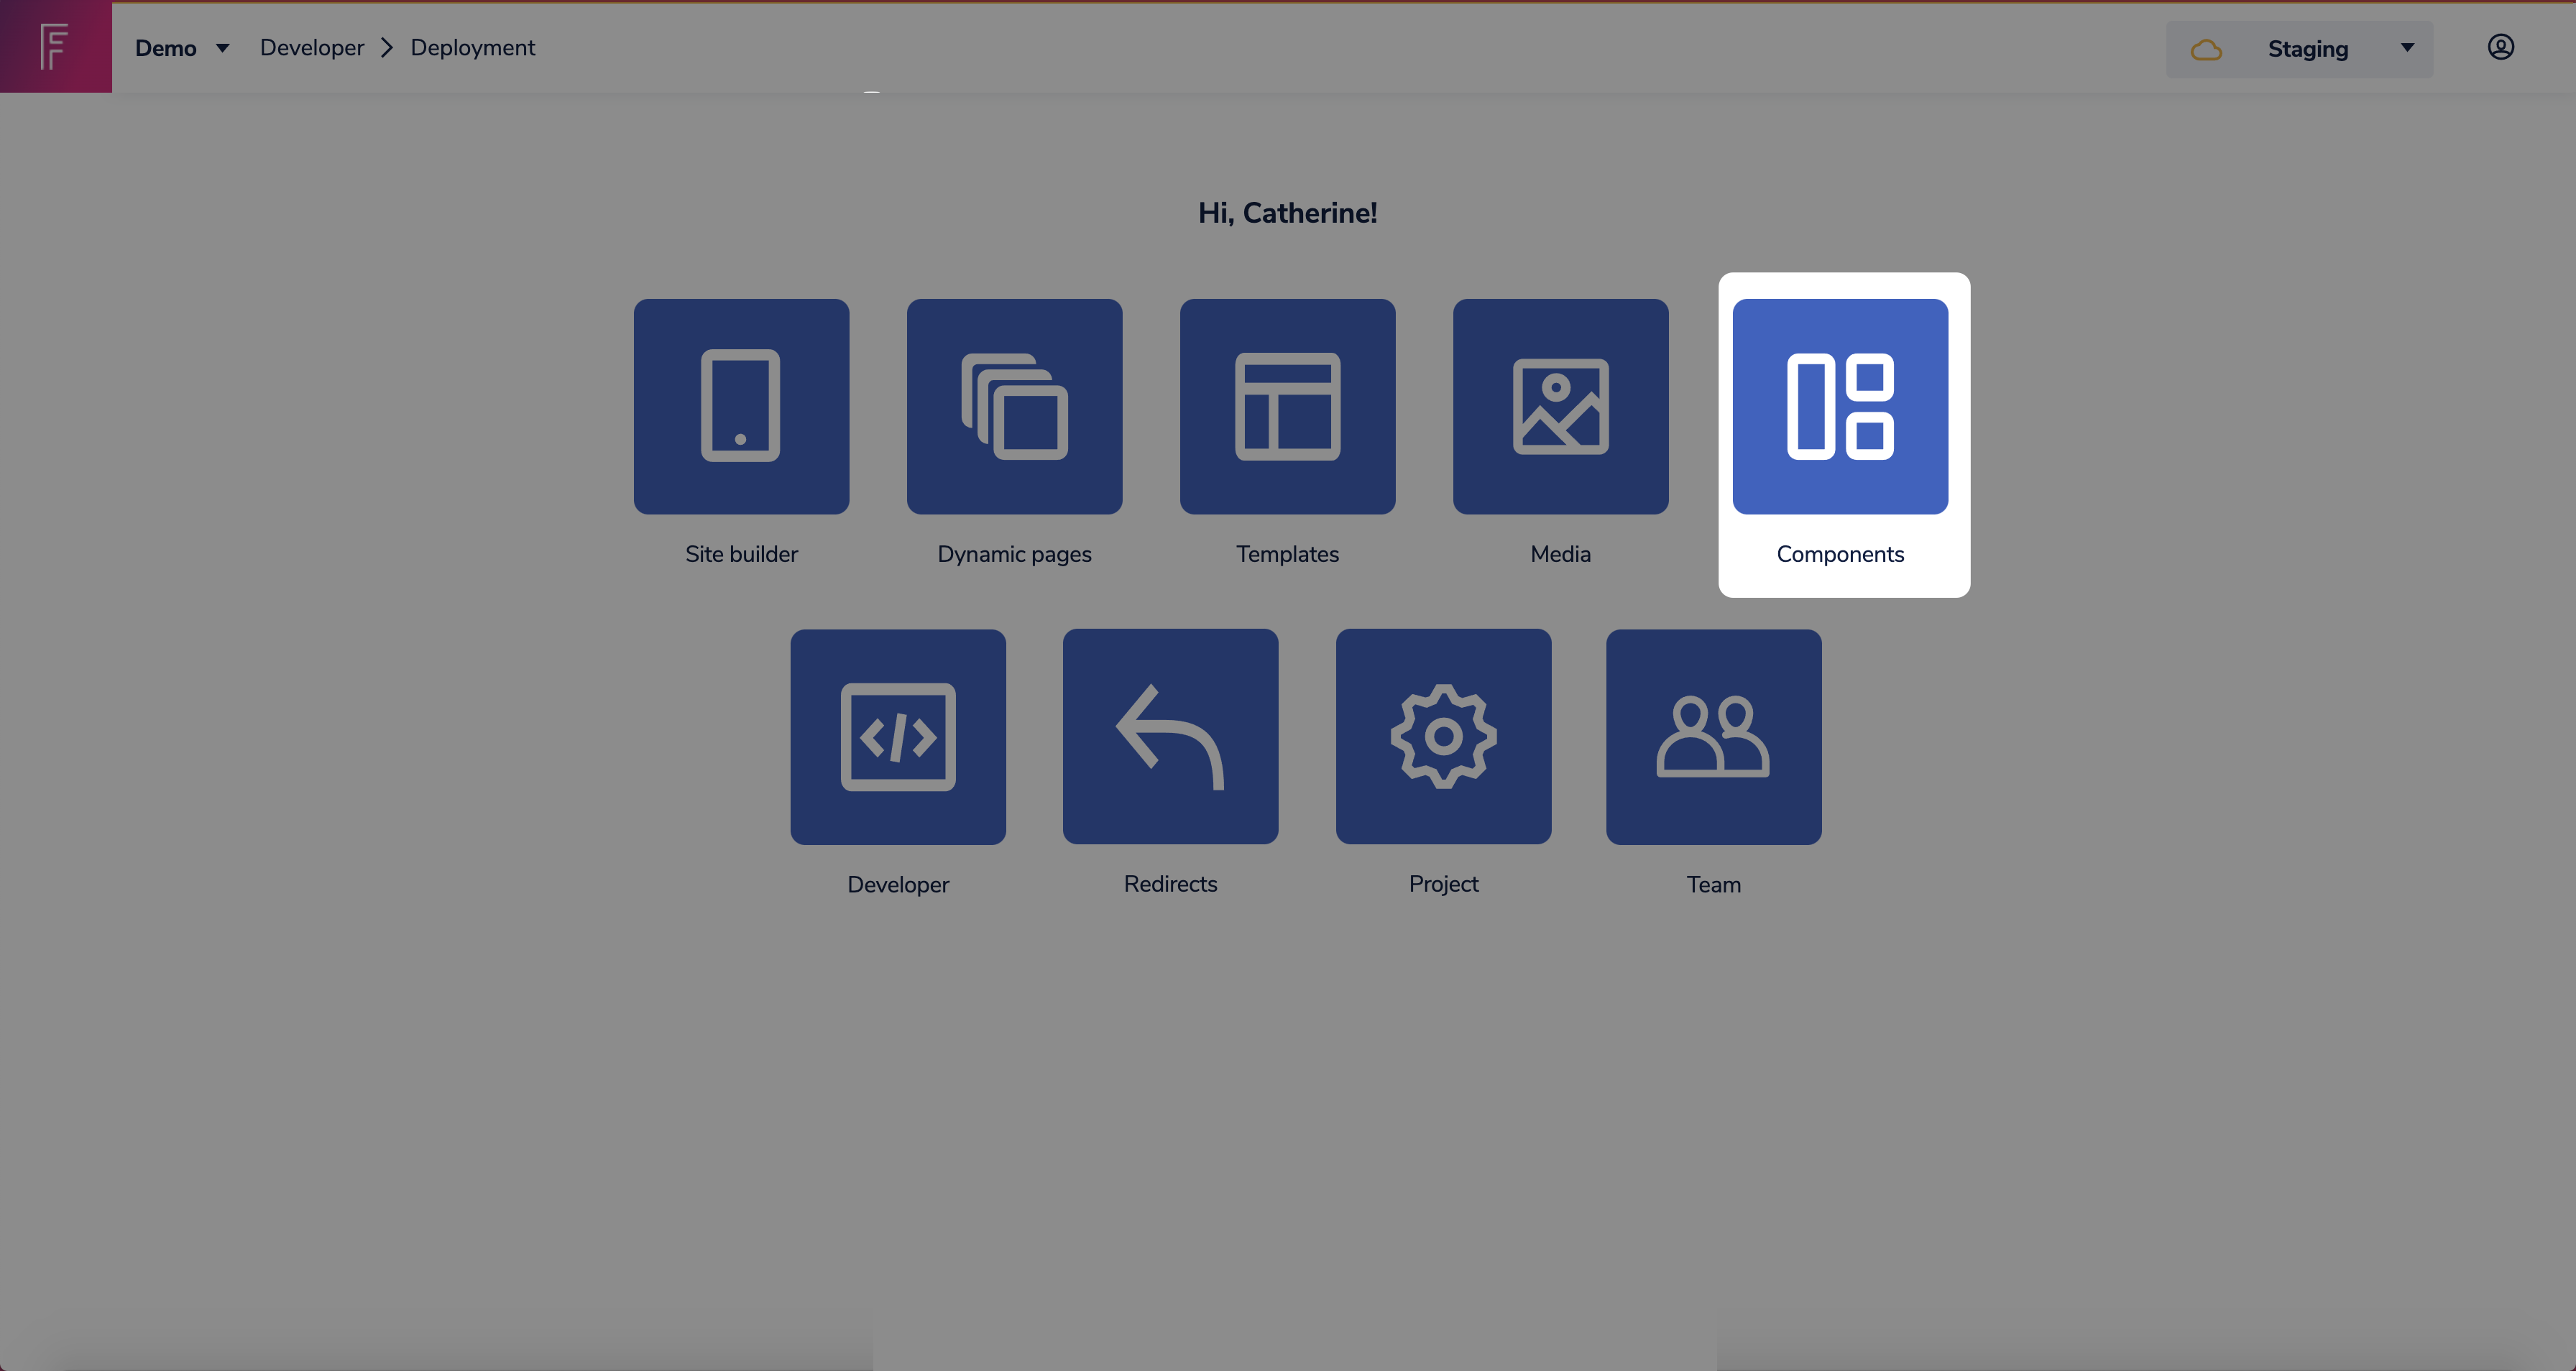
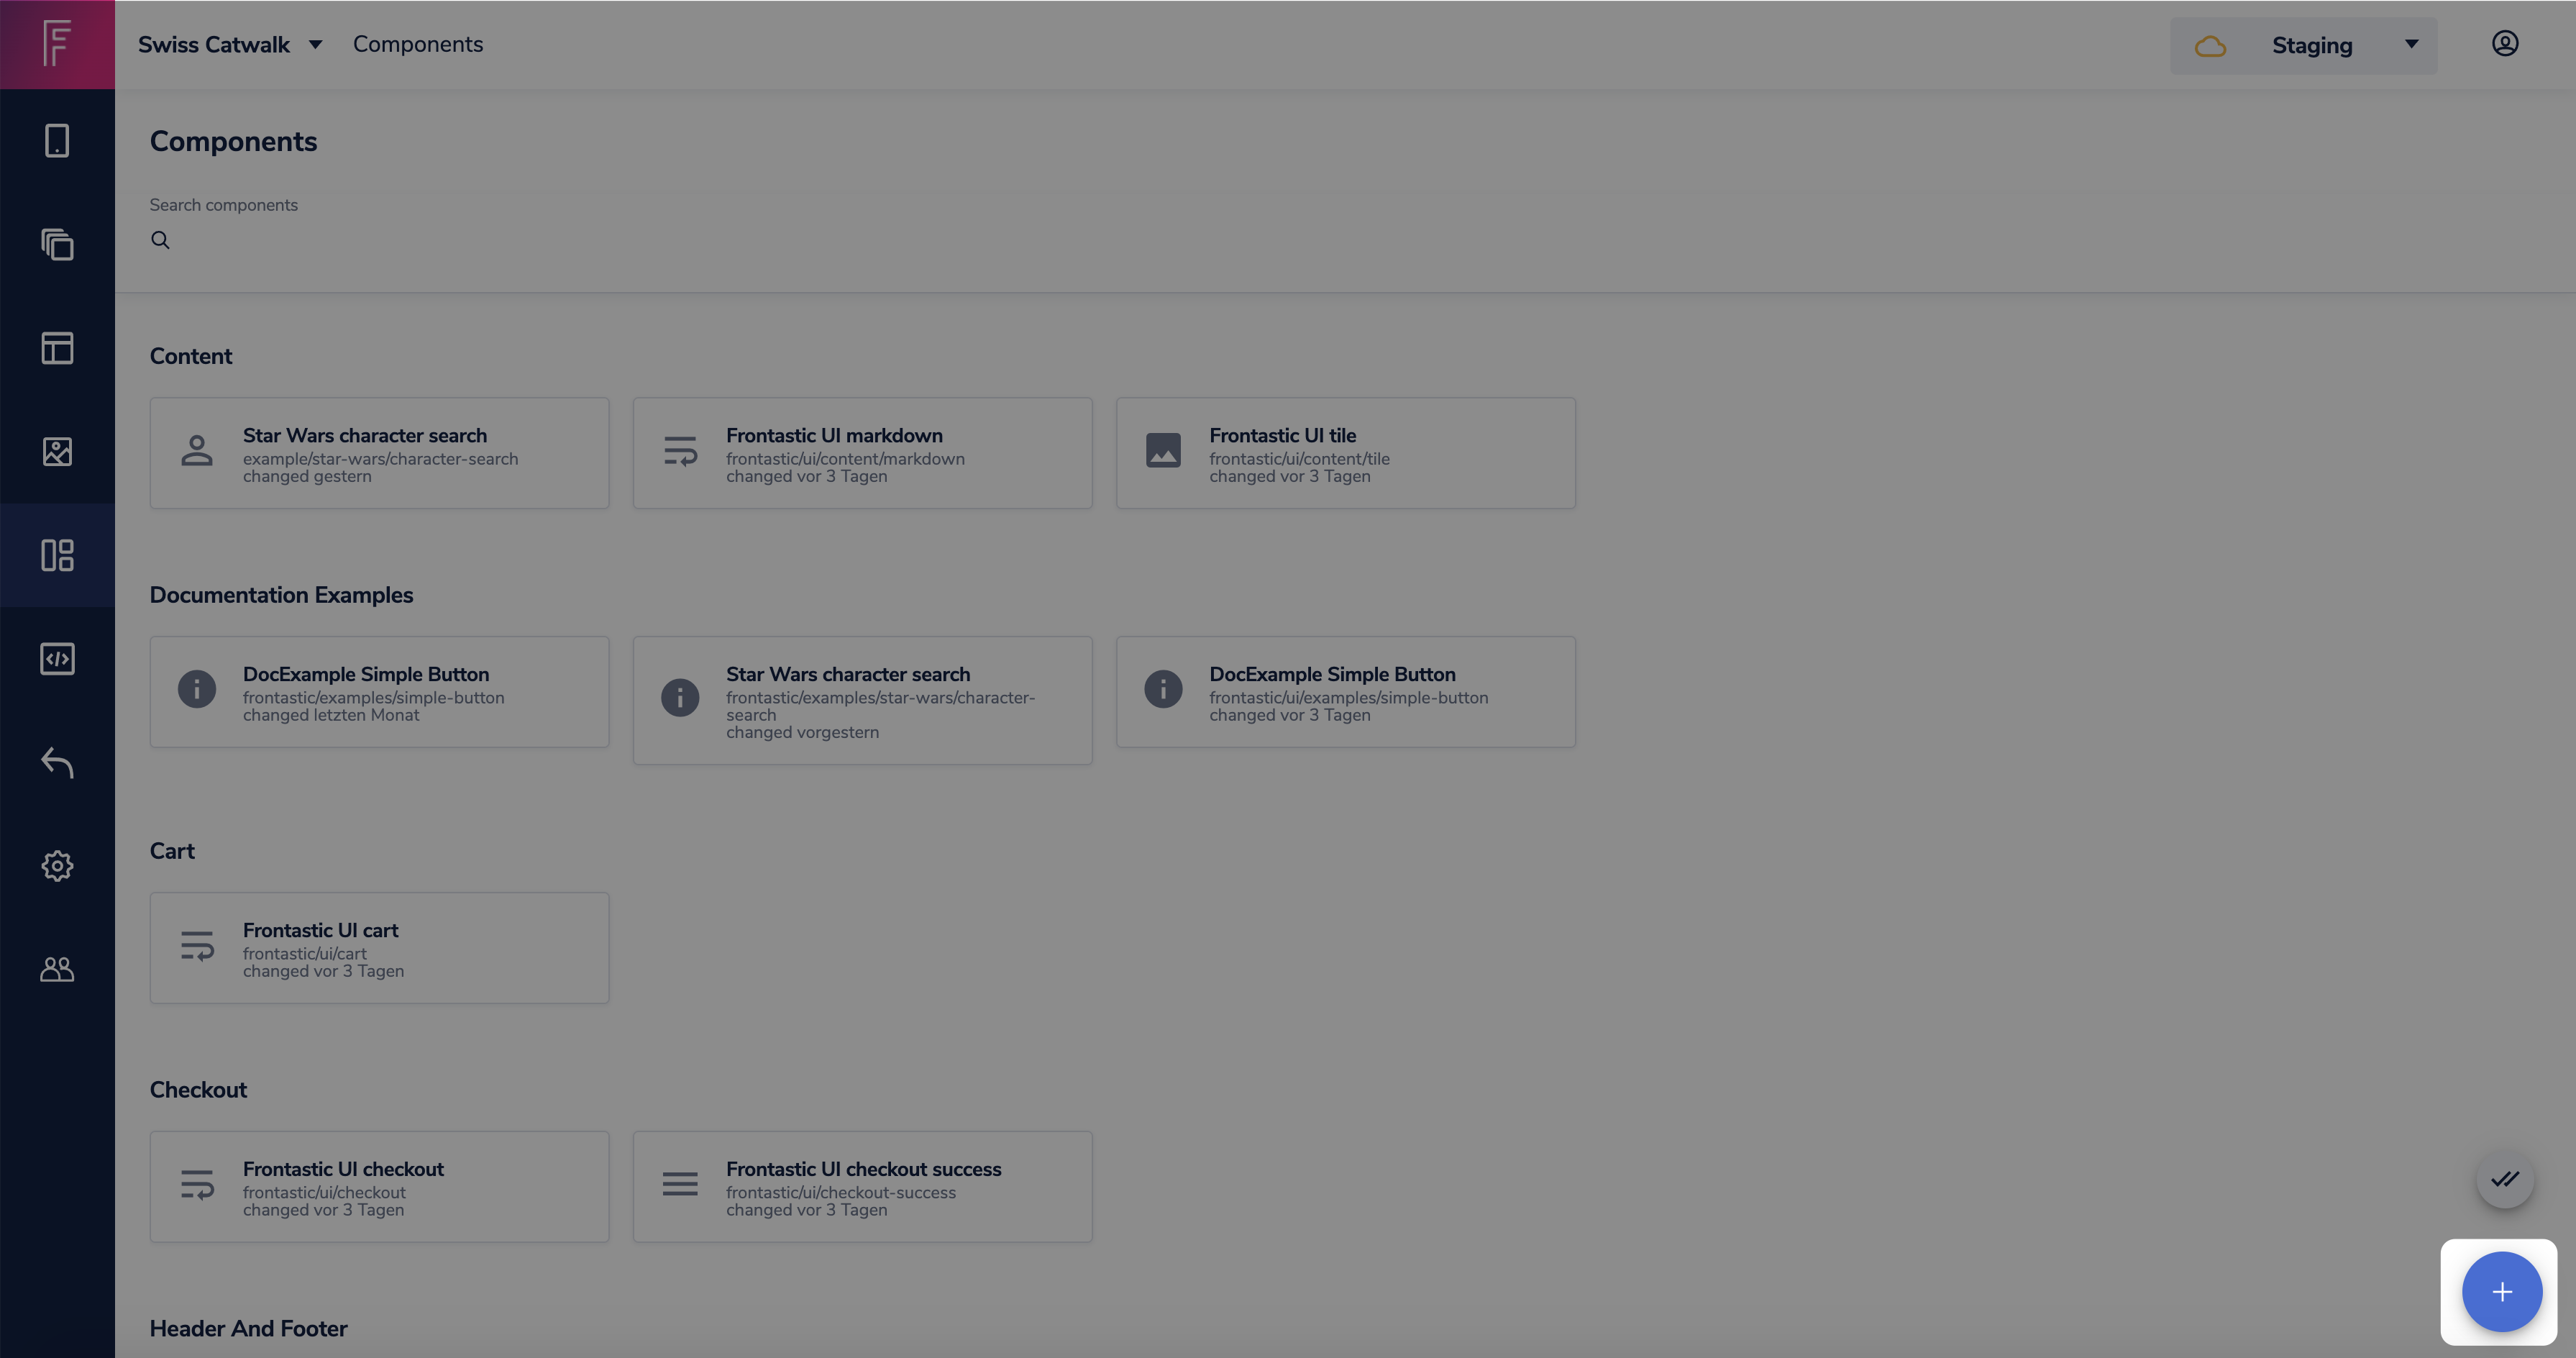
5- Finally upload your component to studio


That's it.. Now you're all set and can start using your new component in any page you like!
Linting
This project uses linting rules that improve the Core Web Vitals of frontastic
storefront.
Specifically, the following rules, which are also the recommended rules by
Next.js, are enabled:
next/google-font-display - Enforce optional or swap font-display behavior with Google Fonts
next/google-font-preconnect - Enforce preconnect usage with Google Fonts
next/link-passhref - Enforce passHref prop usage with custom Link components
next/no-css-tags - Prevent manual stylesheet tags
next/no-document-import-in-page - Disallow importing next/document outside of pages/document.js
next/no-head-import-in-document - Disallow importing next/head in pages/document.js
next/no-html-link-for-pages - Prohibit HTML anchor links to pages without a Link component
next/no-img-element - Prohibit usage of HTML <img> element
next/no-page-custom-font - Prevent page-only custom fonts
next/no-sync-scripts - Forbid synchronous scripts
next/no-title-in-document-head - Disallow using <title> with Head from next/document
next/no-unwanted-polyfillio - Prevent duplicate polyfills from Polyfill.io
next/inline-script-id - Enforce id attribute on next/script components with inline content
next/no-typos - Ensure no typos were made declaring Next.js's data fetching function
next/next-script-for-ga - use the Script component to defer loading of the script until necessary.
In addition to those specific to Next.js and Core Web Vitals, the following
rules are included as well to get reasonable defaults:
eslint:recommended
plugin:react/recommended see eslint-plugin-react
plugin:react-hooks/recommended see eslint-plugin-react-hooks
If you want more fine-grained configuration, all of the above can be configured,
deactivated and/or extended in the .eslintrc.json in the project root folder.
To run the linter, just run
yarn lint
We recommend to add linting directly to your code editor or development environment,
to get immediate feedback.
Linting in vim
There are a variety of extensions that can add linting support to vim and Neovim.
If you're using vim, we recommend either ALE
or CoC and if you use Neovim you can
use the integrated Language Server Protocol to run eslint_d in the background.
Here's a handy guide on how to do that
Linting in Visual Studio Code
To integrate ESLint into Visual Studio Code, you will need to install the ESLint extension for Visual Studio Code. Search for ESLint in the Extensions tab and click Install once you have located the extension.
Once ESLint is installed in Visual Studio Code, you’ll notice colorful underlining in your JS/TS files highlighting errors. These markers are color-coded based on severity. If you hover over your underlined code, you will see a message that explains the error to you.
Prettier / Code formatting
We also recommend to setup your editor to use prettier to format a document on save.
Prettier in vim
Prettier in Visual Studio Code


