
Product
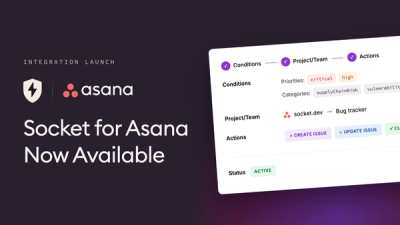
Socket for Asana Is Now Available
Create and manage Asana tasks directly from Socket alerts, with manual task creation, automated ticketing rules, and two-way sync.
By Jeppe Hasseriis - Aug 25, 2026
@rnaga/wp-next-admin
Advanced tools
WP-Next is built with Next.js and WP-Node. It provides a modern React-based Admin Dashboard and utilities for building applications that interact directly with a WordPress database — no PHP required.
👉 View Full Documentation
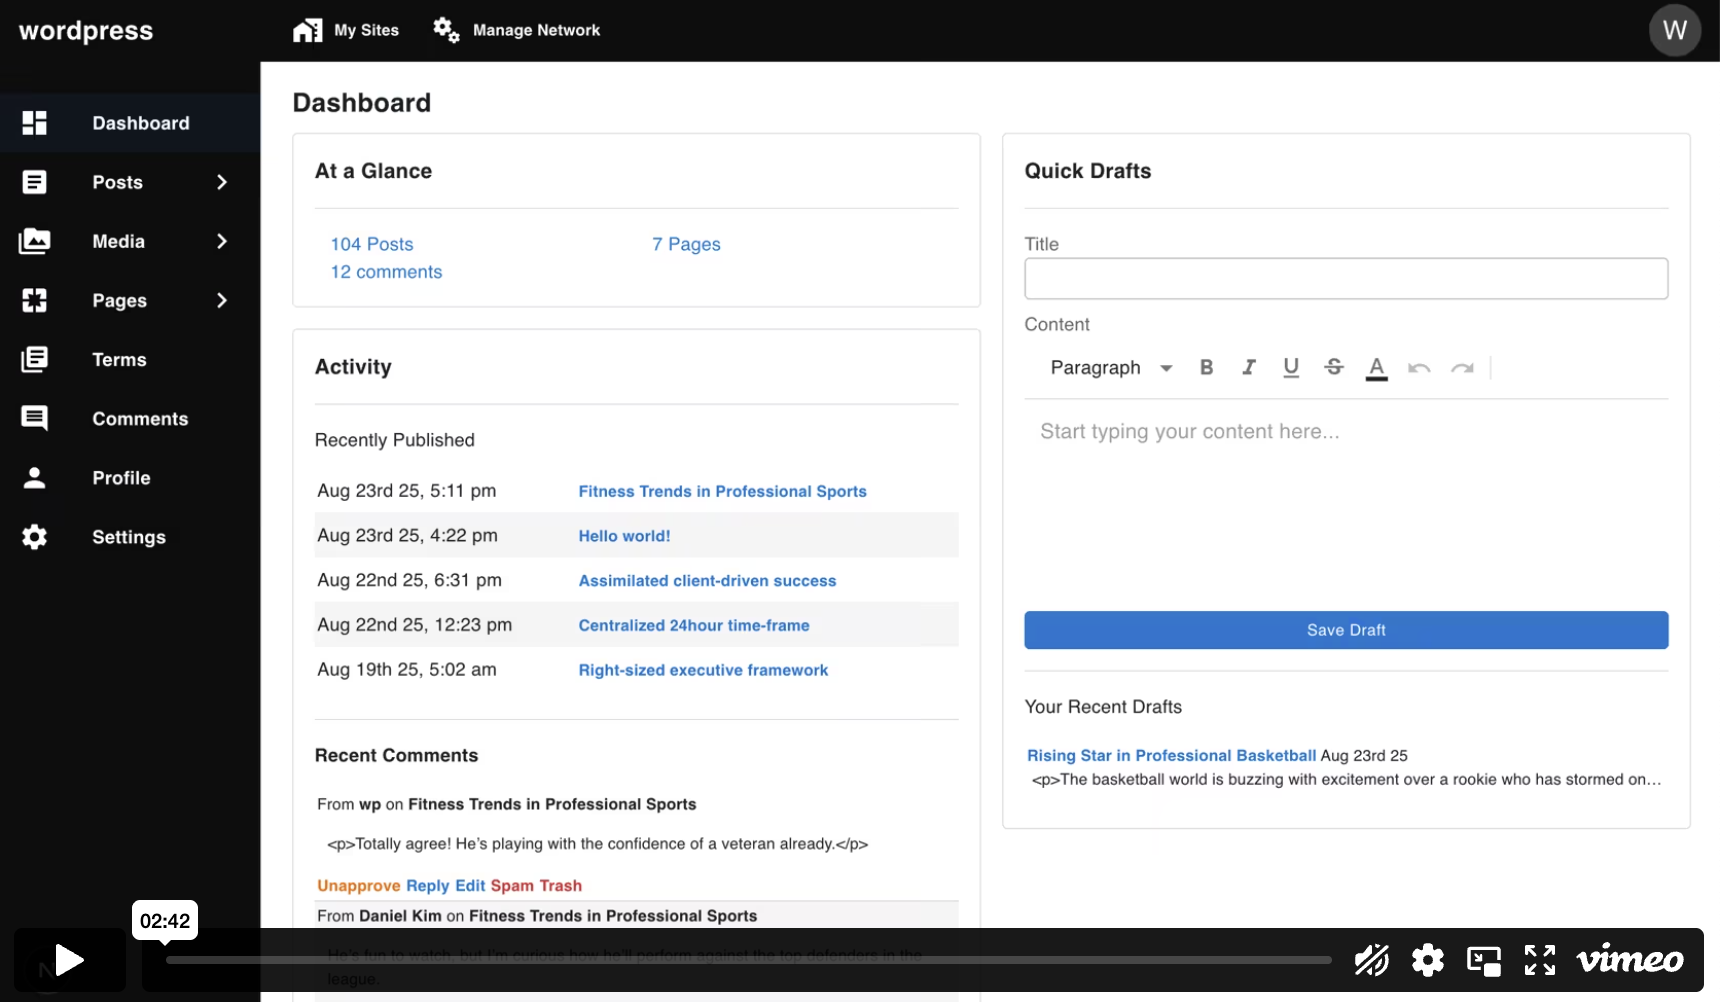
Run a ready-made WP-Next example using Docker:
docker run --rm --init -it --name wp-next-example -p 3000:3000 \
-v wp-next-example_public:/app/admin/public \
-v wp-next-example_db:/var/lib/mysql \
-v wp-next-example_html:/app/html \
rnagat/wp-next-example:latest
Visit http://localhost:3000/admin and log in with:
Username: wp
Password: wp
To stop and remove the running example container, use:
docker stop wp-next-example
The main feature of WP-Next is the Admin Dashboard, a headless CMS that serves as an alternative to the traditional WordPress Admin Dashboard.
Out of the box, it includes:
In multisite mode, it also supports:
Since WP-Next is entirely written in TypeScript and React, some WordPress features are not supported, including:
@rnaga/wp-node — TypeScript-first WordPress database integration.next — Next.js framework for SSR/SSG, routing, and APIs.@mui/material — Material UI component library.@tiptap/react, mui-tiptap — TipTap rich-text editor with Material UI integration.WP-Next requires a running WordPress database. If you don’t already have WordPress installed, see the Prerequisites section in the WP-Node installation guide for instructions on running it with Docker:
https://rnaga.github.io/wp-node/docs/getting-started/installation#prerequisites
WP-Next provides a CLI tool to initialize the Admin Dashboard. Run the following command and follow the prompts:
npx @rnaga/wp-next-cli -- initAdmin
Example setup prompts you may see:
✔ Enter your database hostname: · localhost
✔ Enter your database port: · 33306
✔ Enter your database username: · wp
✔ Enter your database password: · **
✔ Enter your database name: · wordpress
✔ Is it a multi-site? · No
✔ Enter your static assets path: · public
✔ Enter your Admin URL: · http://localhost:3000
✔ Enter project path (What is your project named?): · admin
The CLI will automatically install and configure:
_wp/hooks scaffoldingRun in development mode:
npm run dev
Build and start for production:
npm run build
npm run start
For more on production deployment, refer to the Next.js deployment guide:
https://nextjs.org/docs/pages/getting-started/deploying
WP-Next uses WP-Node hook system which is inspired by WordPress hooks but designed for TypeScript and Node.js. The system supports both filters (which transform data) and actions (which run side effects). Because WP-Node is TypeScript-first, hooks are type-safe and can be asynchronous — they are not directly compatible with WordPress core PHP hooks.
Key points:
When initialized, WP-Next generates a _wp/hooks directory where you can add your own hooks:
hooks/
├── client
│   └── index.tsx
└── server
    ├── admin-media.hook.ts
    ├── index.ts
    ├── nextauth-providers.hook.ts
    └── notifications.hook.ts
Frontend hooks (place under _wp/hooks/client/) are bundled into the Admin UI and run in the browser. Use them to register UI extensions such as sidebar menus, custom admin pages, or client-side theming. Frontend hooks must contain only client-safe code (no direct access to the filesystem, process env secrets, or server-only Node APIs).
Backend hooks (place under _wp/hooks/server/) run inside the server-side application/context. Use them for server responsibilities like media upload handling, authentication providers, email sending, or other integrations that require Node APIs, credentials, or synchronous server-side state.
For more details about hooks, how they work, and usage examples, see the WP-Node hooks documentation:
https://rnaga.github.io/wp-node/docs/concepts-features/hooks
You can extend the Admin Dashboard by registering custom pages:
Below are minimal, illustrative examples (a page component and a frontend hook) you can copy into _wp/hooks/client/ and adapt to your project.
CustomPage.tsx) to render your page.menu-custom.hook.tsx) to add a sidebar menu and route._wp/hooks/client/index.tsx.Example menu item route:
http://localhost:3000/admin/blog/custom
This allows you to build fully custom interfaces inside the Admin while reusing the WP-Next shell.
Example code (illustrative — example usage)
These snippets show one way to implement CustomPage.tsx and menu-custom.hook.tsx. Adapt imports, types, and capabilities to your project; they are examples, not production-ready code.
CustomPage.tsx
import React from "react";
import Box from "@mui/material/Box";
import Typography from "@mui/material/Typography";

export const CustomPage = () => {
  return (
    <Box sx={{ p: 2 }}>
      <Typography variant="h4" gutterBottom>
        Custom Page
      </Typography>

      <Typography paragraph>
        This is a simple custom admin page. Put your React UI here — forms,
        lists, editor components, etc.
      </Typography>

      <ul>
        <li>Example item 1</li>
        <li>Example item 2</li>
      </ul>
    </Box>
  );
};
menu-custom.hook.tsx
"use client";

import { filter as clientFilter } from "@rnaga/wp-next-core/decorators";
import { hook } from "@rnaga/wp-node/decorators/hooks";
import CircleIcon from "@mui/icons-material/Circle";
import { CustomPage } from "./CustomPage";

@hook("next_admin_custom_menu")
export class MenuCustomHook {
  @clientFilter("next_admin_menu")
  hookFilter(adminMenus: any[] = [], segment?: string) {
    // Only show in blog/dashboard segments
    if (!["blog", "dashboard"].includes(segment || "")) {
      return adminMenus;
    }

    const blogMenu = [
      {
        icon: <CircleIcon />,
        displayOnSidebar: true,
        component: <CustomPage />,
        capabilities: ["read"], // control access
        label: "Custom Page",
        // final route: /admin/blog/custom
        path: `/${"blog"}/custom`,
      },
    ];

    return [...adminMenus, ...blogMenu];
  }
}
index.tsx (register hooks)
import { getDefaultAdminHooks } from "@rnaga/wp-next-admin/client/utils";
import { MenuCustomHook } from "./menu-custom.hook";

// include defaults first, then your custom hook
export const hooks = [...getDefaultAdminHooks(), MenuCustomHook];
Summary and quick how-to
Prerequisite: WP-Next Admin initialized (project creates _wp/hooks/ on first run).
Key files (place under _wp/hooks/client/):
CustomPage.tsx — minimal React page component that renders when the route is visited.menu-custom.hook.tsx — frontend hook that adds a sidebar menu entry and maps a path (e.g. /admin/blog/custom) to your component. Use the @hook(...) class decorator and a client filter such as @clientFilter('next_admin_menu') to contribute menu items.index.tsx — export the frontend hooks array. Include defaults first, then your custom hook: export const hooks = [...getDefaultAdminHooks(), MenuCustomHook];Important notes:
dashboard, blog). Hooks often check/normalize the current segment so the final URL becomes something like /admin/blog/custom.capabilities on menu items (for example ['read'] or ['edit_posts']) to restrict access.Quick steps:
_wp/hooks/client/CustomPage.tsx with your React UI._wp/hooks/client/menu-custom.hook.tsx to register the menu item and route (set component, path, and capabilities)._wp/hooks/client/index.tsx so the Admin shell loads it.Run:
npm run dev
# or for production
npm run build
npm run start
Example menu route: http://localhost:3000/admin/blog/custom
MIT
FAQs
Admin interface for WP Next
The npm package @rnaga/wp-next-admin receives a total of 13 weekly downloads. As such, @rnaga/wp-next-admin popularity was classified as not popular.
We found that @rnaga/wp-next-admin demonstrated a healthy version release cadence and project activity because the last version was released less than a year ago. It has 1 open source maintainer collaborating on the project.
Product
Create and manage Asana tasks directly from Socket alerts, with manual task creation, automated ticketing rules, and two-way sync.
Security News
Open VSX has removed three extension IDs from its malicious-extension list as the legitimate publishers they impersonated move to claim the names for themselves.

Product
Socket’s PHP and Composer support is now in Beta for all customers, with PHP reachability analysis generally available.