babel-plugin-dual-import 


To learn about what this does, read its introduction article:
https://medium.com/@faceyspacey/webpacks-import-will-soon-fetch-js-css-here-s-how-you-do-it-today-4eb5b4929852
Installation
yarn add babel-plugin-dual-import
.babelrc:
{
  "presets": [whatever you usually have],
  "plugins": ["dual-import"]
}
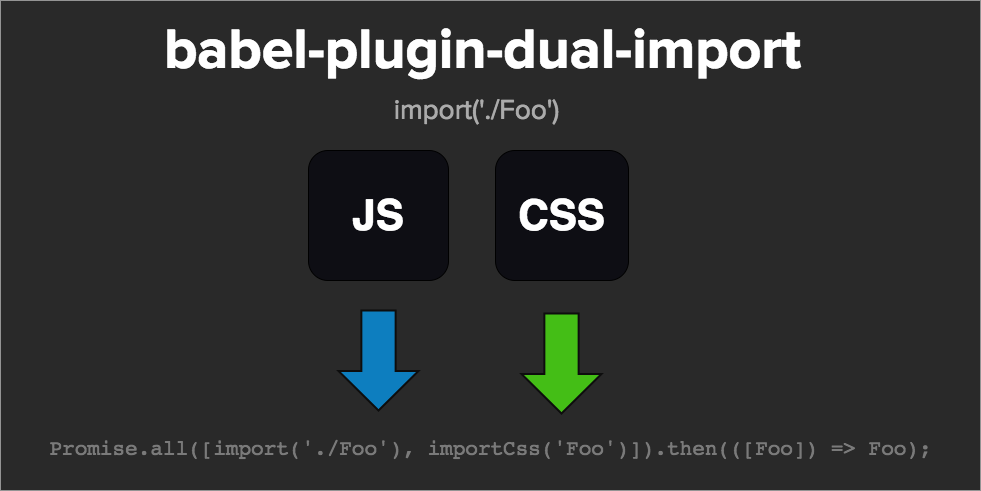
What it does
Taking from the test snapshots, it does this:
import('./Foo.js')
↓ ↓ ↓ ↓ ↓ ↓
import importCss from 'babel-plugin-dual-import/importCss.js'
Promise.all([
import( './Foo'),
importCss('Foo')
]).then(promises => promises[0]);
And if you're using dynamic imports:
import(`../base/${page}`)
↓ ↓ ↓ ↓ ↓ ↓
import importCss from 'babel-plugin-dual-import/importCss.js'
Promise.all([
import( `./base/${page}`),
importCss(`base/${page}`)
]).then(promises => promises[0]);
It names all your chunks using "magic comments" 🔮 behind the scenes and is derived from the imported file. It's so magic you don't gotta use "magic comments" anymore. This works with both static and dynamic import paths, as you can see above.
How do I Serve the Css:
Use webpack-flush-chunks to serve a hash of chunk names to css files. It's built to work with this. importCss(chunkName) will retreive it from there.
If you don't wanna do that, you can dig through your webpack stats and manually embed the following in the HTML you serve:
<script>
  window.__CSS_CHUNKS__ = {
    Foo: '/static/Foo.css',
    'base/Page1': '/static/base/Page1.css',
    'base/Page2': '/static/base/Page2.css',
  }
</script>
Or if you already use the html-webpack-plugin as part of your build process, take a look at the flush-chunks-html plugin for webpack. It identifies all your generated css-chunks and adds them to your html file like shown above during build!
When using webpack-flush-chunks you will have to supply the chunkNames option, not the moduleIds option since this plugin is based on chunk names. Here's an example:
src/components/App.js:
const UniversalComponent = universal(() => import('./Foo'), {
  resolve: () => require.resolveWeak('./Foo'),
  chunkName: 'Foo'
})

const UniversalDynamicComponent = universal(() => import(`./base/${page}`), {
  resolve: ({ page }) => require.resolveWeak(`./base/${page}`),
  chunkName: ({ page }) => `base/${page}`
})
server/render.js:
import { flushChunkNames } from 'react-universal-component/server'
import flushChunks from 'webpack-flush-chunks'

const app = ReactDOMServer.renderToString(<App />)
const { js, styles, cssHash } = flushChunks(webpackStats, {
  chunkNames: flushChunkNames()
})

res.send(`
  <!doctype html>
  <html>
    <head>
      ${styles}
    </head>
    <body>
      <div id="root">${app}</div>
      ${js}
      ${cssHash}
    </body>
  </html>
`)
Babel Server Or Webpack < 2.2.20
If your compiling the server with Babel, you may need to add this babel-plugin as well: babel-plugin-dynamic-import-webpack. And if you're using a version of Webpack before 2.2.0, you also must add it.
Caveat
The chunk name is created out of the path you provide (stripping slashes, dots and extension). So if in one dir you have ./Page and in another place you have ../components/Page, well then you gotta do the same for the first one even if you're already in the same directory. I.e. components gotta be the first named path segment in both cases.
Contributing
We use commitizen, so run npm run cm to make commits. A command-line form will appear, requiring you answer a few questions to automatically produce a nicely formatted commit. Releases, semantic version numbers, tags, changelogs and publishing to NPM will automatically be handled based on these commits thanks to semantic-release. Be good.
Tests
Reviewing a package's tests are a great way to get familiar with it. It's direct insight into the capabilities of the given package (if the tests are thorough). What's even better is a screenshot of the tests neatly organized and grouped (you know the whole "a picture says a thousand words" thing).
Below is a screenshot of this module's tests running in Wallaby ("An Integrated Continuous Testing Tool for JavaScript") which everyone in the React community should be using. It's fantastic and has taken my entire workflow to the next level. It re-runs your tests on every change along with comprehensive logging, bi-directional linking to your IDE, in-line code coverage indicators, and even snapshot comparisons + updates for Jest! I requestsed that feature by the way :). It's basically a substitute for live-coding that inspires you to test along your journey.