
Dimcode CLI
An AI coding agent CLI and terminal coding assistant with a beautiful interactive TUI

Dimcode is an AI coding CLI for terminal-first developers who want fast code generation, refactoring, repo search, code review, and agent-style workflows directly in the shell.
If you are searching for a CLI coding tool similar to Claude Code, Codex, OpenCode, or Cursor's terminal workflow, Dimcode is built for the same terminal-native use case while adding a polished multi-session TUI, tool approvals, MCP support, and flexible provider setup.
Dimcode helps you move fast with:
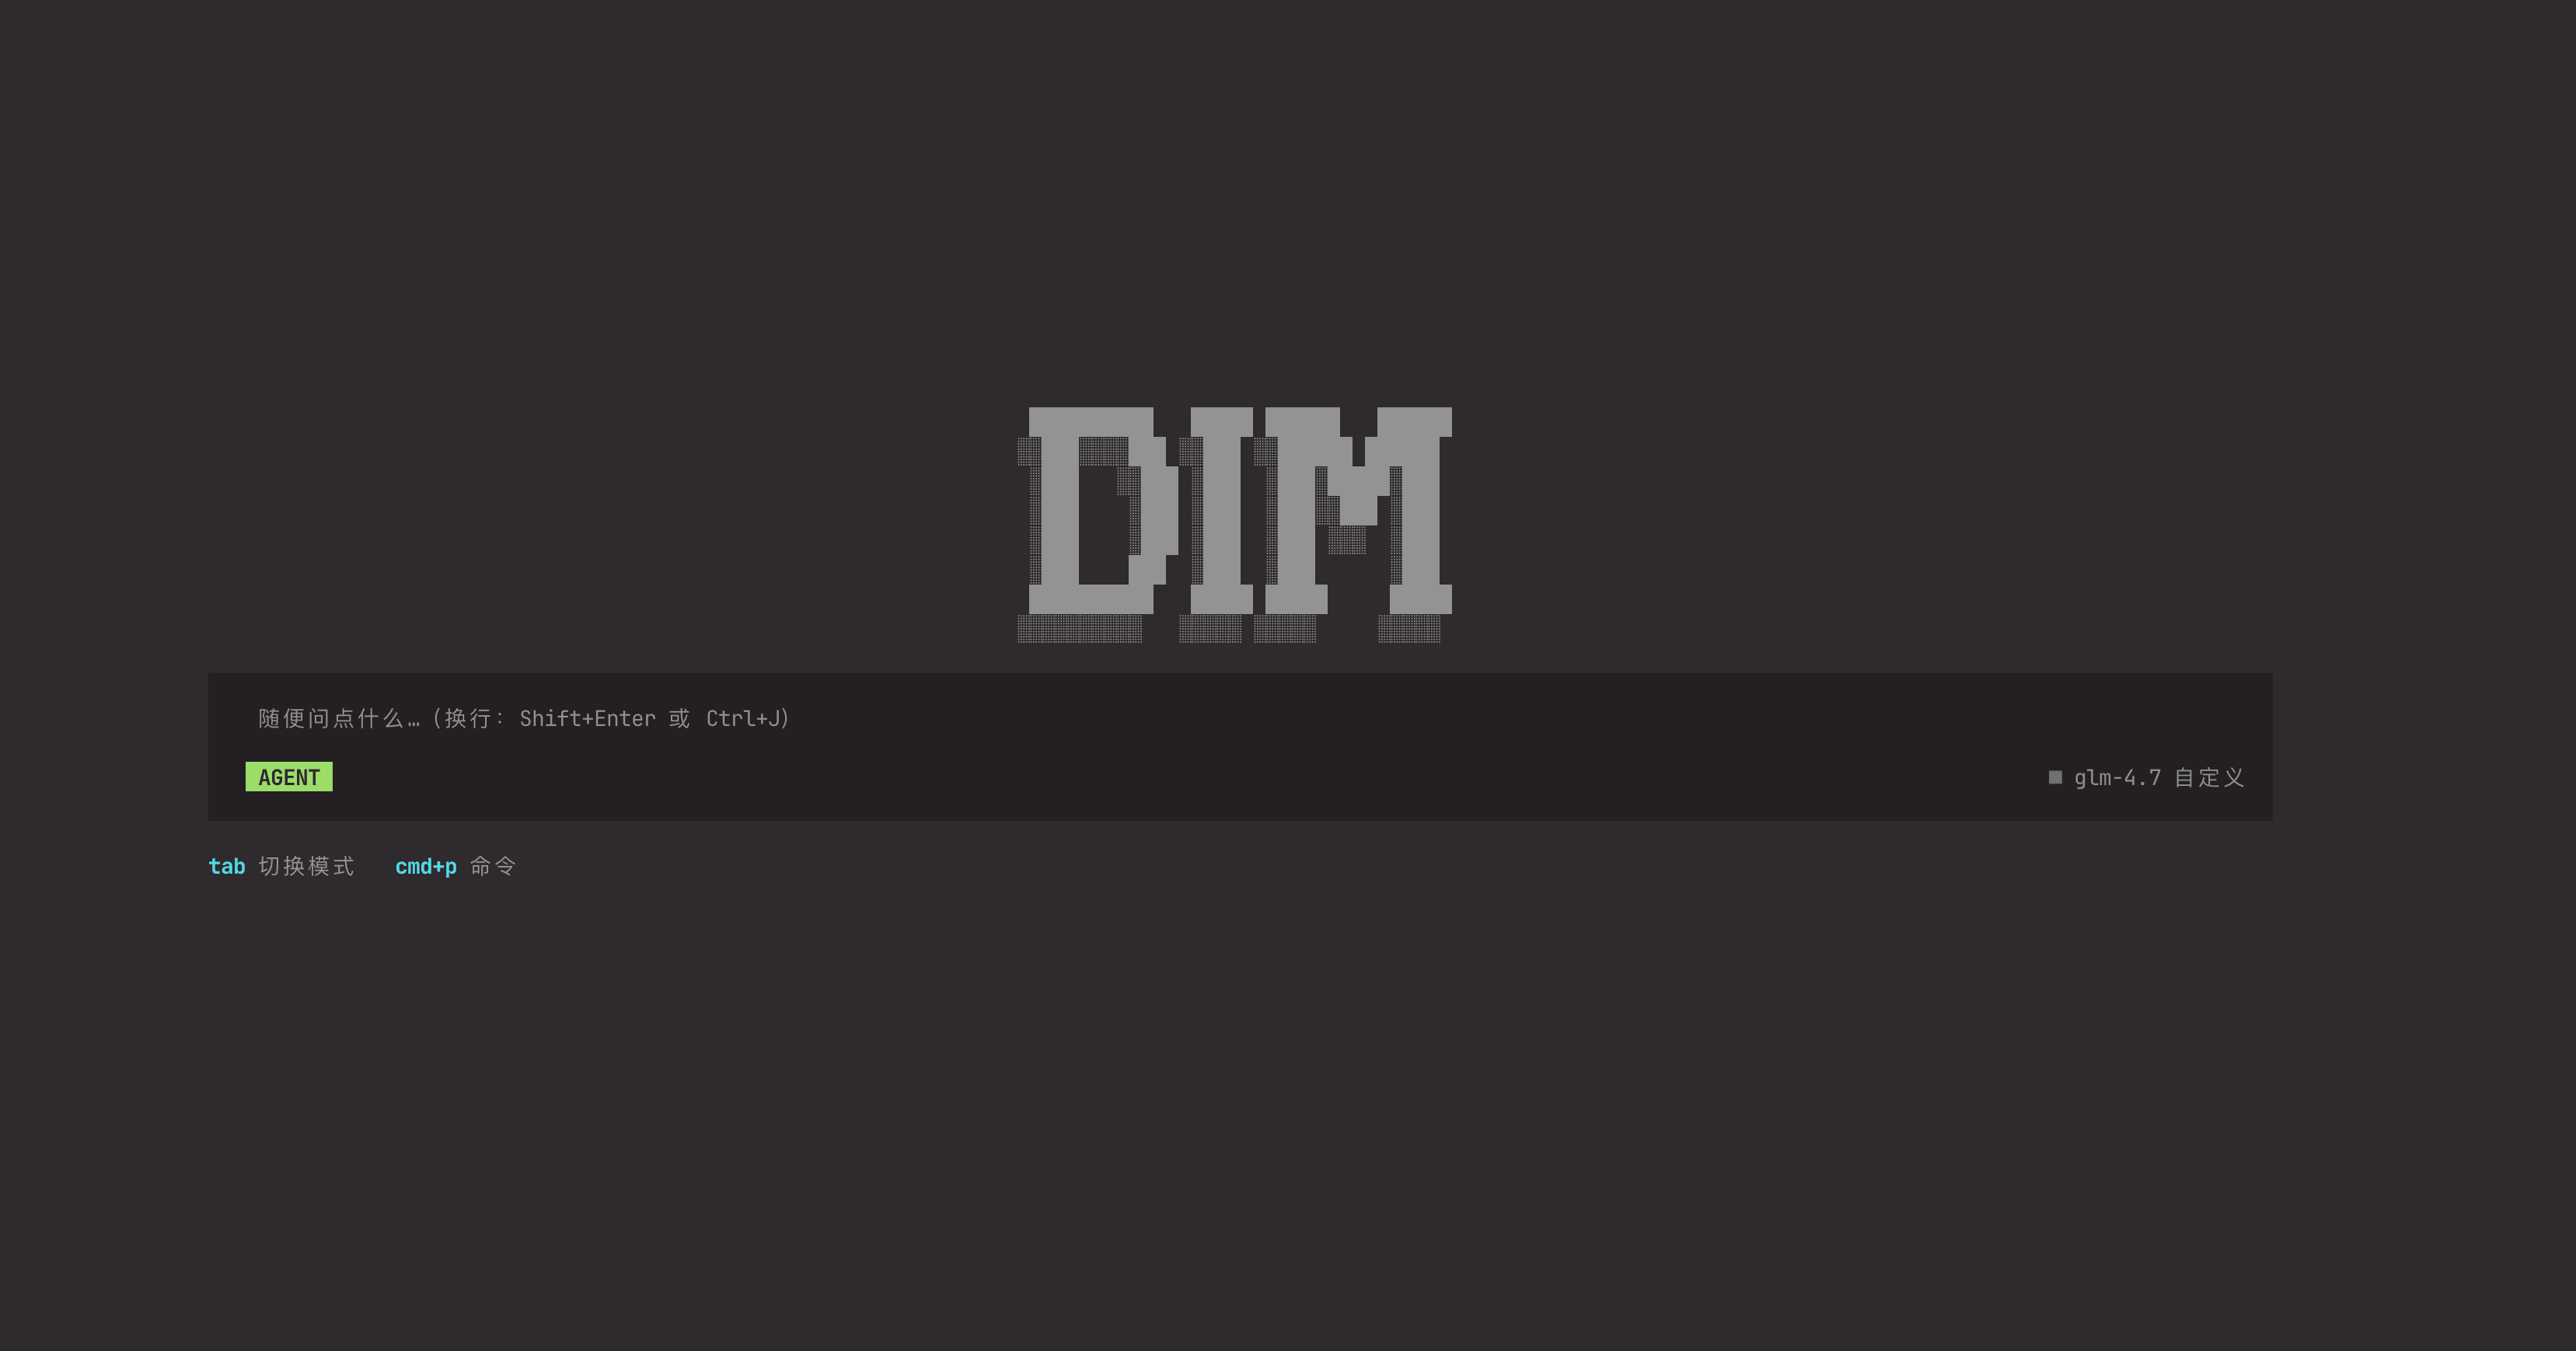
- 🎨 Beautiful TUI - Modern terminal interface built with Vue 3
- 💬 Multi-session Management - Organize multiple AI conversations
- 🔧 Built-in Tools - File ops, web search, code analysis, and more
- ⚡ Streaming Responses - See AI outputs in real time
- 🎯 Tool Approvals - Granular control over tool execution
- 🌈 Themes - Flexible, customizable color schemes
📈 Download Stats
| Weekly downloads |  |
| Total downloads |  |
Why Developers Search for Dimcode
Dimcode is designed for developers looking for:
- An AI coding CLI for daily programming tasks
- A terminal coding assistant for large codebases
- A Claude Code alternative with a richer TUI
- A Codex CLI alternative for multi-session work
- An OpenCode alternative with built-in tool approvals
- A Cursor alternative for terminal users who prefer staying in the shell
- A CLI AI agent for refactors, debugging, repo Q&A, and web research
⚡ Get Started in 30 Seconds
npm install -g dimcode
dim
Create a React component for a todo list
📦 Installation
Install Dimcode as your AI coding assistant CLI:
Global Installation (Recommended)
npm install -g dimcode
Or using other package managers:
pnpm add -g dimcode
yarn global add dimcode
bun add -g dimcode
Using npx (No Installation)
Run directly without installation:
npx dimcode
🎮 Usage
Command Palette
Press Ctrl+P to open the command palette, which provides quick access to:
- Sessions - View and switch between conversations
- New Session - Start a fresh conversation
- Settings - Configure API keys and model settings
- Tool Approvals - Manage tool execution permissions
- Theme - Customize the UI appearance (in Chat view)
Slash Commands
Type slash commands directly in the input field:
/settings | Open settings dialog (custom providers) |
/config | Alternative for /settings |
/approvals | Manage tool approvals (auto/all) |
/approval | Alternative for /approvals |
/connect | Connect a provider |
/models | Select a model |
/sessions | List all sessions |
/new | Create a new session |
/redo | Redo last interaction |
/rename <title> | Rename current session |
/timeline | Jump to a user message |
/tl | Alternative for /timeline |
/review | Review code changes |
/debug | Open debug dialog (node mode only) |
/compact | Compact session context |
/init | Initialize/improve AGENTS.md |
/exit | Exit the application |
/longrunning | Toggle long-running mode |
/tool-settings | Configure tool-specific settings |
/toolsettings | Alternative for /tool-settings |
/mcp | Open MCP settings |
/mcphub | Alternative for /mcp |
/mcp-settings | Alternative for /mcp |
/codexlogin | Login with Codex OAuth |
/codex-login | Alternative for /codexlogin |
/language | Switch UI language |
/lang | Alternative for /language |
/locale | Alternative for /language |
/theme | Toggle light/dark theme |
Keyboard Shortcuts
Ctrl+P | Open command palette |
F1 | Open help dialog |
Ctrl+O | Expand/collapse all tool calls & thinking |
Ctrl+K | Open settings (custom providers) |
Ctrl+C | Clear input (if non-empty); otherwise exit |
Ctrl+W | Clear input (alternative) |
Enter | Send message |
Shift+Enter | New line in input |
Ctrl+J | New line in input (alternative) |
Tab | Switch mode (Agent/Plan/Debug) |
Esc | Cancel/close dialog or interrupt response |
Input Tips
- Drag to select text, then release to auto-copy (when enabled)
- In the input area, use
Shift+Option for rectangular selection
- Triple-click in the input area to select all
Tab moves focus to the next input field; Shift+Tab moves to the previous- The CLI is mouse-friendly for selection, scrolling, and clicking buttons/controls
Dimcode vs Other AI Coding Tools
If you are comparing Dimcode with Claude Code, Codex, OpenCode, or Cursor, the main difference is that Dimcode focuses on a terminal-first agent experience with:
- Interactive TUI workflows instead of a minimal chat-only shell
- Multi-session conversation management for parallel coding tasks
- Tool approvals and built-in tools for safer repo operations
- Flexible provider and model configuration for custom setups
- ACP / MCP connectivity for editor and tool integrations
That makes it a good fit for developers who want an AI code assistant in the terminal, but need more control and visibility than a basic CLI chat loop.
⚙️ Configuration
Connect a Provider
Use one of these flows:
dim
/connect
- Choose your provider and model, then start chatting.
You can also open settings any time with:
/settings
or press Ctrl+K.
First-time Setup
On first launch, Dimcode will guide you through:
- API Key Setup - Enter your OpenAI API key
- Model Selection - Choose your preferred AI model
- Tool Approvals - Configure which tools can run automatically
Codex OAuth
If you want to use Codex OAuth, you can sign in from the CLI:
dim auth codex
Inside the app, /codexlogin opens the same login flow.
Common CLI Setup Tasks
- Use
/connect to add or switch a provider
- Use
/settings to manage custom provider settings
- Use
/models to change the active model
- Use
/approvals to control tool execution permissions
- Use
/tool-settings to configure tool-specific settings such as WebSearch
- Use
/mcp to manage MCP integrations
Settings and local session data are stored in ~/.dimcode/dimcode/ by default.
Active Session Runtime
Dimcode also publishes a small runtime record that external tools can read for live context handoff (for example voice input tools, desktop automations, or editor helpers).
By default the files live under:
~/.dimcode/dimcode/runtime/
The main files are:
active-session.json - the single live runtime record for the current Dimcode context
The runtime record includes fields such as:
sessionIdcwdtitlemodeproviderIdproviderNamemodelIdfocusedvisibilityupdatedAt
The file is updated in-place as focus changes:
focused - Dimcode is the active terminal and the record contains the current chat sessionblurred / suspended - Dimcode keeps the last session context, but it is not the active terminalinactive - no chat session should be treated as active (for example on the home page)
Current behavior:
- Home screen clears the active session record so external tools do not pick up stale chat context
- Chat screen publishes the current session and workspace
- Terminal focus reporting is used when the terminal emulator supports xterm focus events
- Suspend / resume (
Ctrl+Z / fg) also updates visibility
Dimcode also mirrors the core active context into process env for child-process integrations:
DIMCODE_ACTIVE_SESSION_IDDIMCODE_ACTIVE_SESSION_FOLDERGOATCHAIN_ACTIVE_SESSION_IDGOATCHAIN_ACTIVE_SESSION_FOLDER
These env vars are best for Dimcode-spawned tools and hooks. For cross-app integrations, prefer reading the runtime JSON files.
Skills Directory
Dimcode automatically discovers skills from both global and project-local directories:
- Global:
~/.agents/skills/
- Project-local:
<your-project>/.agents/skills/
- Compatibility paths also supported:
~/.claude/skills/ and <your-project>/.claude/skills/
Each skill should live in its own folder with a SKILL.md file:
~/.agents/skills/my-skill/SKILL.md
<your-project>/.agents/skills/my-skill/SKILL.md
If the same skill name exists in multiple places, project-local skills override global skills, and .agents/skills takes priority over .claude/skills.
Web Search Key
To enable web search in the CLI, open:
/tool-settings
Then paste your WebSearch / Serper API key into the WebSearch API Key field and save.
By default, Dimcode stores tool settings in:
~/.dimcode/tools.json
If you prefer environment variables for advanced setups, Dimcode also checks:
DIMCODE_WEBSEARCH_KEYSERPER_API_KEY
MCP Configuration
To configure MCP servers from the CLI, open:
/mcp
Paste MCP JSON into the editor, then use the built-in format / test actions before saving. Example:
{
  "mcpServers": {
    "context7": {
      "url": "https://mcp.context7.com/mcp",
      "headers": {
        "CONTEXT7_API_KEY": "YOUR_API_KEY"
      }
    }
  }
}
For Context7, this is the recommended hosted HTTP setup. If your MCP client supports MCP OAuth, Context7's official OAuth endpoint is:
https://mcp.context7.com/mcp/oauth
In Dimcode, use the standard remote HTTP endpoint plus auth headers unless native MCP OAuth support is added for remote servers.
CLI MCP settings are stored locally in:
~/.dimcode/tools.json
If you use DIMCODE_HOME, replace ~/.dimcode with that directory.
You can also skip /mcp and edit that file directly. The file format is:
{
  "version": 1,
  "updatedAt": 1735689600000,
  "settings": {
    "mcpServers": [
      {
        "id": "mcp_context7",
        "name": "context7",
        "transport": "http",
        "url": "https://mcp.context7.com/mcp",
        "headers": {
          "CONTEXT7_API_KEY": "YOUR_API_KEY"
        }
      }
    ]
  }
}
Use /mcp when you want the friendlier editor and connection test UI. Edit ~/.dimcode/tools.json directly when you want to script, sync, or manage MCP config as a file.
ACP Server
Dimcode can run as an ACP server for editors and tools such as Zed or OpenClaw acpx.
Preferred commands:
dim acp
node /absolute/path/to/repo/scripts/acpx-agent.mjs
For GUI launchers, prefer absolute paths instead of relying on shell PATH.
Do not configure bun run acp-server in acpx or editor settings; it only works when the cwd is the repository root.
If you use Codex OAuth, run dim auth codex once first. If you use a custom provider, make sure ~/.dimcode/config.json already contains a valid provider setup.
🔧 Built-in Tools
Dimcode comes with powerful built-in tools:
File Operations
- Read - Read file contents
- Write - Create or overwrite files
- Edit - Make precise edits to existing files
Code Analysis
- Grep - Search content using patterns
- Glob - Find files by pattern
Web & Research
- WebSearch - Search the web using Serper API
- WebFetch - Fetch web page content
Task Management
- TodoWrite - Create and manage TODO lists
System
- Bash - Execute shell commands (requires approval)
- AskUser - Request input from user
Skills
Skills are specialized capabilities that can be activated to extend Dimcode's functionality. Built-in skills include:
- skill-installer - Install Codex skills from curated list or GitHub repos
- skill-creator - Guide for creating effective skills
📚 Examples
Basic Coding Assistant
dim
Multi-file Refactoring
dim
Web Research
dim
Compare CLI Coding Agents
dim
🔐 Security & Privacy
- Tool Approvals: By default, sensitive operations (file writes, shell commands) require user approval
- Local Storage: All session data is stored locally in
~/.dimcode/dimcode/ (customizable via DIMCODE_HOME)