

Product
Microsoft Teams Notifications Are Now Available in Socket
Socket can now send alerts and supply chain attack notifications to Microsoft Teams, with filters that route the right updates to each channel.
By Jeppe Hasseriis - Sep 01, 2026

Write CAD models in JavaScript. See the result in real time.
Getting Started · Tutorials · Guides
FluidCAD is under active development. APIs and features may change as the project evolves.
I'm not accepting pull requests just yet -- I'm still finalizing the design and putting together a roadmap. Once I hit v0.1.0, I'd love to have contributions from the community. Stay tuned!
FluidCAD is built on OpenCascade, a full B-Rep (boundary representation) modeling kernel, through the opencascade.js WebAssembly binding. This means precise, production-grade geometry -- exact edges, fillets, and booleans -- not mesh approximations.
A huge thanks to the opencascade.js team for making this possible.
Design parametric 3D models using JavaScript. Every change in your code is reflected instantly in the 3D viewport.
import { extrude, fillet, sketch } from 'fluidcad/core';
import { circle } from 'fluidcad/core';
sketch("xy", () => {
circle(50)
})
const e = extrude(50)
fillet(5, e.startEdges())
A modeling workflow that feels familiar to users of mainstream CAD software -- sketches, extrusions, fillets, shells, booleans, and more -- all driven by code.
Navigate through your modeling history step by step. Review how any model was built and roll back to any point in the feature tree.
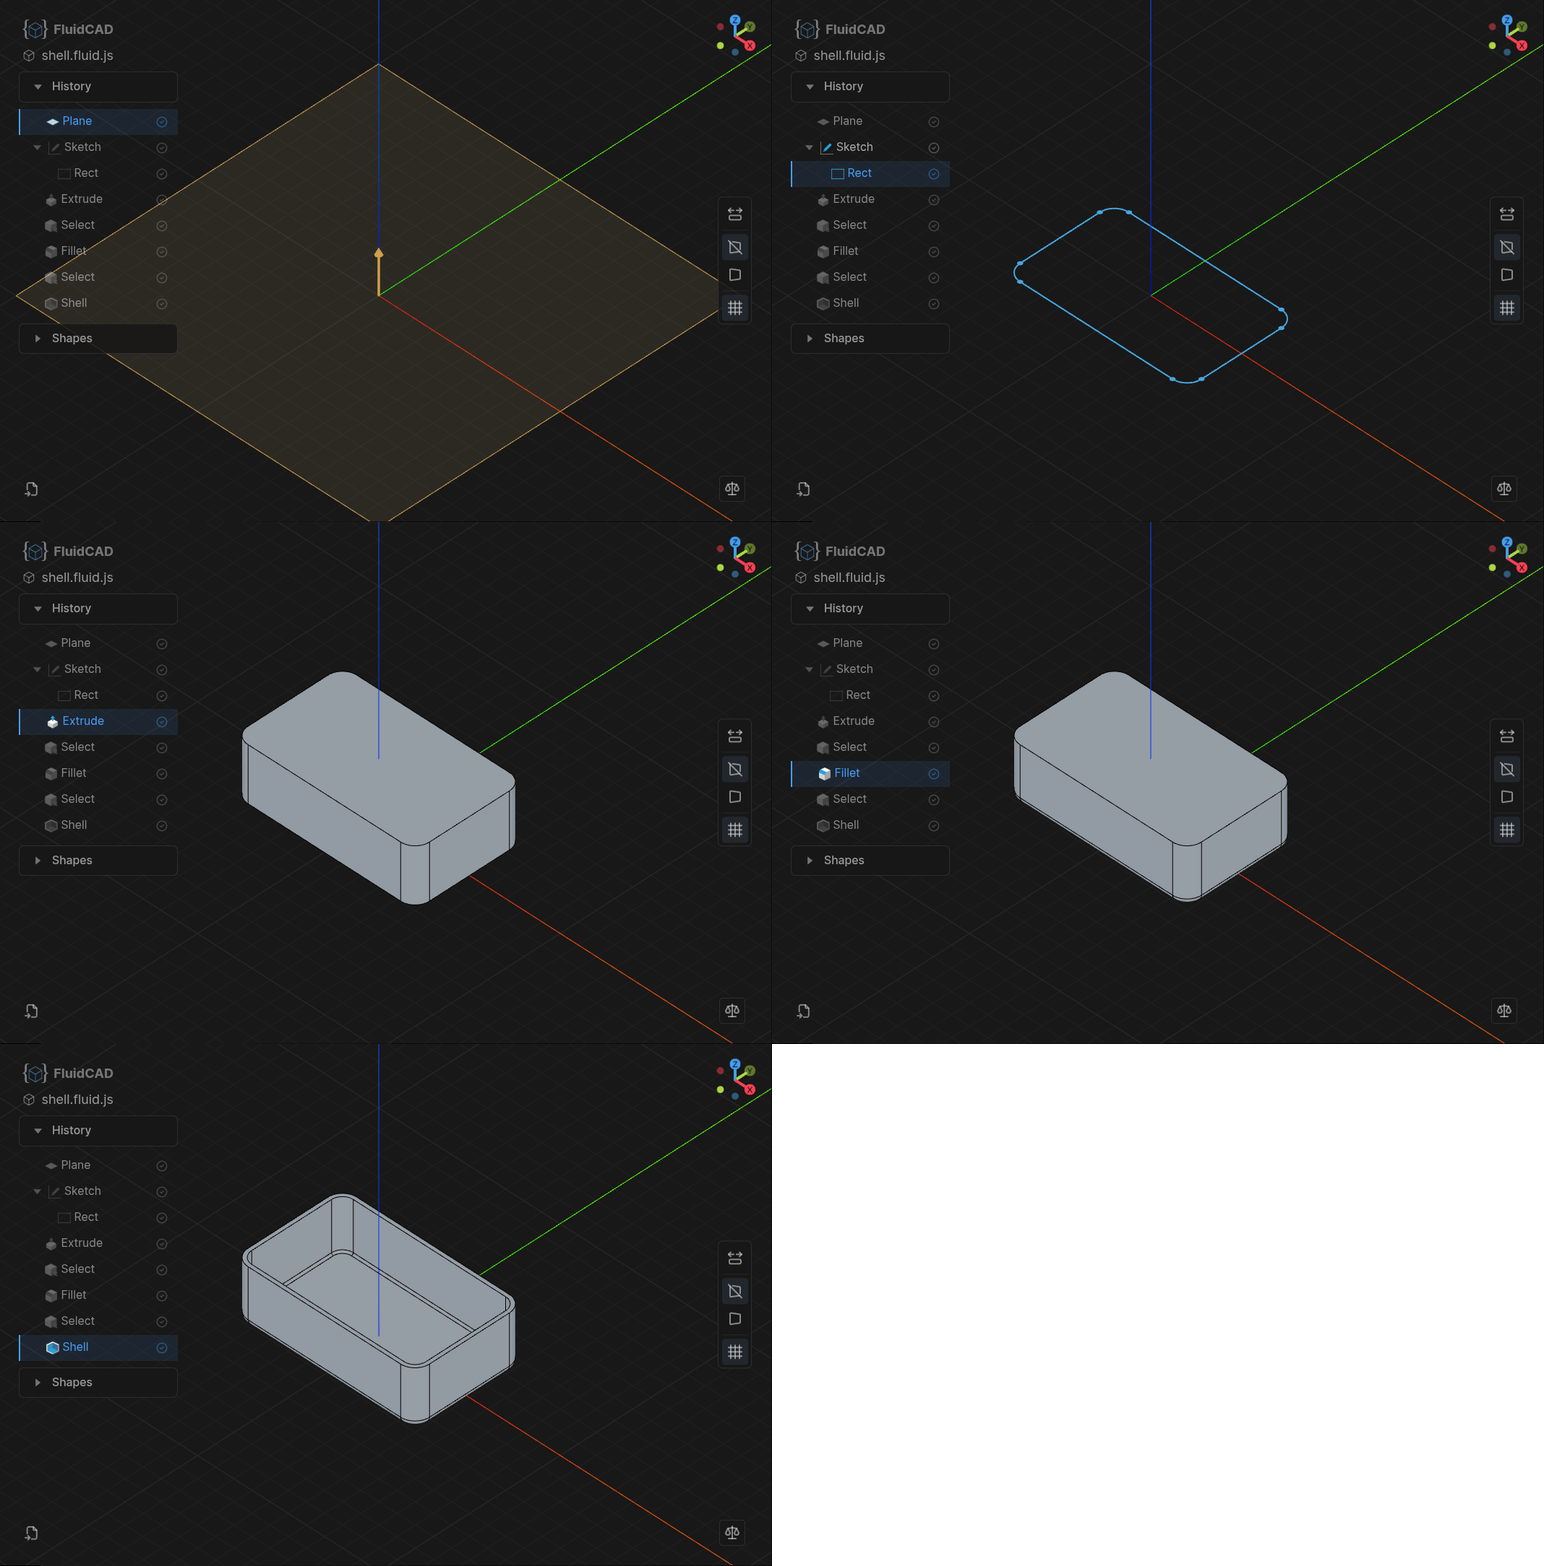
Prefer clicking? Pick geometry in the viewport, fill in a dialog, and FluidCAD writes the statement into your file -- sketches, extrude, revolve, sweep, loft, shell, fillet, chamfer, repeat, booleans and more. Double-click a timeline row to reopen the same dialog and edit that feature in place.
It's a companion to the code, not a replacement: everything it produces is ordinary FluidCAD code you can keep editing by hand.
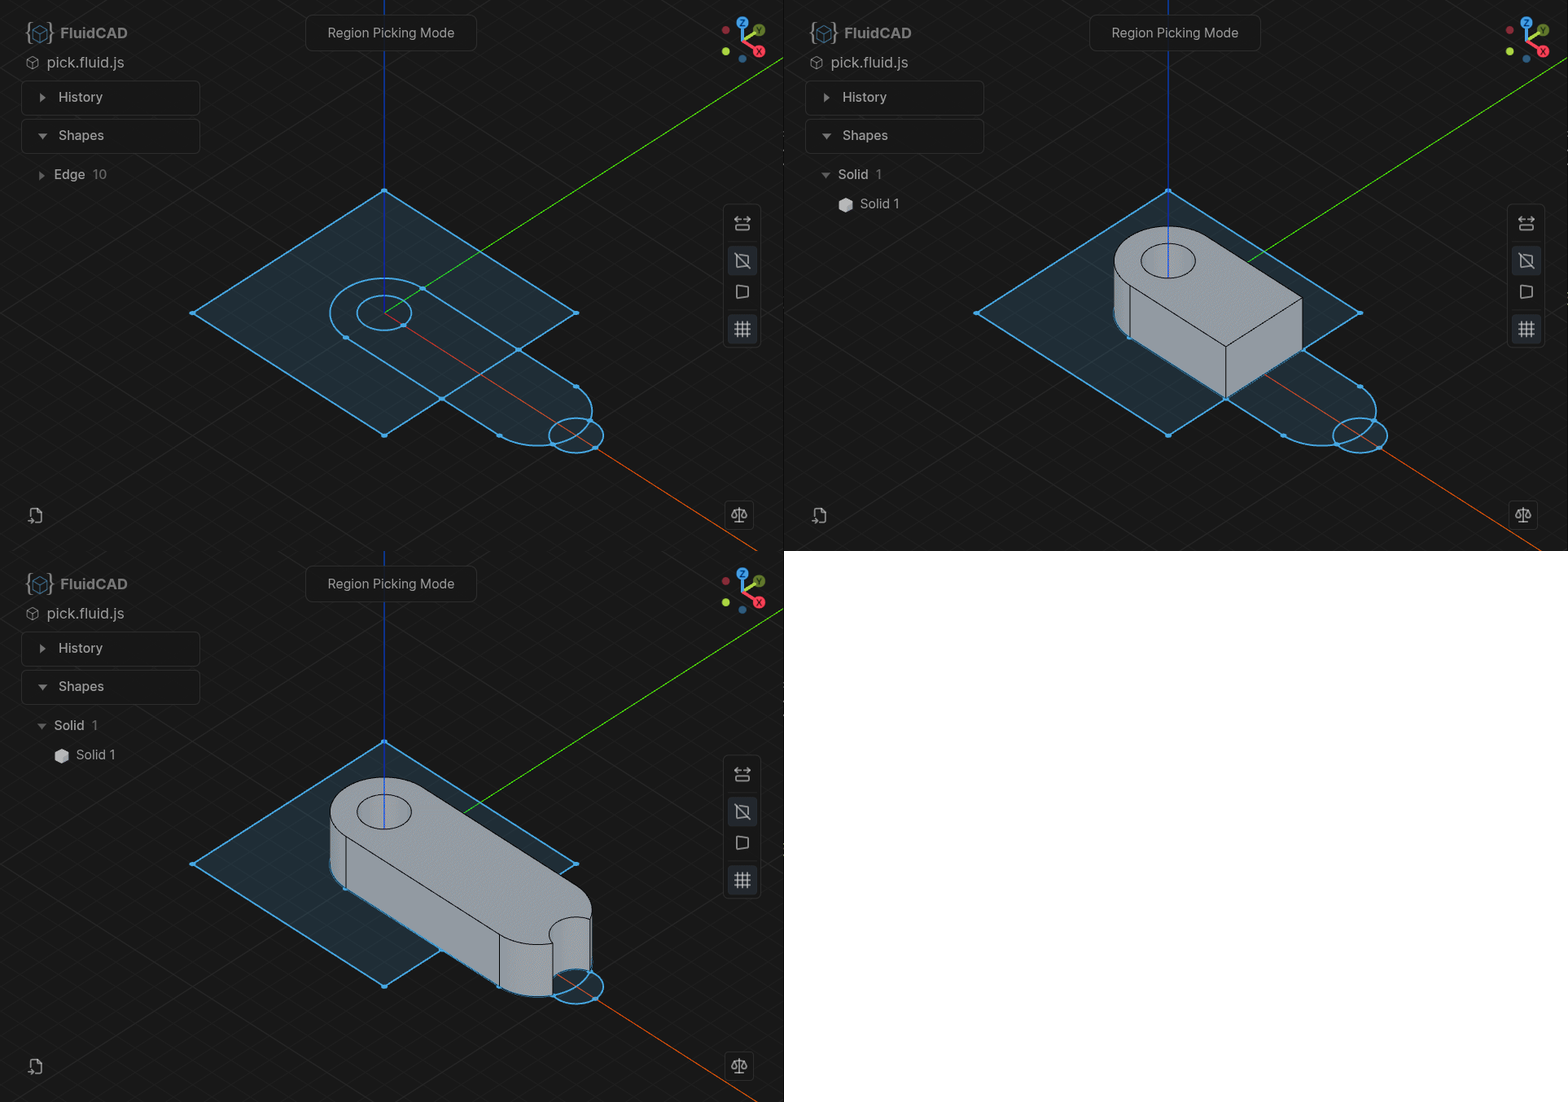
Re-apply modeling features based on matrix transformations. Move, rotate, or mirror entire feature sequences to build complex geometry from simple building blocks.
sketch("xy", () => {
    rect(200, 100).centered()
})

const e1 = extrude(20)

sketch(e1.endFaces(), () => {
    circle([-80, 30], 30)
});

const pin = extrude(10)

const f = chamfer(2, pin.endEdges());

repeat("linear", ["x", "y"], {
    count: [4, 2],
    length: [160, -60]
}, pin, f)
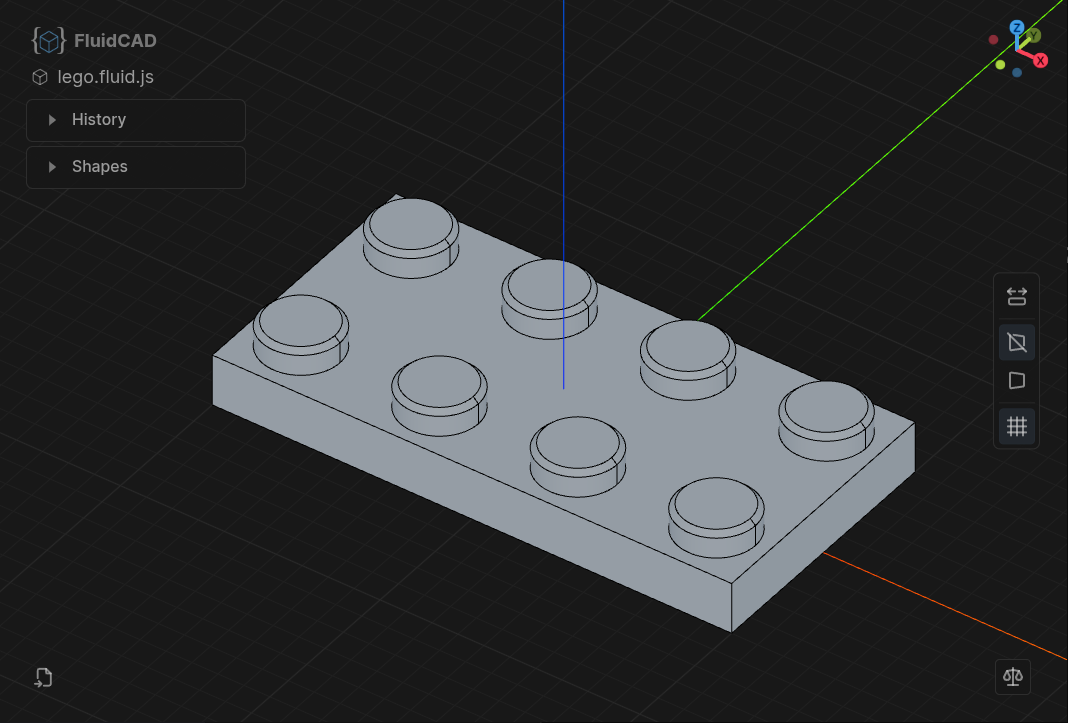
Duplicate features in linear or circular patterns to quickly populate repetitive geometry.
Most operations just do the right thing without extra arguments. extrude picks up the last sketch, fillet targets the last selection, and touching shapes are automatically fused -- less boilerplate, more readable code.
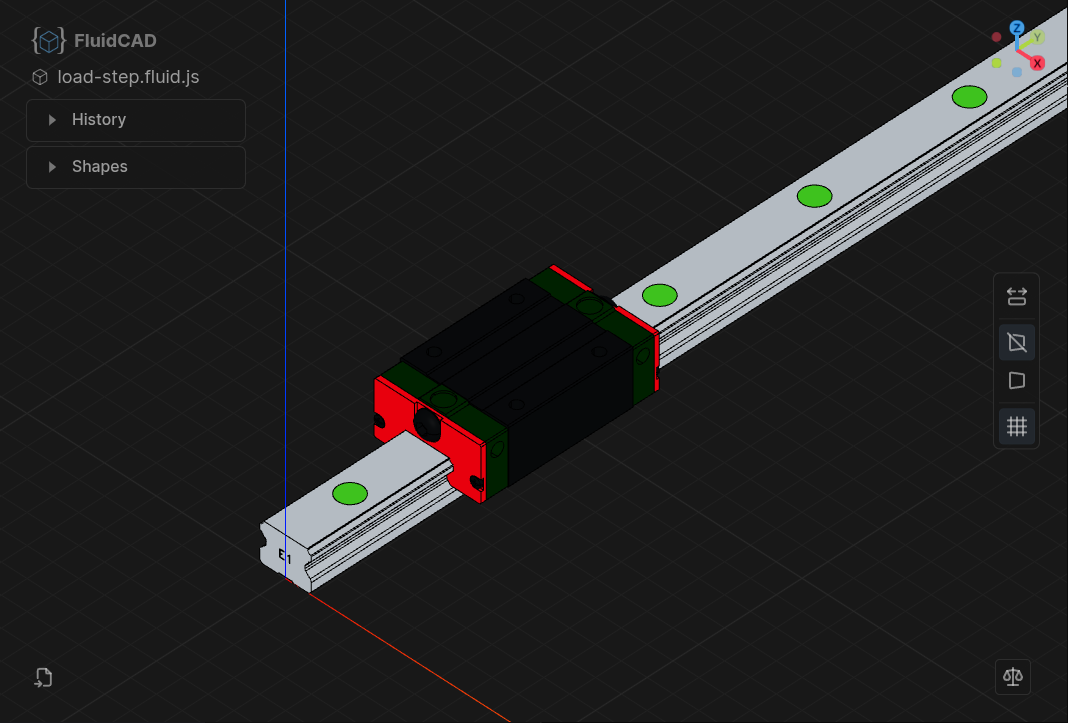
Import and export STEP files with full color support. Bring in existing CAD models or share your designs with any standard CAD tool.
FluidCAD ships official extensions for VS Code and Neovim, but works with any editor -- just point the CLI at your project.
FluidCAD ships an MCP server so AI agents (Claude Code, Claude Desktop, Cursor, opencode, etc.) can drive a running workspace -- take screenshots, inspect geometry, edit .fluid.js files, and look up the API by symbol. See Set Up the MCP Server below.
Step-by-step tutorials from simple shapes to exam-level parts. Browse all tutorials →
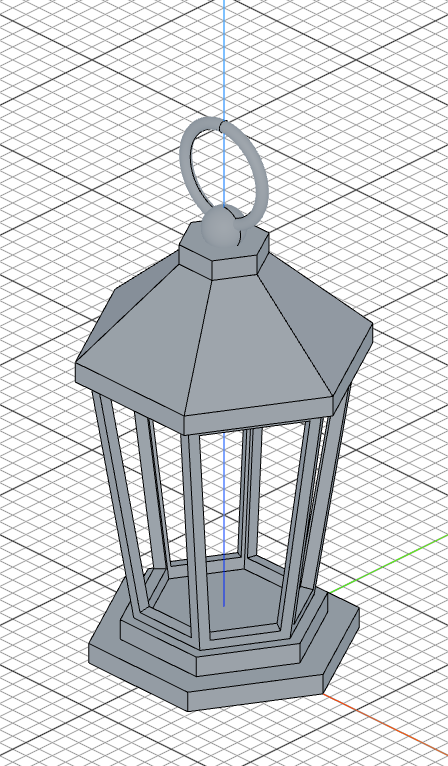 Lantern |
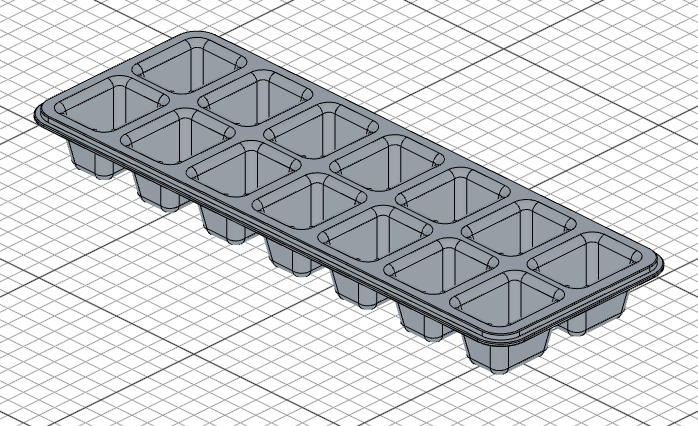 Ice Cube Tray |
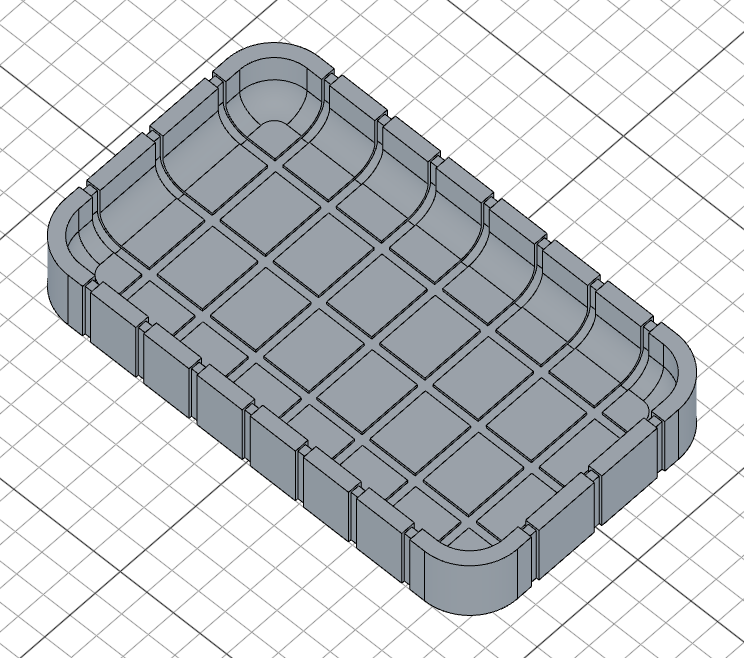 Grooved Box |
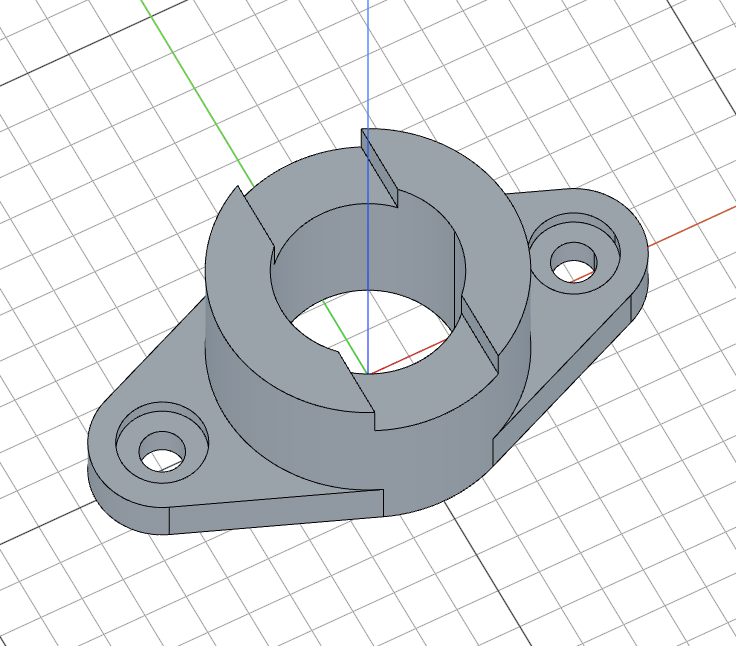 Flange With Notch |
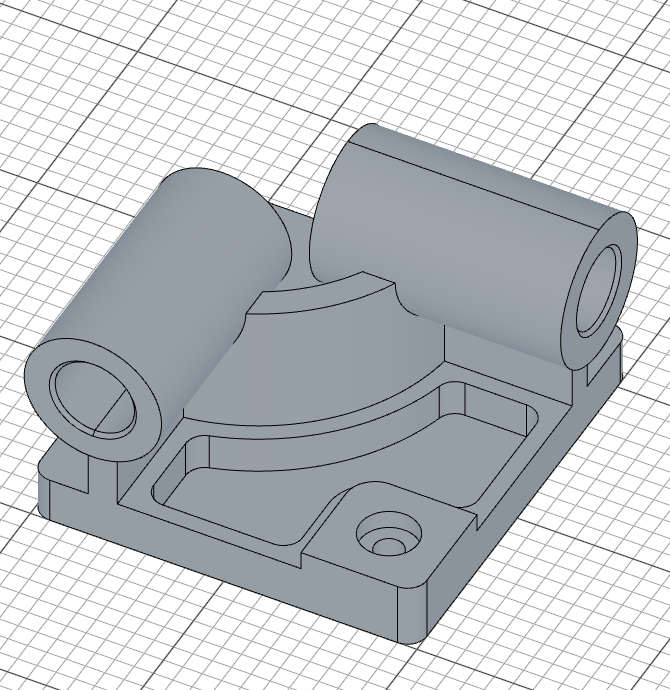 CSWP Sample Exam |
 Hinge Bracket |
mkdir my-app && cd my-app
npm init -y
npm install fluidcad
npx fluidcad init
This generates init.js and jsconfig.json to get you started.
Ctrl+Shift+P / Cmd+Shift+P) and run Show FluidCAD Scene.The 3D viewport opens in a side panel and updates live as you edit .fluid.js files.
Add the plugin with lazy.nvim:
{
  "Fluid-CAD/FluidCAD",
  config = function()
    require("fluidcad").setup()
  end,
  ft = { "javascript" },
}
Open a .fluid.js file and the server starts automatically. Run :FluidCadOpenBrowser to open the 3D viewport in your browser.
See the full list of commands in the Neovim plugin README.
From your project directory, run the FluidCAD server directly:
npx fluidcad serve
This starts a local server and opens a 3D viewport in your browser. Edit your .fluid.js files in any editor -- the viewport updates on save.
Options:
| Flag | Description | Default |
|---|---|---|
-w, --workspace <path> | Path to your project | Current directory |
-p, --port <port> | Server port -- if it's taken, the next free one is used | 3100 |
--open | Open the viewport in your default browser when ready | off |
FluidCAD bundles an MCP server so LLM agents can drive your workspace -- screenshots, geometry inspection, source edits, API lookup. It's included in the fluidcad package; no separate install needed.
Wire it into your MCP client:
Register at user scope so it's available in every project:
claude mcp add --scope user FluidCAD -- npx -y fluidcad mcp
Add to claude_desktop_config.json or ~/.cursor/mcp.json:
{
  "mcpServers": {
    "FluidCAD": {
      "command": "npx",
      "args": ["-y", "fluidcad", "mcp"]
    }
  }
}
Run opencode mcp add and answer the prompts, or add to ~/.config/opencode/opencode.json:
{
  "$schema": "https://opencode.ai/config.json",
  "mcp": {
    "FluidCAD": {
      "type": "local",
      "command": ["npx", "-y", "fluidcad", "mcp"],
      "enabled": true
    }
  }
}
Then install the companion skill so agents follow the FluidCAD workflow:
npx skills add Fluid-CAD/FluidCAD
See the MCP README for the full tool surface, transport details, and local-testing guide.
Turn a model into a STEP, STL, or PNG without leaving the terminal:
npx fluidcad export step                     # every shape -> <entry>.step
npx fluidcad export stl --resolution fine
npx fluidcad export png --view front --open
If a FluidCAD server is already running for the project (started by serve or an editor extension), the CLI exports the scene that server is showing. Otherwise it starts one, renders your model, exports, and shuts it down again.
Options (all three formats):
| Flag | Description | Default |
|---|---|---|
-w, --workspace <path> | Path to your project | Current directory |
-e, --entry <file> | Which .fluid.js to render | The workspace's only one |
-o, --out <path> | Output file | <entry>.<ext> in the current directory |
-p, --port <port> | Export from the running server on this port | Auto-discovered |
--timeout <sec> | Seconds to wait for the server (and, for png, for a browser) | 60 |
step and stl add --shapes (a subset, by position, feature name, or id) and --list-shapes. step adds --no-colors. stl adds --resolution coarse|medium|fine|custom plus --linear-deflection <mm> / --angular-deflection <deg>. png adds --view, --width, --height, --transparent, --show-axes, --no-grid, --no-auto-crop, --no-fit, --margin, and --open.
PNG needs a browser. Screenshots are rendered by the FluidCAD viewport itself, so a browser has to be connected to the server. Pass
--openand the CLI launches one for you.
Run npx fluidcad export step --help (or stl / png) for the full flag reference.
MIT
FAQs
Parametric CAD modeling library using javascript
The npm package fluidcad receives a total of 20 weekly downloads. As such, fluidcad popularity was classified as not popular.
We found that fluidcad demonstrated a healthy version release cadence and project activity because the last version was released less than a year ago. It has 1 open source maintainer collaborating on the project.
Product
Socket can now send alerts and supply chain attack notifications to Microsoft Teams, with filters that route the right updates to each channel.

Security News
pnpm 12 rewrites the package manager in Rust, cutting install times by up to 90% while preserving pnpm 11 workflows and lockfiles.

Security News
Socket CTO Ahmad Nassri joins AppSec leaders at Black Hat to discuss active malware, package manager risks, and software supply chain defense.