NGX Electron Titlebar
Custom titlebar library for Electron & Angular applications
Explore the docs »
View Demo
.
Report Bug
.
Request Feature
About The Project
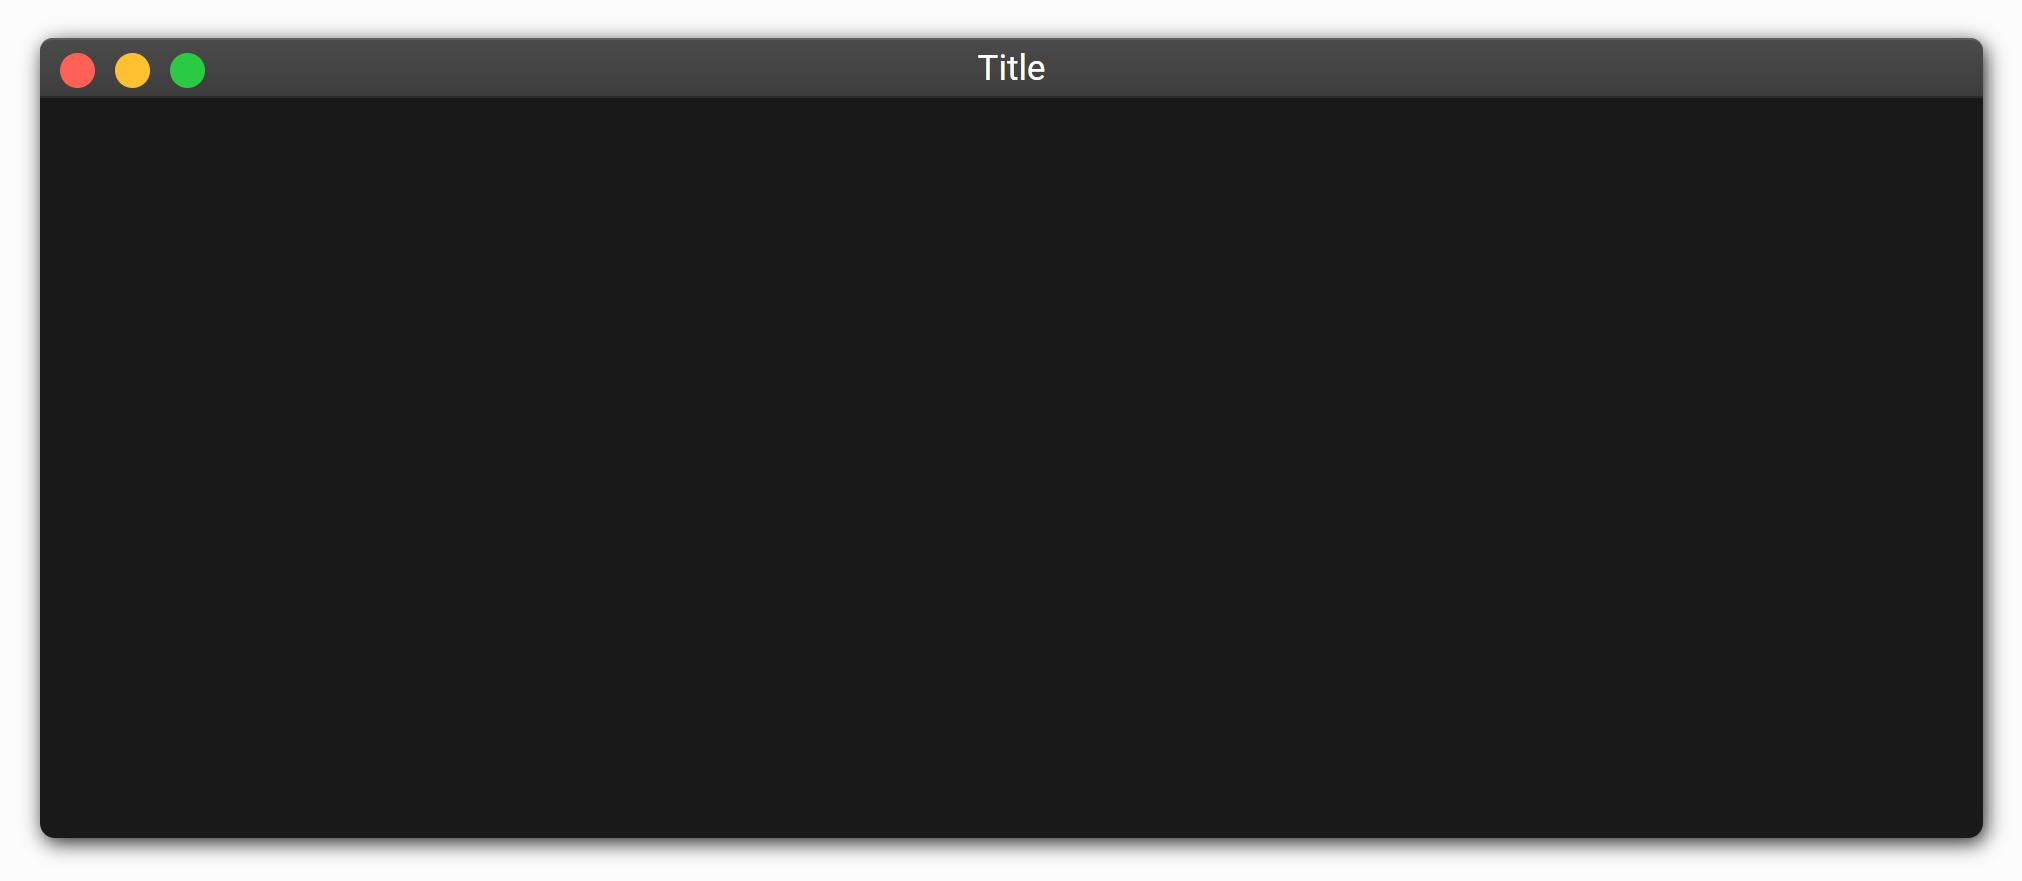
Over the last couple of years many applications started to adopt transparent design language. Unfortunately, in Electron applications, this means you have to use frameless browser window, which means tou loose the application title bar. this project aims to solve this issue by providing high fidelity, cross platform title bar.
NOTE: this library is design to work with Electron, but it will work gracefully on any standalone Angular application.
Getting Started
This project work with Electron application that are powered by Angular. We suggest using Nx Electron for this purpose.
Installation
npm install ngx-electron-titlebar
Usage
- Import the module - [renderer process]
import { NgModule } from '@angular/core';
import { BrowserModule } from '@angular/platform-browser';
import { ElectronTitlebarModule } from 'ngx-electron-titlebar';

import { AppComponent } from './app.component';


@NgModule({
  declarations: [
    AppComponent
  ],
  imports: [
    BrowserModule,
    ElectronTitlebarModule
  ],
  providers: [],
  bootstrap: [AppComponent]
})
export class AppModule { }
- Add the component to you application html - [renderer process]
<ngx-electron-titlebar></ngx-electron-titlebar>
<ngx-electron-titlebar
[theme]="theme" [os]="os" [title]="title" [draggable]="draggable" [fixed]="fixed"
[tall]="tall" [transparent]="transparent" [rtl]="rtl">
</ngx-electron-titlebar>
- Register context bridges - [main process - preload script]
import { ElectronTitlebarContextBridge } from 'ngx-electron-titlebar';

ElectronTitlebarContextBridge.registerContextBridges();
- Register window event handlers - [main process]
import { ElectronTitlebarIPC } from 'ngx-electron-titlebar';

mainWindow.once('ready-to-show', () => {
  ElectronTitlebarIPC.registerHandlers(mainWindow);
  mainWindow.show();
});
Options
- theme: 'light' | 'dark' (default: 'light') - theme style
- draggable: boolean (default: true) - enables/disables the -webkit-app-region CSS property on the root element. - Allows frameless windows to be dragged in an electron application
- fixed: boolean (default: false) - affixes to the top and floats above the rest of the content so only the - buttons and title are visible. Ignores transparent rule
- os: 'mac' | 'win' | 'default' (default: 'default') - titlebar style (defaults to current OS, or default if unrecognized)
- tall: boolean (default: false) - makes the titlebar taller than usual, with the controls slightly inset (mac - only)
- title: string (default: '') - app title
- transparent: boolean (default: false) - transparent background for an overlay effect
- rtl: boolean (default: false) - right to left alignment
Events
- onClose: close button was clicked
- onMinimize: minimize button was clicked
- onMaximize: maximize button was clicked
- onFullScreen: full screen button was clicked
Roadmap
See the open issues for a list of proposed features (and known issues).
Contributing
Contributions are what make the open source community such an amazing place to be learn, inspire, and create. Any contributions you make are greatly appreciated.
- If you have suggestions for adding or removing projects, feel free to open an issue to discuss it, or directly create a pull request after you edit the README.md file with necessary changes.
- Please make sure you check your spelling and grammar.
- Create individual PR for each suggestion.
- Please also read through the Code Of Conduct before posting your first idea as well.
Creating A Pull Request
- Fork the Project
- Create your Feature Branch (
git checkout -b feature/AmazingFeature) - Commit your Changes (
git commit -m 'Add some AmazingFeature') - Push to the Branch (
git push origin feature/AmazingFeature) - Open a Pull Request
License
Distributed under the Apache 2.0 License. See LICENSE for more information.
Authors
Acknowledgements


