Security News
GitHub Removes Malicious Pull Requests Targeting Open Source Repositories
GitHub removed 27 malicious pull requests attempting to inject harmful code across multiple open source repositories, in another round of low-effort attacks.
vue-interswitch
Advanced tools
Vue package for integrating to Interswitch Quickteller Business to recieve payments
Interswitch community vue package that integrates with vue apps for Quickteller Business for recieve payments online.
Note: You need a Quickteller Business to obtain the required code/keys.


To install, run:
npm install vue-interswitch
This package has two ways of integrating with vue project - as component and plugin
Below are the various implementations using options or composition api
// COMPOSITION API with defineComponent (Typescipt)
<script lang="ts">
import Interswitch from 'vue-interswitch';
import {defineComponent} from "vue"
export default defineComponent({
  components: {
    Interswitch
  },
  setup(){

    const onCallback = (response)=>{
      console.log(response)
    }
    return {onCallback}
  }
});
</script>

// COMPOSITION API 2 (Typescipt)

<script lang="ts" setup>
    import Interswitch from 'vue-interswitch';
    const onCallback = (response)=>{
      console.log(response)
    }

</script>

// OPTIONS API

<script>
    import Interswitch from 'vue-interswitch';
    export default {
        components: {
            Interswitch
        },
        methods: {
            onCallback(response){
                console.log(response)
            }
        }
    }
</script>
The template will look as seen below
<template>
  <main>
      <Interswitch
        merchantCode='MX#####'
        payItemID='Default_Payable_MX#####'
        customerEmail='johndoe@gmail.com'
        redirectURL="http://localhost:3000"
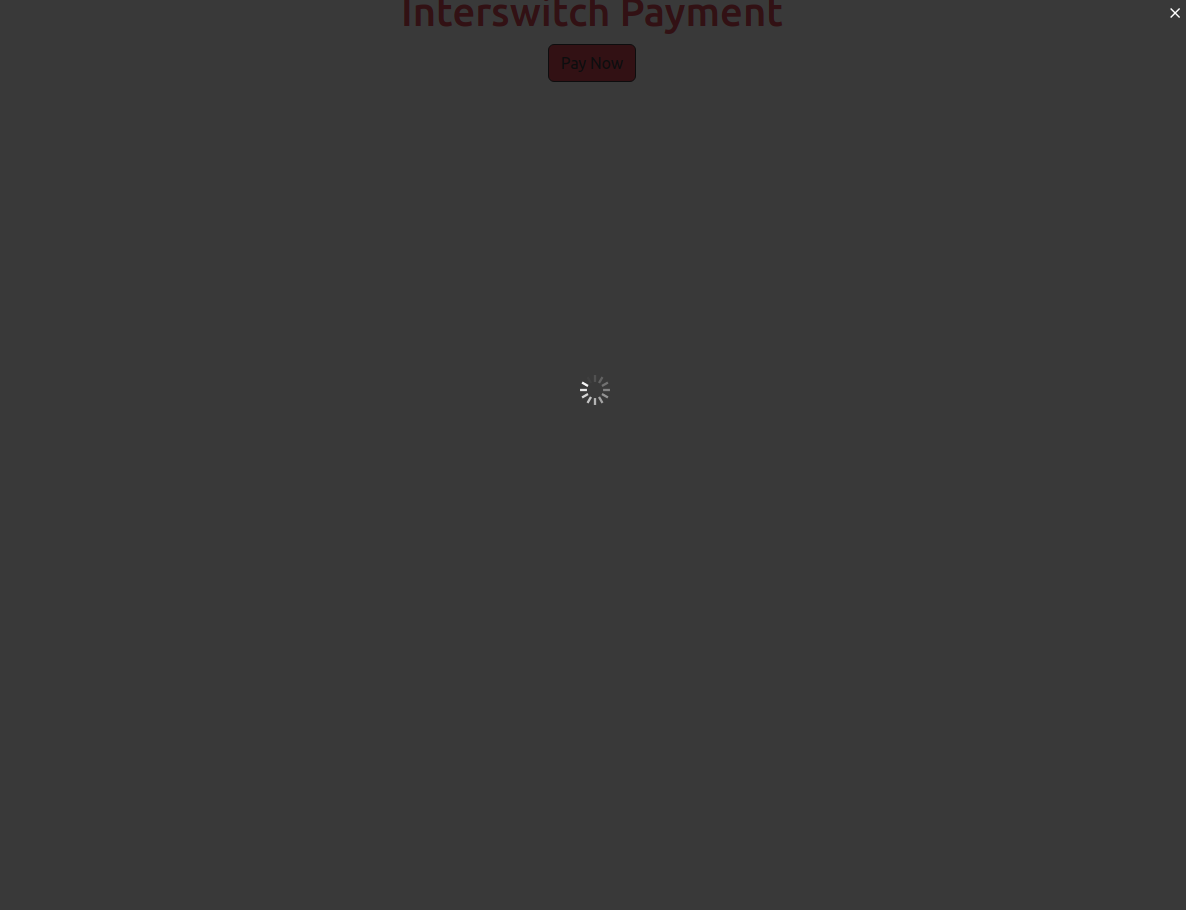
        text="Pay Now"
        mode='TEST'
        :transactionReference="Date.now().toString()"
        :amount="100"
        class="custom, bootstrap or tailwind class here"
        :callback="onCallback"
    />
  </main>
  // Note that amount should be the actuall amount, assen if payment is 1,000 enter 1000 as the amount, the module automatically multiplies the amount by 100 so as to meet the requirement of "amount should be in kobo"


</template>
To handle errors, an event is emitted when there is an error, hence binding an function to handle the error and get the error message or error stack trace (for debug=true mode only). Below is a guide
Note: to get dev level error with stack trace set debug=true on the <Interswitch :debug="true" /> component then bind a function to the emitter event
    /**
     * In your template
     * debug=true mode is not needed for production
     * the error message is automatically
     * "Payment failed! check network and try again"
     *
     * */
    <Interswitch :debug="true" @error="onError" />

    //within your script
    const onError = (err) => { //composition api
      console.log(err)
    }

    //do accordingly for options api
vue-interswitch package exposes a plugin isw. The plugin can be imported in main.(ts|js) as seen below
import { createApp } from 'vue'
import App from './App.vue';
import {isw} from "vue-interswitch"; // here

const app = createApp(App);
app.use(isw) //here

app.mount('#app')
According to vue documentation when creating custom plugin, they have to be provided with app.provide(key, value) and then injected into app component using inject(key), hence, in your component inject iswcheckout. see below
<script setup lang="ts">
import { inject } from 'vue'

// make sure to cast iswcheckout as any to avoid 'This expression is not callable' error
const iswcheckout: any = inject('iswcheckout')

const MakePayment = () => {
  const props = {
      merchantCode: 'MX#####',
      payItemID: 'Default_Payable_MX#####',
      customerEmail: 'johndoe@gmail.com',
      redirectURL: 'http://localhost:3000',
      text: 'Pay Now',
      mode: 'TEST',
      transactionReference: Date.now().toString(),
      amount: 100, //there is no automatic multiplication here.....manually multiply amount with 100
      callback: (response: any) => {
        console.log('response: ', response)
      }
  }

  iswcheckout(props)
}
</script>
Note:
debug=true is not needed for production as debug is automatically false if not included.Hence, that has been handled (with exception of the plugin approach), every amount provided is automatically multiplied by 100 within library logicBelow is a list of all the Interswitch official supported parameters.
| Parameters | Data Type | Required | Description |
|---|---|---|---|
| merchantCode | string | true | This can be found on your dashboard. |
| payItemID | string | true | This can be found on your dashboard. |
| customerEmail | string | true | The email of the person making the payment. |
| amount | string | true | The cost of the item being paid for in kobo. |
| transactionReference | string | true | This is a unique reference string required for every transaction. You can create a method to generate this. |
| text | string | true | This represents the text on the payment button. |
| mode | string | true | This represents your integration mode. It can be 'TEST' or 'LIVE'. |
| callback | function | true | This function is called after every transaction. |
| redirectURL | string | false | The url you want the user to be redirected to after a transaction. |
| currency | string | false | The ISO code of the currency being used. If this field is not added, the currency naira is assumed. |
| customerName | string | false | The name of the person making the payment. |
| customerID | string | false | The ID of the person making the payment. |
| customerMobileNo | string | false | The mobile number of the person making the payment. |
| payItemName | string | false | The name of the item being paid for. |
| className | string | false | You can use this to add a CSS class to the payment button. |
| style | object | false | You can use this to add inline styles to the payment button. |
After a transaction, a sample response from the callback function will be like so:
{
    bpTrxnRef: "",
    bpResp: "",
    rechPin: "",
    amount: 10000,
    apprAmt: 10000,
    cardNum: "",
    desc: "Approved by Financial Institution",
    mac: "",
    payRef: "FBN|WEB|MX26070|13-04-2021|3512130|866194",
    resp: "00",
    retRef: "000106923853",
    txnref: "1618305656700",
    url: "http://localhost:3000",
}
if within your response, desc messsage reads MERCHANT_OR_PAYMENT_ITEM_DOES_NOT_EXIST and other fields shows undefined it implies information supplied might not be correct.
Below is a list of all the Interswitch official supported parameters.
| Parameters | Data Type | Required | Description |
|---|---|---|---|
| text | string | true | It specifies the text to display on the button. |
| debug | boolean | false | Helps to show raw stack trace error for development purposes |
| disableAutoKobo | boolean | false | it is optional and it specifies if automatic multiplication of amount should apply or note. It is false by default. setting disableAutoKobo=true will allow developer to manually multiply amount with 100 for kobo |
NOTE:
The key 'resp' gives the final status of the transaction.
There are quite a number of response codes that can be returned, the full list can be viewed here
For integrity purpose, you are advised to make a server side request to get the final status of a transaction before giving value. To do this, make a post request to the endpoint below:
The MIT License (MIT). Please see License File for more information.
FAQs
Vue package for integrating to Interswitch Quickteller Business to recieve payments
The npm package vue-interswitch receives a total of 0 weekly downloads. As such, vue-interswitch popularity was classified as not popular.
We found that vue-interswitch demonstrated a not healthy version release cadence and project activity because the last version was released a year ago. It has 1 open source maintainer collaborating on the project.
Did you know?

Socket for GitHub automatically highlights issues in each pull request and monitors the health of all your open source dependencies. Discover the contents of your packages and block harmful activity before you install or update your dependencies.

Security News
GitHub removed 27 malicious pull requests attempting to inject harmful code across multiple open source repositories, in another round of low-effort attacks.

Security News
RubyGems.org has added a new "maintainer" role that allows for publishing new versions of gems. This new permission type is aimed at improving security for gem owners and the service overall.

Security News
Node.js will be enforcing stricter semver-major PR policies a month before major releases to enhance stability and ensure reliable release candidates.