Borders


Description
 is an updated version of borders: it enhances the functionality of creating frames around text output adding new features, and improving existing ones. Borders creates a frame around a string or a list of strings where any item is considered a new line.
Features
- Input Functionality: Provides an option to use the
frame() function in place of input() to create a framed prompt for user input.
- Spacing Control: Customisable alignment for the frame and the text within the frame.
- Width Customization:** Customisable width of frame and text lines.
Latest Version 1.2.0
- Now supporting single string input.
- Colour Support: Expanded colour options now accept most color names, sRGB values [0-255];[0-255];[0-255], Hex values #[00-FF][00-FF][00-FF], xterm color number in the format x[0-255], and ANSI codes 0, [40-47], [100-107].
- Frame styles: Six different frame styles now available.
Table of Contents
Getting Started
Prerequisites
Borders relies on the Python standard library, textlinebreaker and polychromy libraries, and if your system is Windows in addition it might requirecolorama to fix color compatibility.
Installation
pip install borders
- or upgrade it to the latest version
pip install --upgrade borders
- Import the package in your program
from borders import frame
Usage
Add the following line in your code to import the module
from borders import frame
Simply use the function frame() instead of print() to print a frame around your output.
Alternatively set the parameter window = "input" to use frame() in place of input().
The text to be printed can be a mixed list of:
- strings
- tuples containing a string with the text to print and at least one of the following parameters:
- Optional value (integers or strings) for the colour of the text
- Optional value (integers or strings) for the background colour of the text
- Optional value (string) for the alignment of the line
Parameters
- colour: set the text colour.
- allowed values: most color names, RGB values [0-255];[0-255];[0-255], Hex values #[00-FF][00-FF][00-FF], xterm color number in the format x[0-255], and ANSI codes 0, [30-37], [90-97].
- default value =
37.
- text_background: set the background colour of the text.
- allowed values: most color names, RGB values [0-255];[0-255];[0-255], Hex values #[00-FF][00-FF][00-FF], xterm color number in the format x[0-255], and ANSI codes 0, [40-47], [100-107].
- default value =
0.
- frame_colour: set the frame colour.
- allowed values: most color names, RGB values [0-255];[0-255];[0-255], Hex values #[00-FF][00-FF][00-FF], xterm color number in the format x[0-255], and ANSI codes 0, [30-37], [90-97].
- default value =
37.
- frame_background: set the background colour of the frame.
- allowed values: most color names, RGB values [0-255];[0-255];[0-255], Hex values #[00-FF][00-FF][00-FF], xterm color number in the format x[0-255], and ANSI codes 0, [40-47], [100-107].
- default value =
0.
- frame_style: allows to change the style of the frame
- allowed values:
'single', 'double', 'double horizontal', 'double vertical', 'dots', None
- default value =
'double'
- alignment: set the alignment of the text inside the frame.
- allowed values:
'left', 'centre', 'center', 'right'
- default value =
'left'
- display: set the position of the frame inside the terminal.
- allowed values:
'left', 'centre', 'center', 'right'
- default value =
'left'
- spacing: set the space between the frame and the text.
- allowed values: from
0 to 3
- default value =
1
- min_width: set the min length of text in a line.
- allowed values: integers above
8, 'max'(this value assign to the frame the width of the terminal)
- default value =
42
- max_width: set the max length of text in a line.
- allowed values: integers above
8, 'max'(this value assign to the frame the width of the terminal)
- default value =
70
- window: Set the behaviour of the function, to output or input.
- allowed values:
'print', 'input'
- default value =
'print'
Examples
Here are some examples of how to use the frame() function with different parameters.
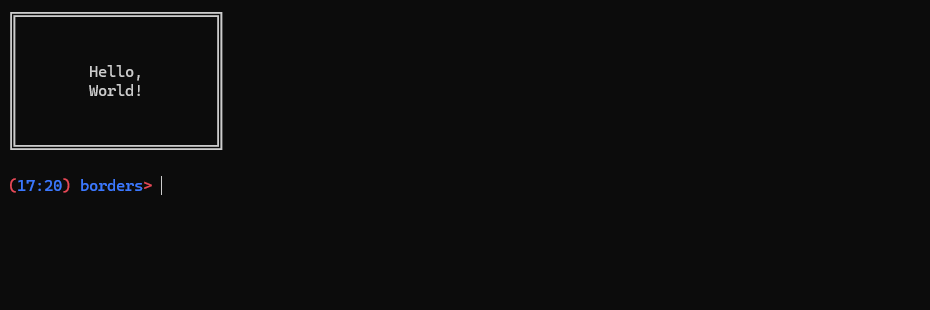
Default settings
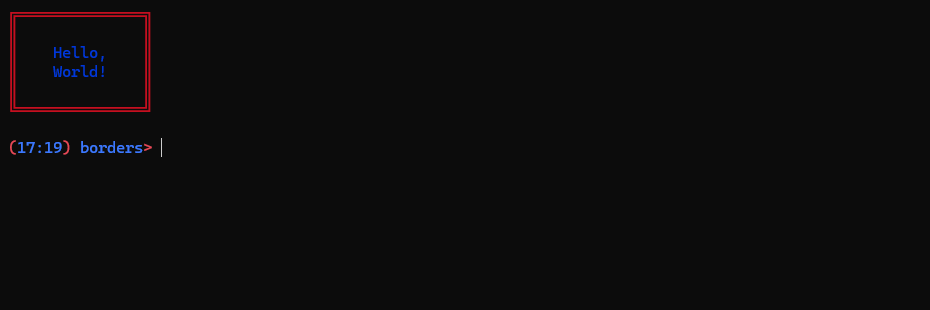
Simply using frame() will print a frame around a given output.
from borders import frame
output = ["Hello,", "World!"]
frame(output)
Output 1

Text and Frame Colours
We can set a colour for the text (e.g. 34 for Blue) and one for the frame (e.g. 31 for Red)
from borders import frame
output = ["Hello,", "World!"]
frame(output, colour="34", frame_colour="31")
Output 2
Tuples
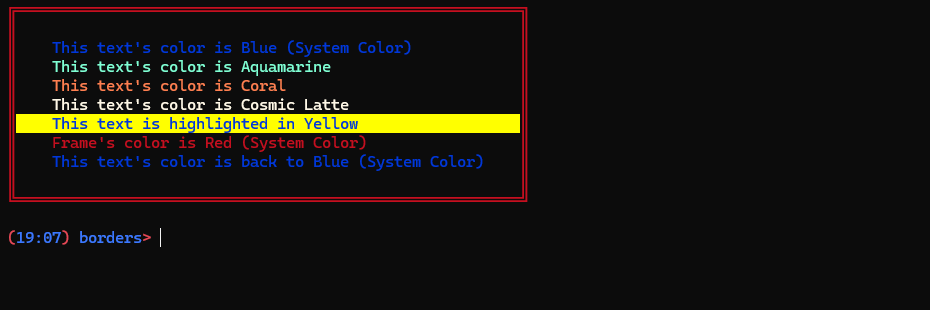
Using a tuple we can set different colours for each line, let's try setting blue, and red as general colours for the text and the frame.
Then let's set one line with yellow text, one with green, and highlight one in white.
from borders import frame
output = [
"This text's color is Blue (System Color)",
("This text's color is Aquamarine", "Aquamarine"),
("This text's color is Coral","255;127;80"),
("This text's color is Cosmic Latte","#FFF8E7"),
("This text is highlighted in Yellow", "", "x226"),
("Frame's color is Red (System Color)", 31),
"This text's color is back to Blue (System Color)"
]
frame(output, colour=34, frame_colour=31)
Output 3
Frame Style
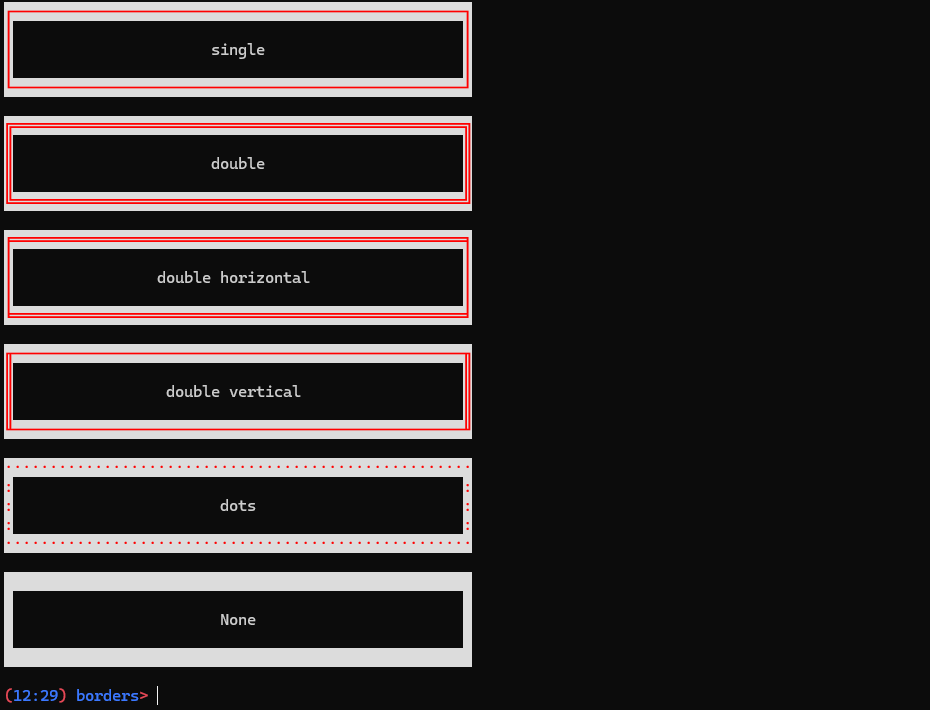
from borders import frame
styles = ["single", "double", "double horizontal", "double vertical", "dots", None]
for s in styles:
frame(f"{s}", frame_colour="Red", frame_background="Gainsboro", alignment="centre", frame_style=s)
Output 4
Alignment
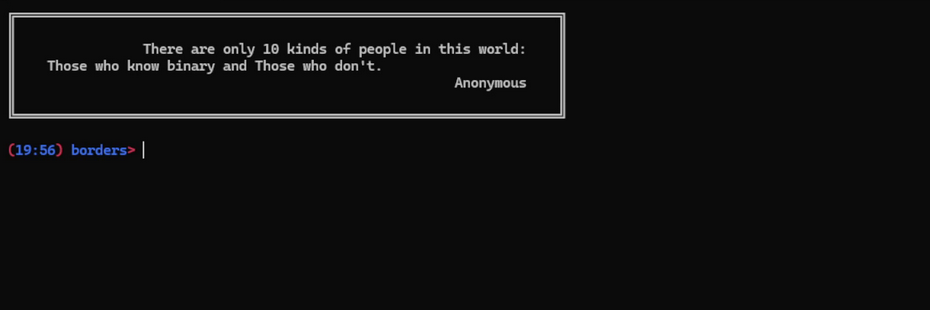
The parameteralignmentallows you to change the alignment of the text inside the frame.
Withalignment="right"will allign the text to the right of the frame.
from borders import frame
output = ["There are only 10 kinds of people in this world:", ("Those who know binary and Those who don't.","left"), "Anonymous"]
frame(output, min_width=60, alignment="right")
Output 5
Display
The parameterdisplay allows you to change the position of the frame inside the terminal.
from borders import frame
output = ["There are only 10 kinds of people in this world:", "Those who know binary and Those who don't.", "Anonymous"]
frame(output, alignment="right", display="centre")
Output 6

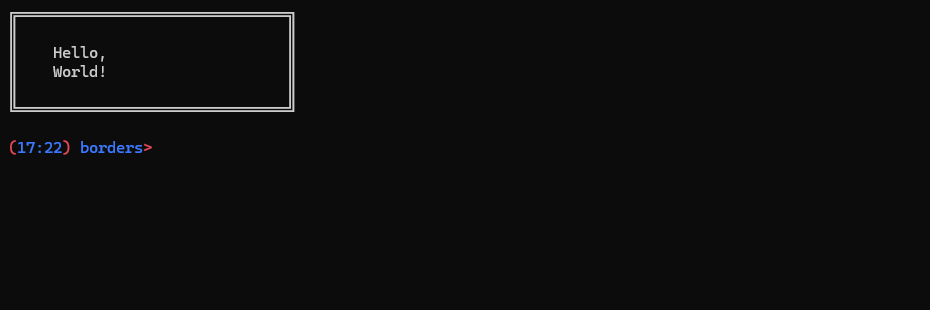
Spacing
Specifying different values for the parameterspacing, you can increase or decrease the space between text and frame.
spacing=2
Withspacing=2it will leave 2 blank lines at the top and the bottom, and 8 blank spaces before and after the text.
from borders import frame
output = ["Hello,", "World!"]
frame(output, spacing=2)
Output 7
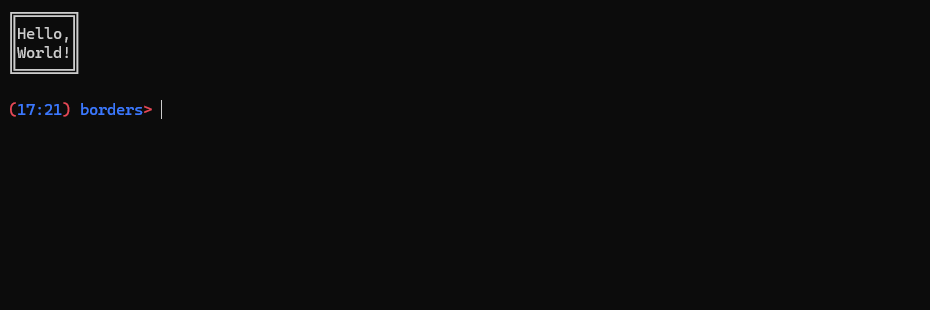
Spacing = 0
Withspacing=0it will create the frame around the text with no spaces.
from borders import frame
output = ["Hello,", "World!"]
frame(output, spacing=0)
Output 8
Minimum Width
The parameter min_width set the minimum width inside the frame.
Withmin_width=30the output frame will have a wider space on the left.
from borders import frame
output = ["Hello,", "World!"]
frame(output, min_width=30)
Output 9
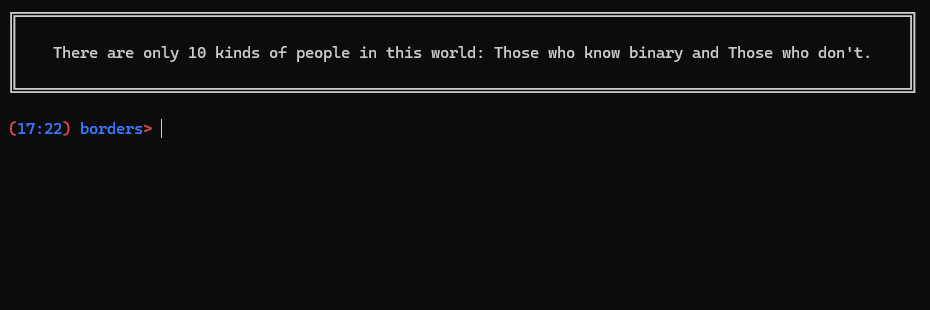
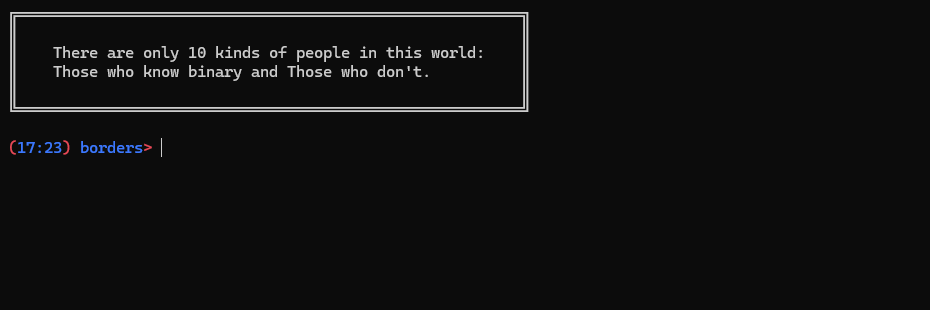
Maximum Width
The parameter max_width set the max length of text on a line.
Let's see what happens to the following string: "There are only 10 kinds of people in this world: Those who know binary and Those who don’t."
max_width=100
from borders import frame
output = ["There are only 10 kinds of people in this world: Those who know binary and Those who don't."]
frame(output, max_width=100)
Output 10
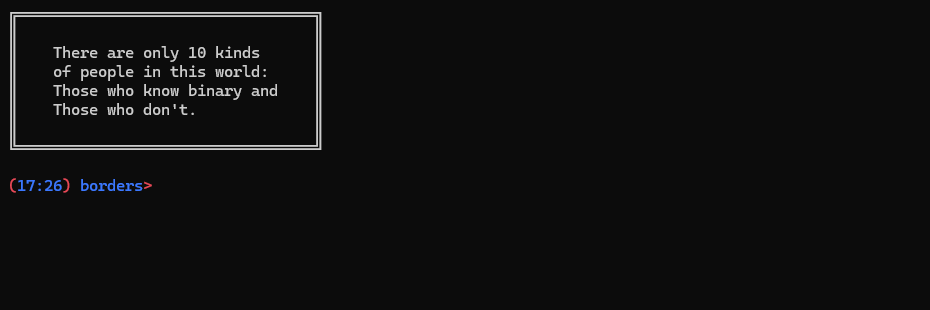
max_width=50
from borders import frame
output = ["There are only 10 kinds of people in this world: Those who know binary and Those who don't."]
frame(output, max_width=50)
Output 11
max_width=25
from borders import frame
output = ["There are only 10 kinds of people in this world: Those who know binary and Those who don't."]
frame(output, max_width=25)
Output 12
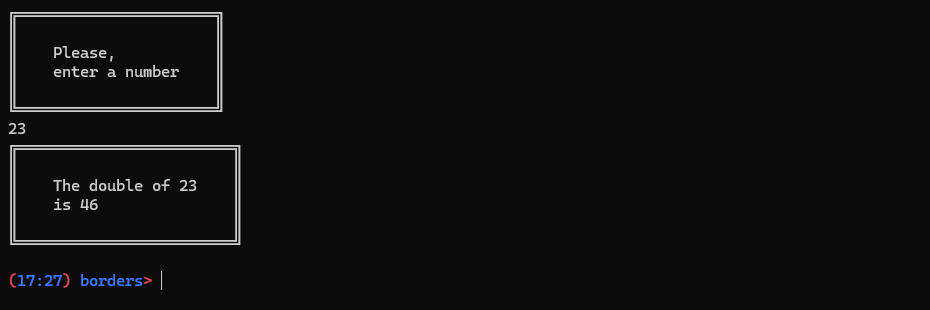
Input
You can use the function frame() in place of input() to create a frame around the prompt and get the input from the user.
from borders import frame
num1 = int(frame(["Please,", "enter a number"], window="input"))
num2 = num1 * 2
output = [f"The double of {num1}",f"is {num2}"]
frame(output)
Output 13
Contributing
If you'd like to contribute to this project, please follow these steps:
- Fork the repository on GitHub.
- Clone the fork to your local machine.
- Create a new branch for your feature or bug fix.
- Make your changes and commit them.
- Push the changes to your fork on GitHub.
- Create a pull request to the original repository.
License
This project is licensed under the MIT License - see the LICENSE file for details.


