Security News
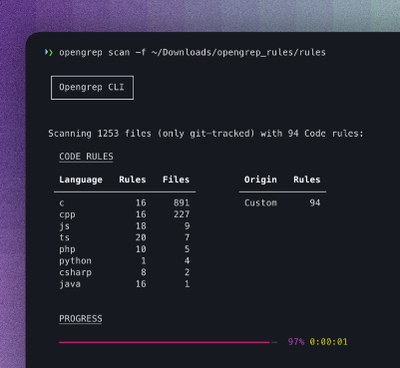
Opengrep Emerges as Open Source Alternative Amid Semgrep Licensing Controversy
Opengrep forks Semgrep to preserve open source SAST in response to controversial licensing changes.
@mx-cartographer/experiences
Advanced tools
In order to run the project you will need to make sure that you have yarn installed. It must be higher than 1.22 in order to do that you must have corepack enabled. Do not just run "npm i" to install dependencies, all packages must be installed with yarn.
yarn or yarn install to install dependenciesyarn devmajor.minor.patch-alpha.<yourinitials><n> See the version history for examples.npm publish --tag alpha.shipit in the comments. Wait for shipit to merge your branch.npm publish --dry-run.npm publish. Look for something like '@mx-cartographer/experiences@4.10.0' in the terminal output. Copy it and paste it to the end of git tag ex: git tag @mx-cartographer/insights-micro-widget@4.10.0in the terminal. After that, run git push origin --tags and you're done.This template is used to create projects in the Cartographer group
Note: A maintainer or owner will need to do this part
Under Issues > Boards, create a new board to track issues for that specific repo. Copy the labels/lists from the scoped issue board in the Cartographer group to create this one. The labels will be the same, but the new issue board will only shows issues created for this specific repo.
FAQs
Library containing experience widgets
The npm package @mx-cartographer/experiences receives a total of 205 weekly downloads. As such, @mx-cartographer/experiences popularity was classified as not popular.
We found that @mx-cartographer/experiences demonstrated a healthy version release cadence and project activity because the last version was released less than a year ago. It has 0 open source maintainers collaborating on the project.
Did you know?

Socket for GitHub automatically highlights issues in each pull request and monitors the health of all your open source dependencies. Discover the contents of your packages and block harmful activity before you install or update your dependencies.

Security News
Opengrep forks Semgrep to preserve open source SAST in response to controversial licensing changes.

Security News
Critics call the Node.js EOL CVE a misuse of the system, sparking debate over CVE standards and the growing noise in vulnerability databases.

Security News
cURL and Go security teams are publicly rejecting CVSS as flawed for assessing vulnerabilities and are calling for more accurate, context-aware approaches.