


A growing collection of useful helpers and fully functional, ready-made abstractions for Threejs. If you make a component that is generic enough to be useful to others, think about making it available here through a PR!
Storybook demos 
Storybook code available under .storybook/stories
npm install @pmndrs/vanilla
Basic usage:
import { pcss, ... } from '@pmndrs/vanilla'
Index
Shaders
pcss
type SoftShadowsProps = {
size?: number
samples?: number
focus?: number
}
Injects percent closer soft shadows (pcss) into threes shader chunk.
const reset = pcss({ size: 25, samples: 10, focus: 0 })
The function returns a reset function that can be used to remove the pcss from the shader chunk.
reset(renderer, scene, camera)
Materials
shaderMaterial
Creates a THREE.ShaderMaterial for you with easier handling of uniforms, which are automatically declared as setter/getters on the object and allowed as constructor arguments.
const ColorShiftMaterial = shaderMaterial(
{ time: 0, color: new THREE.Color(0.2, 0.0, 0.1) },
`
varying vec2 vUv;
void main() {
vUv = uv;
gl_Position = projectionMatrix * modelViewMatrix * vec4(position, 1.0);
}
`,
`
uniform float time;
uniform vec3 color;
varying vec2 vUv;
void main() {
gl_FragColor.rgba = vec4(0.5 + 0.3 * sin(vUv.yxx + time) + color, 1.0);
}
`
)
const mesh = new THREE.Mesh(geometry, new ColorShiftMaterial())
TypeScript usage
Uniform types can be inferred from the uniforms argument or passed as a generic type argument.
type MyMaterialProps = {
time: number,
color: THREE.Color,
map: THREE.Texture | null
}
const MyMaterial = shaderMaterial<MyMaterialProps>(
{
time: 0,
color: new THREE.Color(0.2, 0.0, 0.1)
map: null
},
vertexShader,
fragmentShader
)
const material = new MyMaterial()
material.time
MeshDiscardMaterial
A material that discards fragments. It can be used to render nothing efficiently, but still have a mesh in the scene graph that throws shadows and can be raycast.
const mesh = new THREE.Mesh(geometry, new MeshDiscardMaterial())
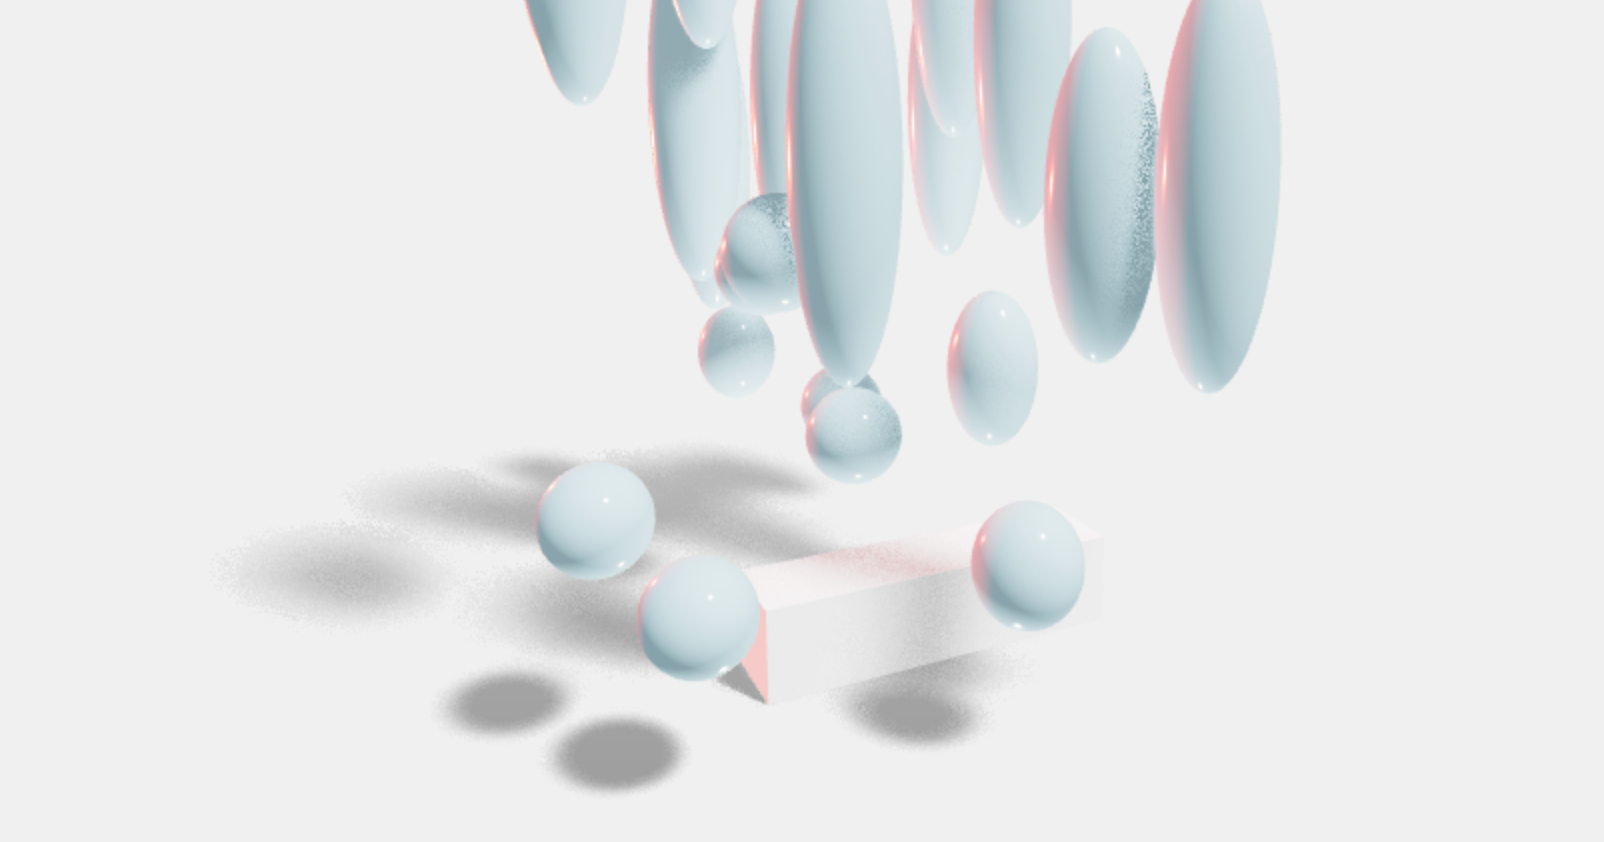
MeshDistortMaterial
This material makes your geometry distort following simplex noise.
MeshWobbleMaterial
This material makes your geometry wobble and wave around. It was taken from the threejs-examples and adapted into a self-contained material.
MeshTransmissionMaterial
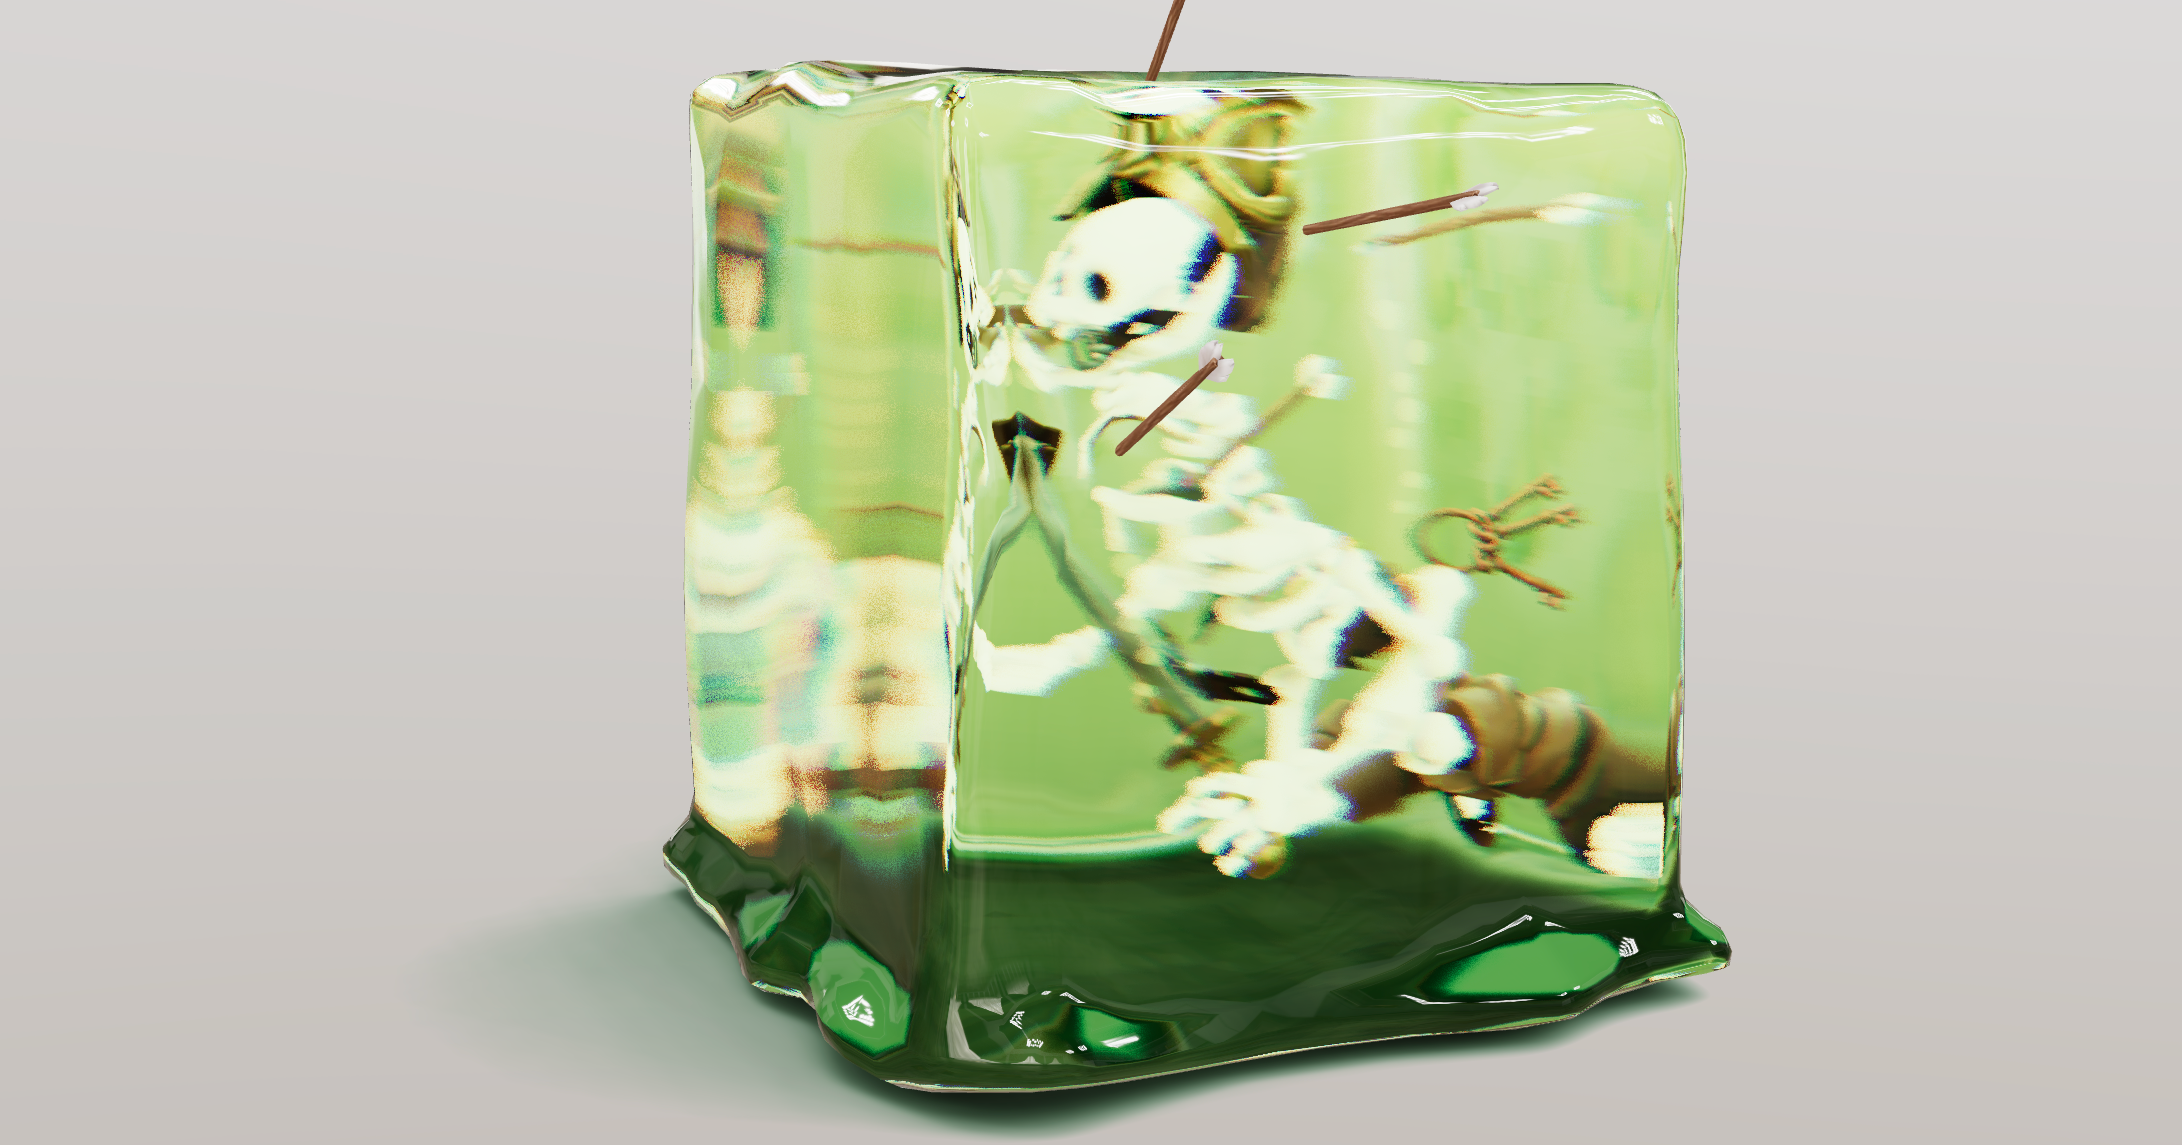
An improved THREE.MeshPhysicalMaterial. It acts like a normal PhysicalMaterial in terms of transmission support, thickness, ior, roughness, etc., but has chromatic aberration, noise-based roughness blur, (primitive) anisotropicBlur support, and unlike the original it can "see" other transmissive or transparent objects which leads to improved visuals.
Although it should be faster than MPM keep in mind that it can still be expensive as it causes an additional render pass of the scene. Low samples and low resolution will make it faster. If you use roughness consider using a tiny resolution, for instance 32x32 pixels, it will still look good but perform much faster.
For performance and visual reasons the host mesh gets removed from the render-stack temporarily. If you have other objects that you don't want to see reflected in the material just add them to the parent mesh as children.
export type MeshTransmissionMaterialProps = {
_transmission?: number
thickness?: number
roughness?: number
chromaticAberration?: number
anisotropicBlur?: number
distortion?: number
distortionScale: number
temporalDistortion: number
}
const material = new MeshTransmissionMaterial({
  _transmission: 1,
  thickness: 0,
  roughness: 0,
  chromaticAberration: 0.03,
  anisotropicBlur: 0.1,
  distortion: 0,
  distortionScale: 0.5,
  temporalDistortion: 0.0,
})
SpotLight
drei counterpart
A Volumetric spotlight.
const material = new SpotLightMaterial({
opacity: 1,
attenuation: 2.5,
anglePower: 12,
spotPosition: new Vector3(0, 0, 0),
lightColor: new Color('white'),
cameraNear: 0,
cameraFar: 1,
depth: null,
resolution: new Vector2(0, 0),
})
Optionally you can provide a depth-buffer which converts the spotlight into a soft particle.
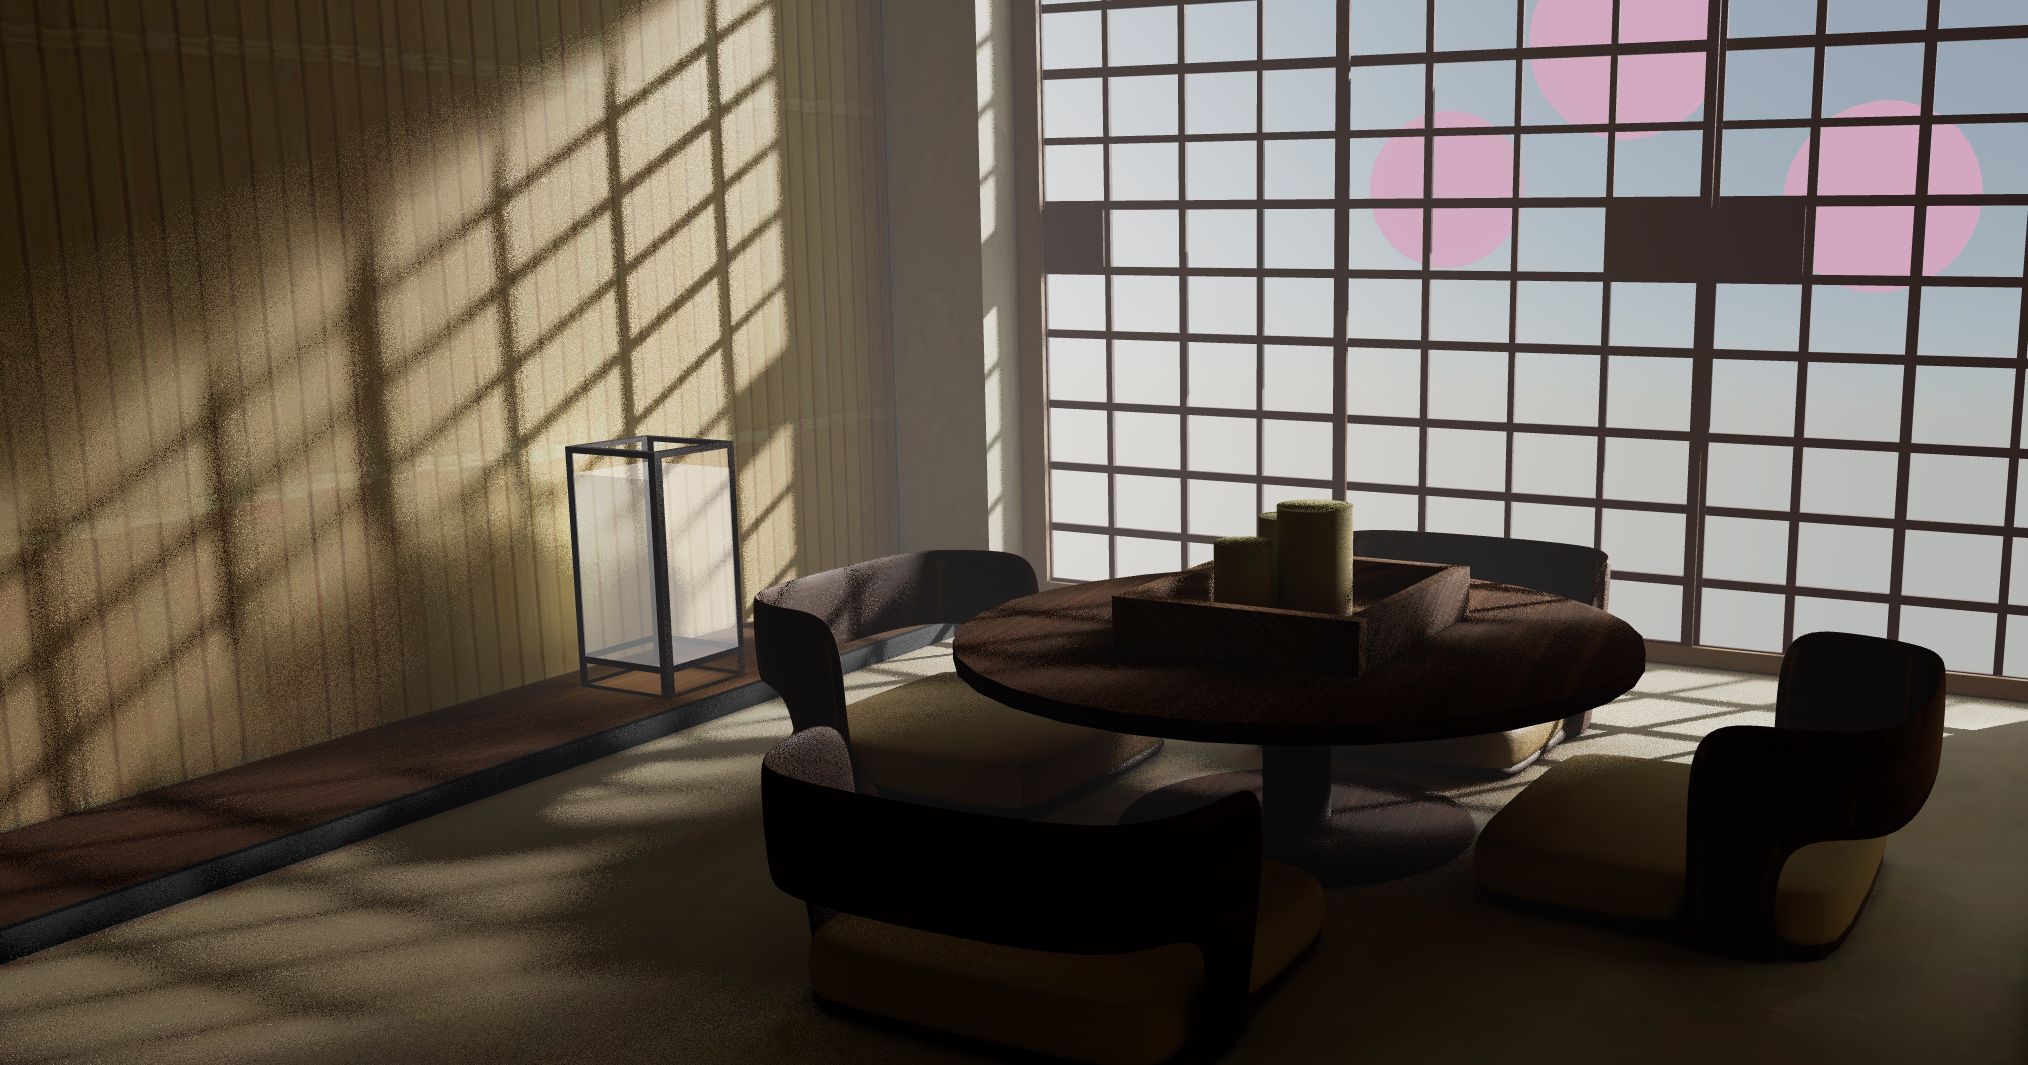
MeshReflectorMaterial
Easily add reflections and/or blur to any mesh. It takes surface roughness into account for a more realistic effect. This material extends from THREE.MeshStandardMaterial and accepts all its props.
Staging
AccumulativeShadows
A planar, Y-up oriented shadow-catcher that can accumulate into soft shadows and has zero performance impact after all frames have accumulated. It can be temporal, it will accumulate over time, or instantaneous, which might be expensive depending on how many frames you render.
Refer to storybook code on how to use & what each variable does
Caustics
drei counterpart
Caustics are swirls of light that appear when light passes through transmissive surfaces. This component uses a raymarching technique to project caustics onto a catcher plane. It is based on github/N8python/caustics.
type CausticsProps = {
frames?: number
causticsOnly: boolean
backside: boolean
ior?: number
backsideIOR?: number
worldRadius?: number
intensity?: number
color?: THREE.Color
resolution?: number
lightSource?: <THREE.Vector3>| <THREE.Object3D>
far?: number
}
It will create a transparent plane that blends the caustics of the objects it receives into your scene. It will only render once and not take resources any longer!
Make sure to configure the props above as some can be micro fractional depending on the models (intensity, worldRadius, ior and backsideIOR especially).
The light source can either be defined by Vector3 or by an object3d. Use the latter if you want to control the light source, for instance in order to move or animate it. Runtime caustics with frames set to Infinity, a low resolution and no backside can be feasible.
let caustics = Caustics(renderer, {
frames: Infinity,
resolution: 1024,
worldRadius: 0.3,
...
})
scene.add(caustics.group)
caustics.scene.add(yourMesh)
caustics.update()
caustics.scene.add(caustics.helper)
Caustics function returns the following
export type CausticsType = {
scene: THREE.Scene
group: THREE.Group
helper: THREE.CameraHelper
params: CausticsProps
update: () => void
normalTarget: THREE.WebGLRenderTarget
normalTargetB: THREE.WebGLRenderTarget
causticsTarget: THREE.WebGLRenderTarget
causticsTargetB: THREE.WebGLRenderTarget
}
Integrating with frontend frameworks
If you are using a frontend framework, the construction of Caustics effect by calling Caustics() might not be enough due to how frameworks handle the component life-cycle, changes when props change, and content projection / rendering children.
To accommodate this use-case, @pmndrs/vanilla exports the following symbols to help you integrate the caustics effect with your frontend framework:
CausticsProjectionMaterial: A material that projects the caustics onto the catcher plane.CausticsMaterial: A material that renders the caustics.createCausticsUpdate: A function that accepts an updateParameters function/getter and creates an update function for the caustics effect. This function should be called in the animation loop implementation of your framework, and updateParameters should return the latest value of the parameters based on your framework's state management.
export function createCausticsUpdate(
  updateParameters: () => {
    params: Omit<CausticsProps, 'color'>
    scene: THREE.Scene
    group: THREE.Group
    camera: THREE.OrthographicCamera
    plane: THREE.Mesh<PlaneGeometry, InstanceType<typeof CausticsProjectionMaterial>>
    normalTarget: THREE.WebGLRenderTarget
    normalTargetB: THREE.WebGLRenderTarget
    causticsTarget: THREE.WebGLRenderTarget
    causticsTargetB: THREE.WebGLRenderTarget
    helper?: THREE.CameraHelper | null
  }
): (gl: THREE.WebGLRenderer) => void
Cloud
drei counterpart
Instanced Mesh/Particle based cloud.
type CloudsProps = {
texture?: Texture | undefined
limit?: number
range?: number
material?: typeof Material
frustumCulled?: boolean
}
type CloudProps = {
seed?: number
segments?: number
bounds?: Vector3
concentrate?: 'random' | 'inside' | 'outside'
scale?: Vector3
volume?: number
smallestVolume?: number
distribute?: ((cloud: CloudState, index: number) => { point: Vector3; volume?: number }) | null
growth?: number
speed?: number
fade?: number
opacity?: number
color?: Color
}
Usage
clouds = new Clouds({ texture: cloudTexture })
scene.add(clouds)
cloud_0 = new Cloud()
clouds.add(cloud_0)
clouds.update(camera, clock.getElapsedTime(), clock.getDelta())
CameraShake
drei counterpart
A class for applying a configurable camera shake effect. Currently only supports rotational camera shake. Pass a camera object in the constructor.
If you use camera controls (like OrbitControls), call .updateInitialRotation() after the camera is moved to keep the shake relative to the new orientation.
Usage:
const shake = new CameraShake(camera)
orbitControls.addEventListener('change', () => {
shake.updateInitialRotation()
})
function animate() {
shake.update(delta, elapsedTime)
}
Shake Options:
shake.maxYaw= 0.1,
shake.maxPitch= 0.1,
shake.maxRoll= 0.1,
shake.yawFrequency= 0.1,
shake.pitchFrequency= 0.1,
shake.rollFrequency= 0.1,
shake.intensity= 1,
shake.decay= false,
shake.decayRate= 0.65,
Sparkles
drei counterpart
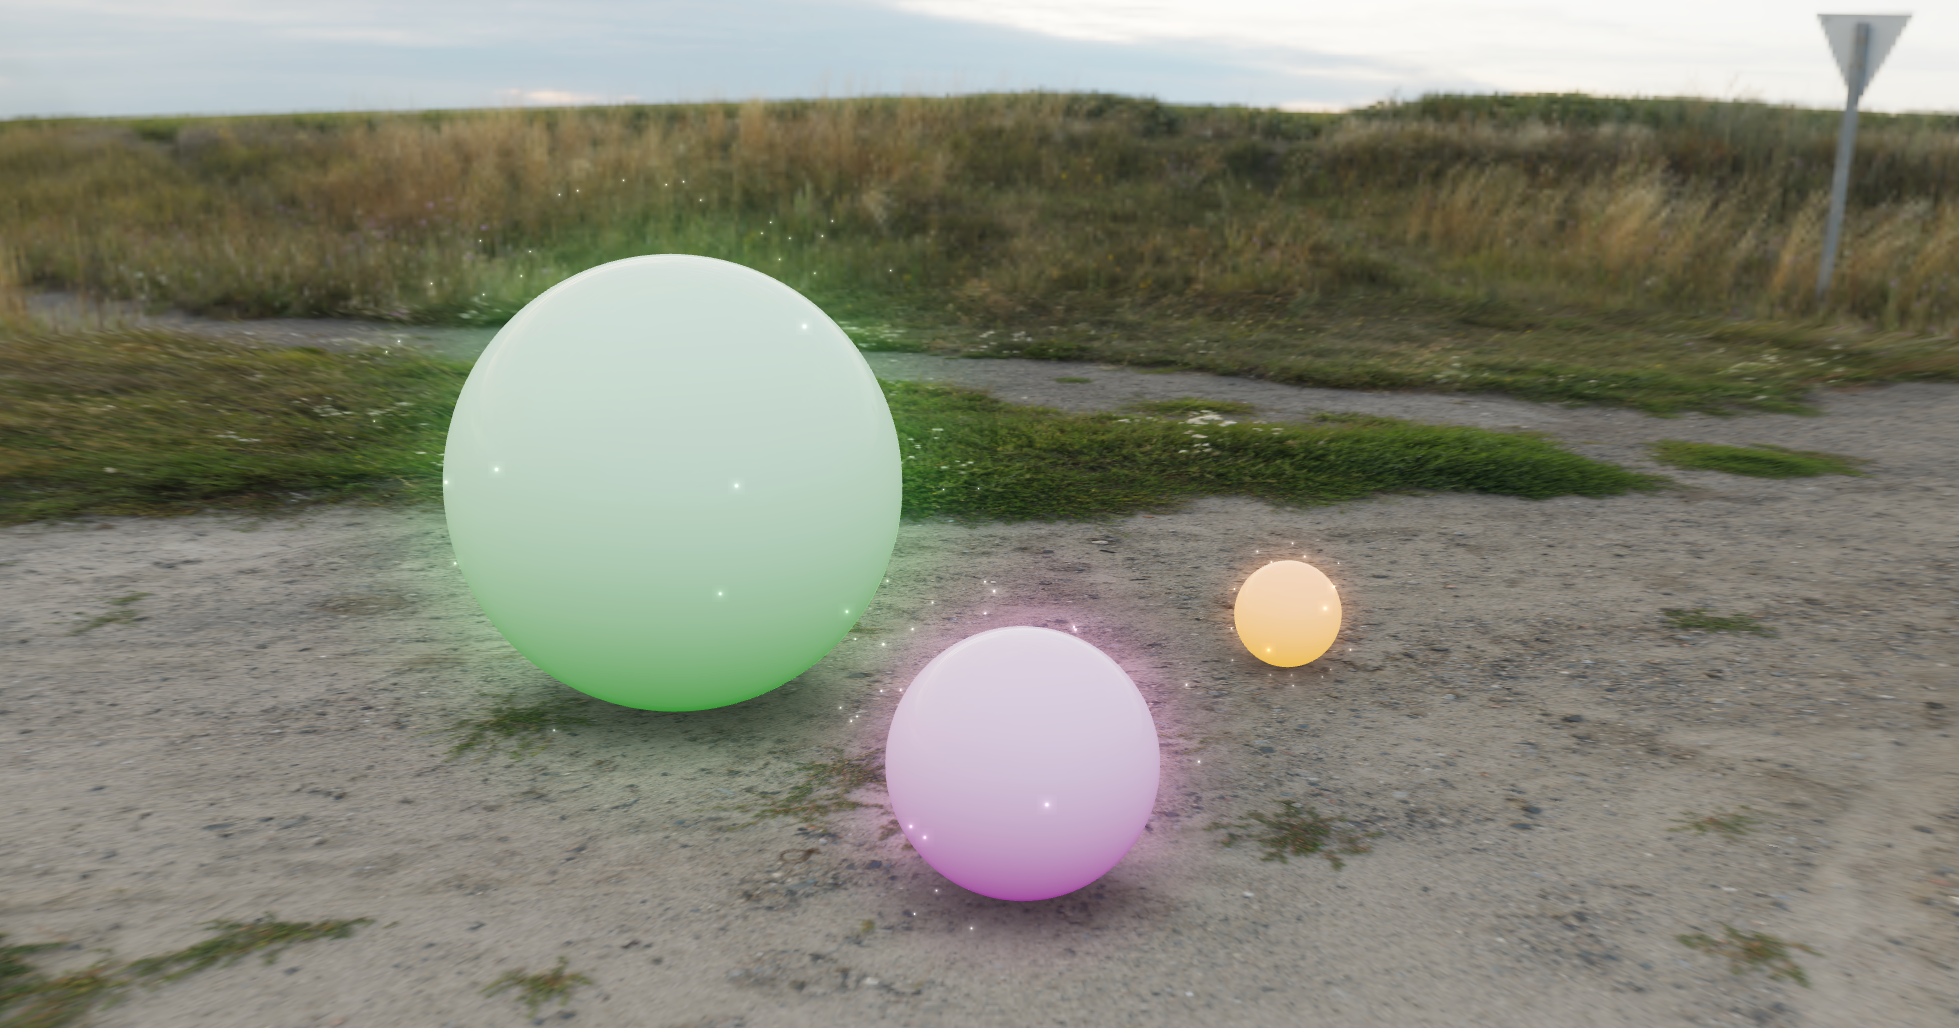
Floating, glowing particles.
SparklesProps = {
count?: number
speed?: number | Float32Array
opacity?: number | Float32Array
color?: THREE.ColorRepresentation | Float32Array
size?: number | Float32Array
scale?: number | [number, number, number] | THREE.Vector3
noise?: number | [number, number, number] | THREE.Vector3 | Float32Array
}
Custom shaders are allowed. Sparkles will use the following attributes and uniforms:
Usage
const sparkles = new Sparkles(sparklesProps)
sparkles.setPixelRatio(renderer.getPixelRatio())
scene.add(sparkles)
function animate() {
sparkles.update(elapsedTime)
...
}
Stars
Adds a blinking shader-based starfield to your scene.
export type StarsProps = {
radius?: number
depth?: number
count?: number
factor?: number
saturation?: number
fade?: boolean
speed?: number
}
Usage
const stars = new Stars(starParams)
scene.add(stars)
function animate() {
stars.update(elapsedTime)
...
}
Gizmos
Grid
drei counterpart
A y-up oriented, shader-based grid implementation.
export type GridProps = {
args?: Array<number>
cellSize?: number
cellThickness?: number
cellColor?: THREE.ColorRepresentation
sectionSize?: number
sectionThickness?: number
sectionColor?: THREE.ColorRepresentation
followCamera?: boolean
infiniteGrid?: boolean
fadeDistance?: number
fadeStrength?: number
}
Usage
grid = Grid({
args: [10.5, 10.5],
cellSize: 0.6,
cellThickness: 1,
cellColor: new THREE.Color('#6f6f6f'),
sectionSize: 3.3,
sectionThickness: 1.5,
sectionColor: new THREE.Color('#9d4b4b'),
fadeDistance: 25,
fadeStrength: 1,
followCamera: false,
infiniteGrid: true,
})
scene.add(grid.mesh)
grid.update(camera)
Grid function returns the following
export type GridType = {
mesh: THREE.Mesh
update: (camera: THREE.Camera) => void
}
Abstractions
Outlines
drei counterpart
An ornamental component that extracts the geometry from its parent and displays an inverted-hull outline. Supported parents are THREE.Mesh, THREE.SkinnedMesh and THREE.InstancedMesh.
export type OutlinesProps = {
color?: THREE.Color
screenspace?: boolean
opacity?: number
transparent?: boolean
thickness?: number
angle?: number
toneMapped?: boolean
polygonOffset?: boolean
polygonOffsetFactor?: number
renderOrder?: number
gl?: THREE.WebGLRenderer
}
Usage
const outlines = Outlines()
const mesh = new THREE.Mesh(geometry, material)
mesh.add(outlines.group)
outlines.generate()
scene.add(mesh)
Outlines function returns the following
export type OutlinesType = {
  group: THREE.Group
  updateProps: (props: Partial<OutlinesProps>) => void
  generate: () => void
}
Billboard
drei counterpart
Adds a THREE.Group that always faces the camera.
export type BillboardProps = {
follow?: boolean
lockX?: boolean
lockY?: boolean
lockZ?: boolean
}
Usage
const billboard = Billboard()
const mesh = new THREE.Mesh(geometry, material)
billboard.group.add(mesh)
scene.add(billboard.group)
billboard.update(camera)
Billboard function returns the following
export type BillboardType = {
group: THREE.Group
update: (camera: THREE.Camera) => void
updateProps: (newProps: Partial<BillboardProps>) => void
}
Text [EXTERNAL]
drei counterpart
Hi-quality text rendering w/ signed distance fields (SDF) and antialiasing, using troika-3d-text.
Splat
drei counterpart
A declarative abstraction around antimatter15/splat. It supports re-use, multiple splats with correct depth sorting, splats can move and behave as a regular object3d's, supports alphahash & alphatest, and stream-loading.
const loader = new SplatLoader(renderer)
const [shoeSplat, plushSplat, kitchenSplat] = await Promise.all([
loader.loadAsync(`shoe.splat`),
loader.loadAsync(`plush.splat`),
loader.loadAsync(`kitchen.splat`),
])
const shoe1 = new Splat(shoeSplat, camera, { alphaTest: 0.1 })
shoe1.position.set(0, 1.6, 2)
scene.add(shoe1)
const shoe2 = new Splat(shoeSplat, camera, { alphaTest: 0.1 })
scene.add(shoe2)
const plush = new Splat(plushSplat, camera, { alphaTest: 0.1 })
scene.add(plush)
const kitchen = new Splat(kitchenSplat, camera)
scene.add(kitchen)
In order to depth sort multiple splats correctly you can either use alphaTest, for instance with a low value. But keep in mind that this can show a slight outline under some viewing conditions.
You can also use alphaHash, but this can be slower and create some noise, you would typically get rid of the noise in postprocessing with a TAA pass. You don't have to use alphaHash on all splats.
const plush = new Splat(plushSplat, camera, { alphaHash: true })
Trail
drei counterpart
A declarative, three.MeshLine based Trails implementation. Add this to the scene, set the target to any mesh and it will give it a beautiful trail.
Props defined below
export type TrailProps = {
target: THREE.Object3D
width: number
length: number
decay: number
local: boolean
stride: number
interval: number
instanceCount: number
color?: THREE.ColorRepresentation
attenuation?: (width: number) => number
geometry: THREE.BufferGeometry
material: THREE.Material
}
Usage
const trail = new Trail({ target:targetMesh })
scene.add(trail)
...
trail.updateSize(w, h)
trail.update()
The lines are generated using meshline library
So its material properties can be accessed via trailMesh.trailData.material
Misc
Sprite Animator
drei counterpart
type SpriteAnimatorProps = {
startFrame?: number
endFrame?: number
fps?: number
frameName?: string
textureDataURL?: string
textureImageURL?: string
loop?: boolean
numberOfFrames?: number
autoPlay?: boolean
animationNames?: Array<string>
onStart?: Function
onEnd?: Function
onLoopEnd?: Function
onFrame?: Function
play?: boolean
pause?: boolean
flipX?: boolean
alphaTest?: number
asSprite?: boolean
}
The SpriteAnimator is a powerful tool for animating sprites in a simple and efficient manner. It allows you to create sprite animations by cycling through a sequence of frames from a sprite sheet image or JSON data.
Notes:
- The SpriteAnimator uses
.update() method added to requestAnimation frame loop to for efficient frame updates and rendering.
- The sprites should contain equal size frames
- Trimming of spritesheet frames is not yet supported
Usage
const alienSpriteAnimator = SpriteAnimator({
startFrame: 0,
autoPlay: true,
loop: true,
numberOfFrames: 16,
alphaTest: 0.01,
textureImageURL: './sprites/alien.png',
})
await AlienSpriteAnimator.init()
alienSpriteAnimator.group.position.set(0, 0.5, 2)
scene.add(alienSpriteAnimator.group)
SpriteAnimator function returns the following object
export type SpriteAnimatorType = {
group: THREE.Group
init: Function
update: Function
pauseAnimation: Function
playAnimation: Function
setFrameName: Function
}
Portals
MeshPortalMaterial
drei counterpart
A material that creates a portal into another scene. It is drawn onto the geometry of the mesh that it is applied to. It uses RenderTexture internally, but counteracts the perspective shift of the texture surface, the portals contents are thereby masked by it but otherwise in the same position as if they were in the original scene.
export type PortalMaterialType = {
map: THREE.Texture
resolution: THREE.Vector2
sdf?: THREE.Texture | null
blur: number
}
Usage:
const rendererSize = new THREE.Vector2()
const portalRenderTarget = new THREE.WebGLRenderTarget(512, 512)
const scene = new THREE.Scene()
const portalScene = new THREE.Scene()
const portalGeometry = new THREE.PlaneGeometry(2, 2)
const portalMaterial = new MeshPortalMaterial({
map: portalRenderTarget.texture,
resolution: rendererSize,
})
portalMesh = new THREE.Mesh(portalGeometry, portalMaterial)
window.onresize = () => {
...
renderer.getSize(rendererSize)
rendererSize.multiplyScalar(renderer.getPixelRatio())
}
renderer.setAnimationLoop(() => {
renderer.setRenderTarget(portalRenderTarget)
renderer.render(portalScene, camera)
renderer.setRenderTarget(null)
renderer.render(scene, camera)
})
You can optionally fade or blur the edges of the portal by providing a sdf texture, do not forget to make the material transparent in that case. It uses SDF flood-fill to determine the shape, you can thereby blur any geometry. Import the helper function meshPortalMaterialApplySDF to auto apply the sdf mask.
const portalMaterial = new MeshPortalMaterial({
map: portalRenderTarget.texture,
resolution: rendererSize,
transparent: true,
blur: 0.5,
})
portalMesh = new THREE.Mesh(portalGeometry, portalMaterial)
meshPortalMaterialApplySDF(portalMesh, 512, renderer)
scene.add(portalMesh)


