Get Started
Step 1. Create an app
- Log in to the Chat console.
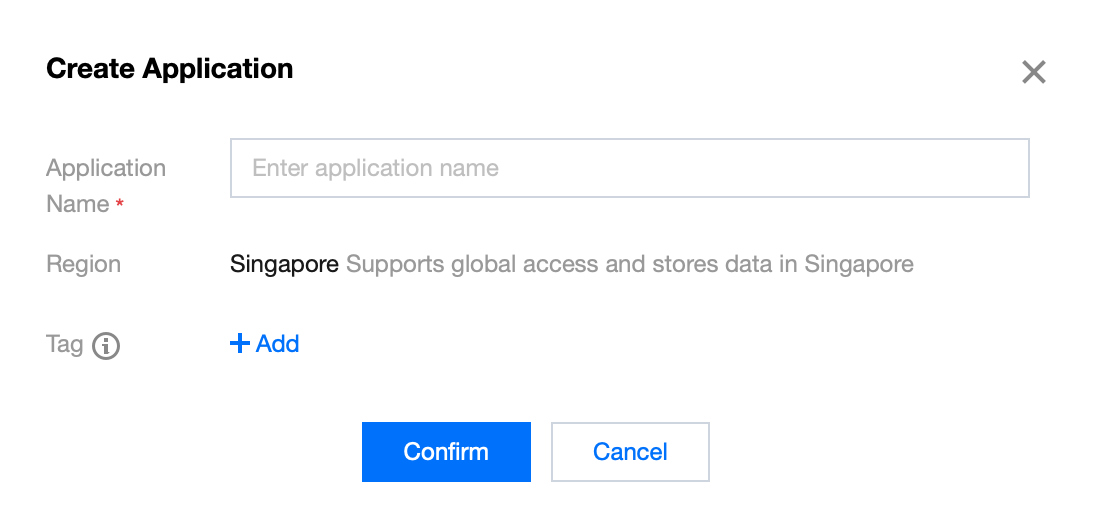
- Click
Create Application, enter your app name, and click Confirm.
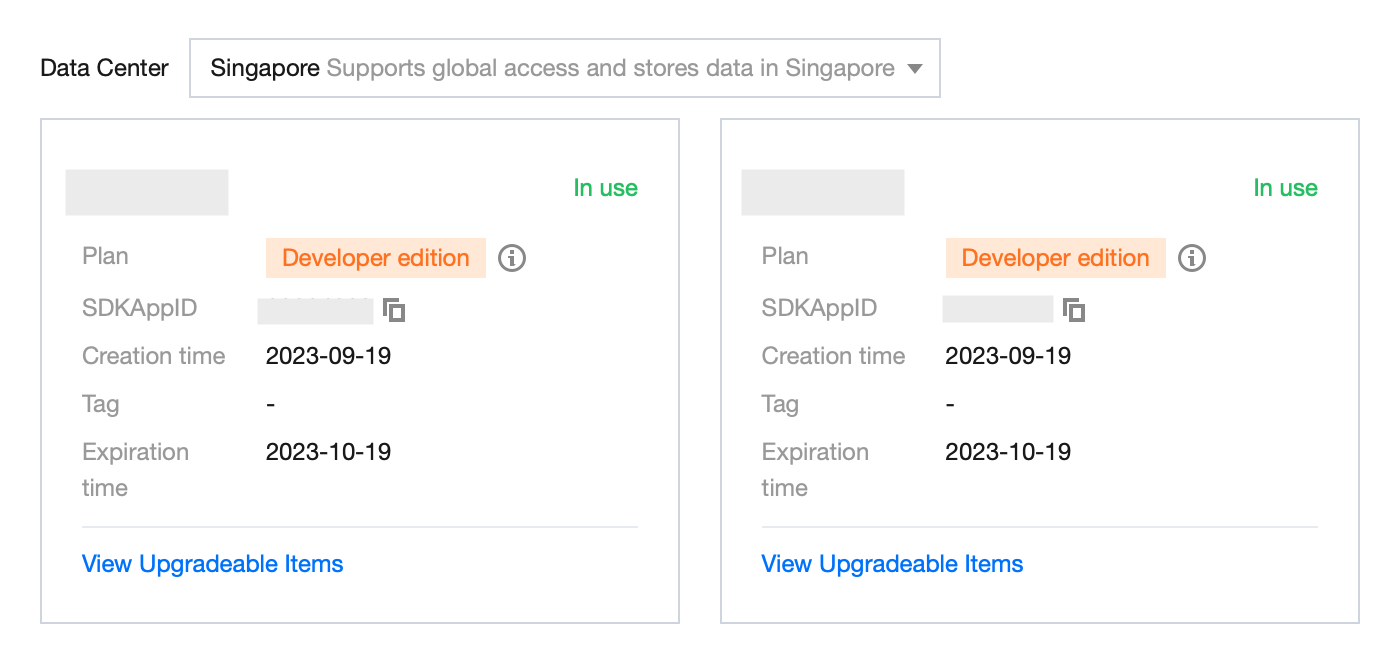
- After creation, you can see the status, service version, SDKAppID, creation time, tag, and expiration time of the new app on the overview page of the console.
Step 2. Obtain the SDKAppID and SECRETKEY
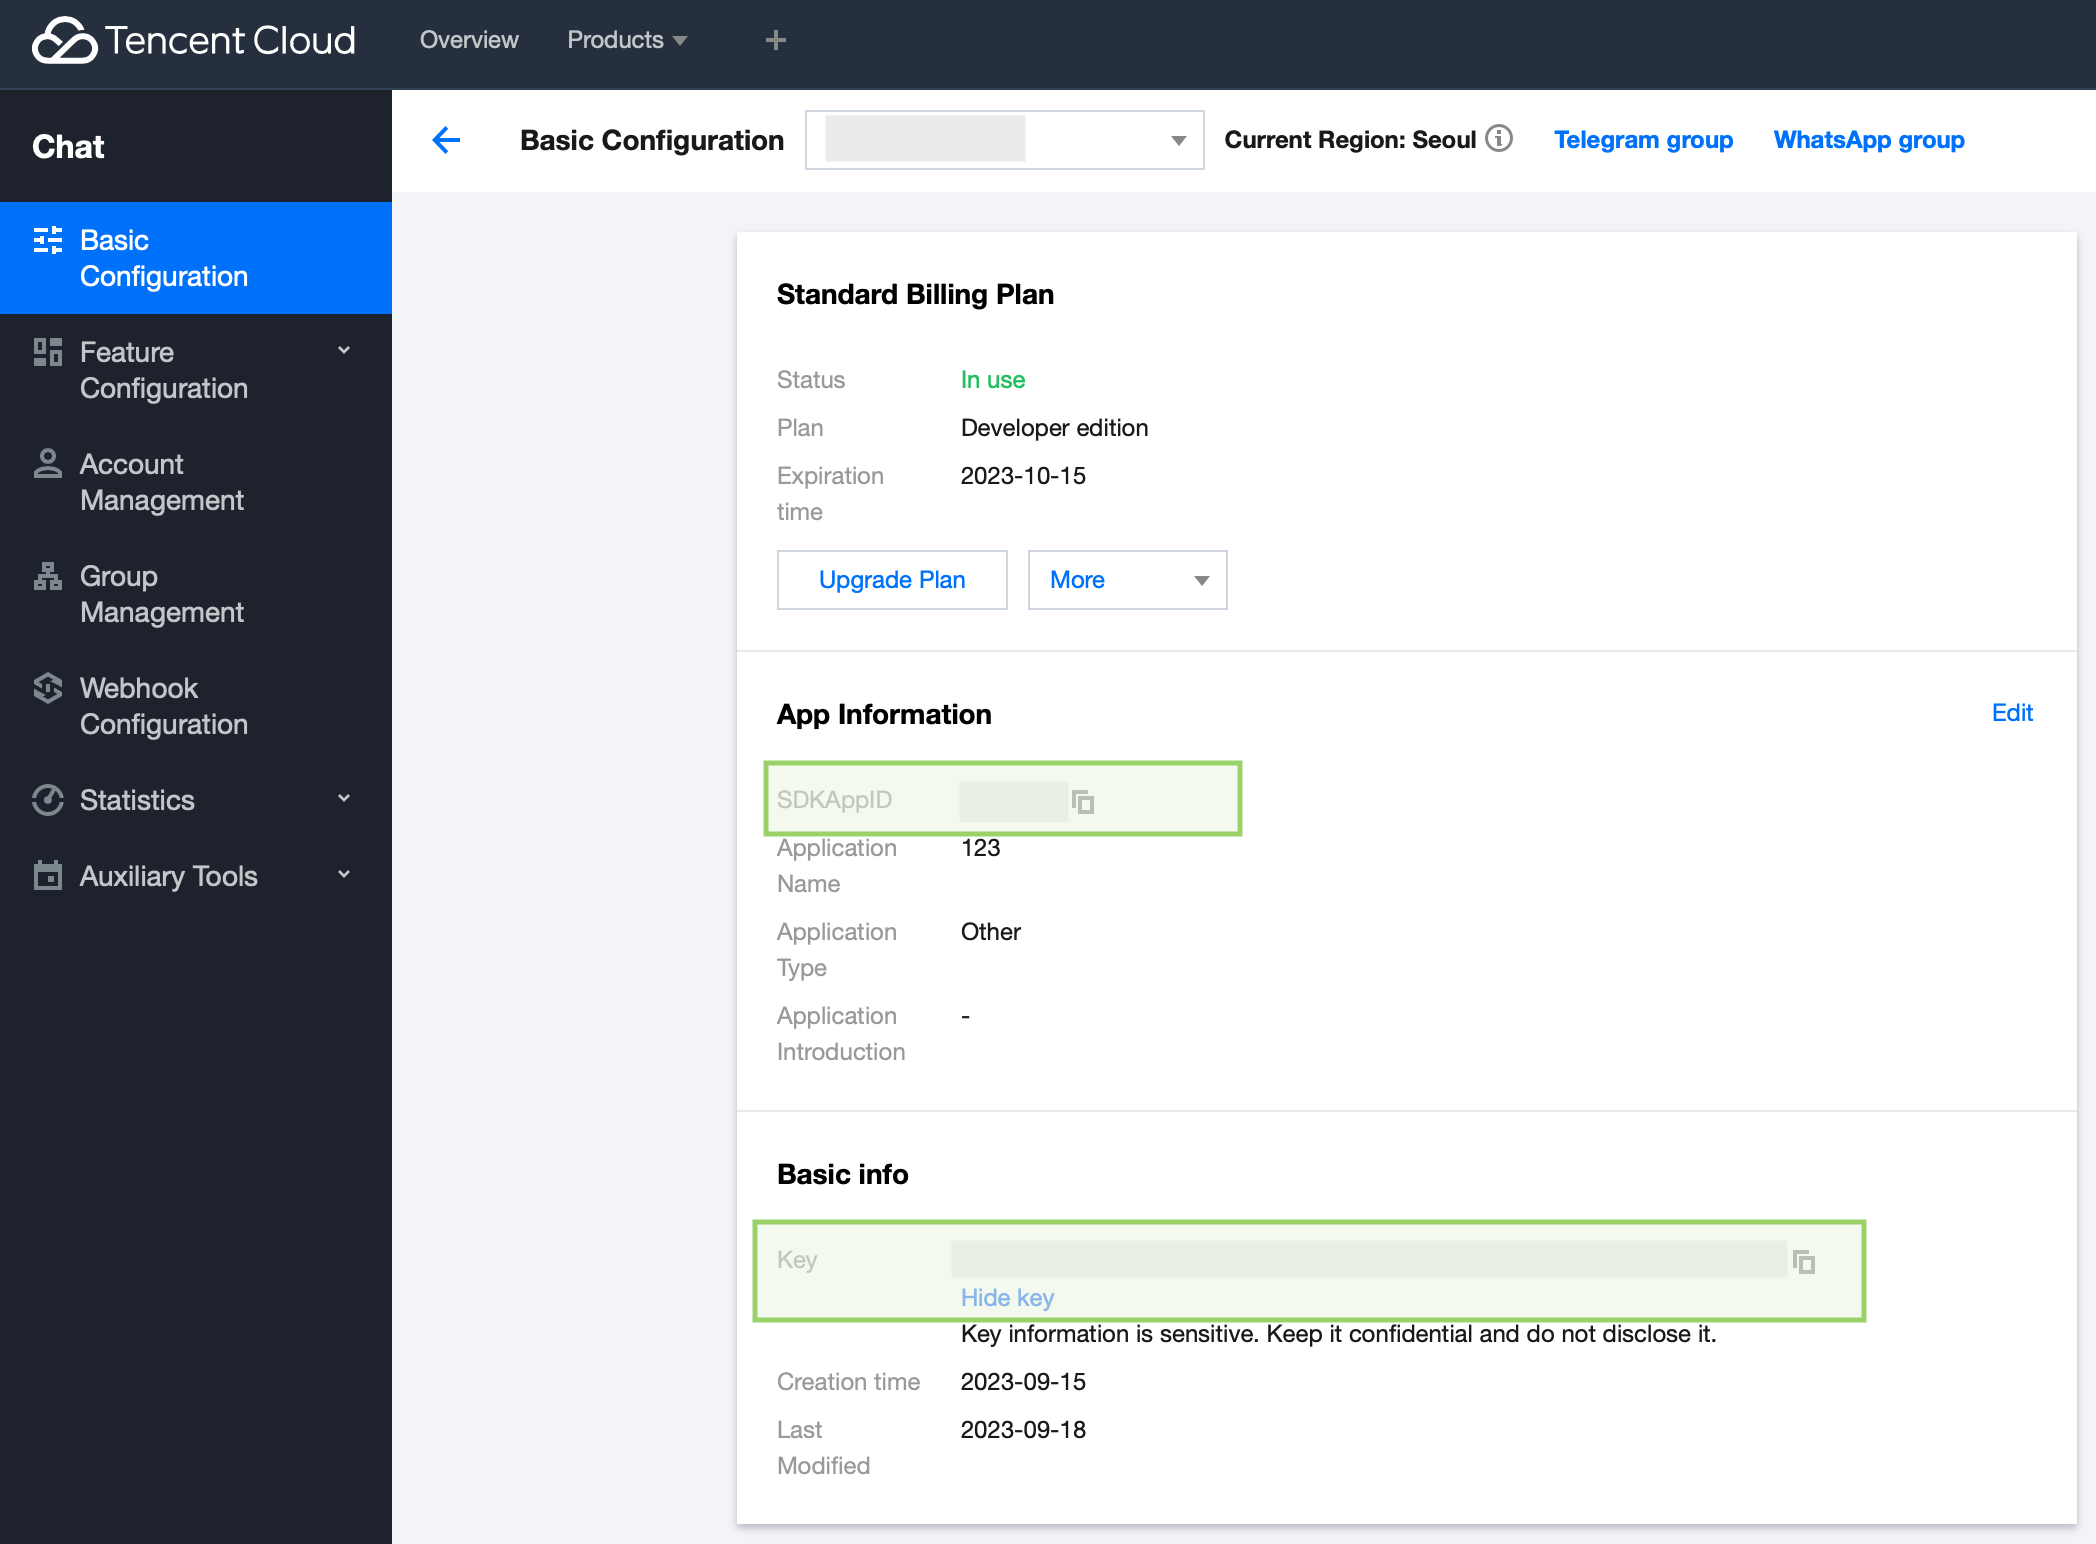
- Click the target app card to go to the basic configuration page of the app.
- In the Basic info area, click
Display key, and then copy and save the key information, which is SECRETKEY.
Step 3. Download the source code and install dependencies
# Please run the following code in the terminal.
$ git clone https://github.com/TencentCloud/chat-uikit-react
$ cd chat-uikit-react
$ npm install && cd examples/live-chat && npm install
Step 4. Configure
- Open the
examples/live-chat project and locate the GenerateTestUserSig.js file in ./examples/live-chat/src/debug/GenerateTestUserSig.js. - Set the
SDKAppID and SECRETKEY obtained at Step 2.
Step 5. Run the demo
$ cd examples/live-chat
$ npm run start
Send your first message
- Run the demo in two seperate tab pages.
- In each tab page, the logged-in userID will join a live room(also called Audio-Video Group in Tencent Cloud Chat) with the ID "live-room-1".
- Enter a message in the input box and press Enter to send it. Emoji/Image/Video/Document messages are supported.
Contact Us
Join a Tencent Cloud Chat developer group for Reliable technical support & Product details & Constant exchange of ideas.
- Telegram group (EN): join
- WhatsApp group (EN): join
- Telegram group (ZH): join
- WhatsApp group (ZH): join


