homebridge-website-to-camera
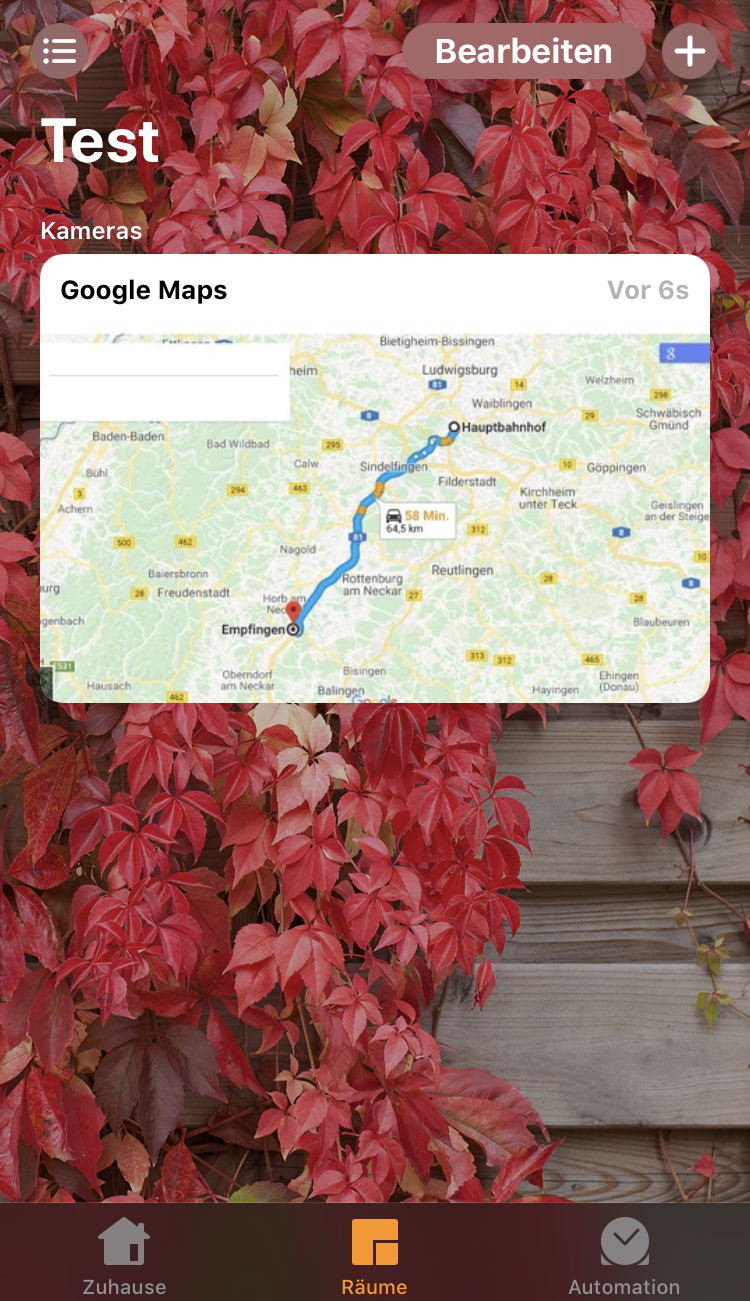
Homebridge plugin for displaying a Website (intended for Google Maps-->Traffic) as Camera


Installation
Make sure you have homebridge installed.
- Download the latest Chromium
sudo apt-get install chromium-browser - Install this plugin using:
echo "export PUPPETEER_SKIP_CHROMIUM_DOWNLOAD=true && npm install -g homebridge-website-to-camera" | sudo sh - Update your Homebridge
config.json using the sample below (append in the block 'platforms' not 'accessories')
Configuration
Update your config similar to this:
 "platforms": [
      {
         "platform": "website-camera",
         "cameras": [
            {
               "name": "Website 1",
               "url": "http://github.com",
               "width": 800,
               "height": 400,
               "chromiumPath": "/usr/bin/chromium-browser"
            }
         ]
      }
   ]
Config file
Take a look at the example config.json
Fields:
name name of the camera (required)url the URL of the website that is to be captured (required)width the width of the virtual browser window (defaults to 640)height the height of the virtual browser window (defaults to 360)chromiumPath path to chromium-executable (defaults to "/usr/bin/chromium-browser")
Usage
In some cases, the camera is not visible in Home-App:
- Press + on top right corner in Home-App
- Press
Add device - Press
Code missing - Select Camera
Background
The plugin uses Puppeteer/Chrome headless to capture the screenshots. The Browser instance stays open all the time for better performance and less CPU/Mem consumption.
TODO
- Live-Video not working yet


