Security News
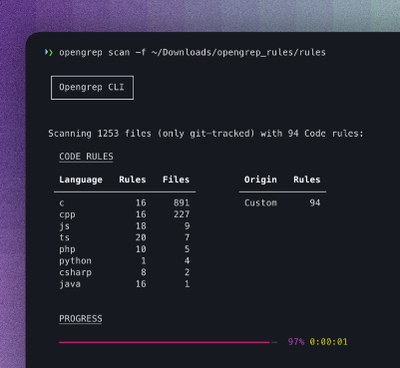
Opengrep Emerges as Open Source Alternative Amid Semgrep Licensing Controversy
Opengrep forks Semgrep to preserve open source SAST in response to controversial licensing changes.
jpush-react-native
Advanced tools
###Android Usage
npm install jpush-for-react-native --save
rnpm link jpush-for-react-native
使用Android Studio import你的React Native应用(选择你的React Native应用所在目录下的android文件夹即可)
修改android项目下的setting.gradle配置:
setting.gradle
include ':app', ':jpush-for-react-native'
project(':jpush-for-react-native').projectDir = new File(rootProject.projectDir, '../node_modules/jpush-for-react-native/android')
your react native project/android/app/build.gradle
dependencies {
    compile fileTree(dir: "libs", include: ["*.jar"])
    compile project(':jpush-for-react-native')
    compile "com.facebook.react:react-native:+"  // From node_modules
}

jpush-for-react-native/android/build.gradle

将此处的yourAppKey替换成你在官网上申请的应用的AppKey
app/MainActivity.java

import JPushModule from 'jpush-for-react-native';

...

componentDidMount() {
    JPushModule.addReceiveCustomMsgListener((message) => {
      this.setState({pushMsg: message});
    });
    JPushModule.addReceiveNotificationListener((message) => {
      console.log("receive notification: " + message);
    })
  }

  componentWillUnmount() {
    JPushModule.removeReceiveCustomMsgListener();
    JPushModule.removeReceiveNotificationListener();
  }
关于JPushModule的具体方法可以参考jpush-for-react-native文件夹下的index.js文件,此处将方法罗列如下:
JPushModule.getInfo((map) => {
      this.setState({
            appkey: map.myAppKey,
            imei: map.myImei,
            package: map.myPackageName,
            deviceId: map.myDeviceId,
            version: map.myVersion
      });
    });
####iOS Usage
- (void)application:(UIApplication *)application
didRegisterForRemoteNotificationsWithDeviceToken:(NSData *)deviceToken {
  [JPUSHService registerDeviceToken:deviceToken];
}
贡献者列表
FAQs
React Native JPush component for Android and iOS
The npm package jpush-react-native receives a total of 75 weekly downloads. As such, jpush-react-native popularity was classified as not popular.
We found that jpush-react-native demonstrated a healthy version release cadence and project activity because the last version was released less than a year ago. It has 0 open source maintainers collaborating on the project.
Did you know?

Socket for GitHub automatically highlights issues in each pull request and monitors the health of all your open source dependencies. Discover the contents of your packages and block harmful activity before you install or update your dependencies.

Security News
Opengrep forks Semgrep to preserve open source SAST in response to controversial licensing changes.

Security News
Critics call the Node.js EOL CVE a misuse of the system, sparking debate over CVE standards and the growing noise in vulnerability databases.

Security News
cURL and Go security teams are publicly rejecting CVSS as flawed for assessing vulnerabilities and are calling for more accurate, context-aware approaches.