Mineflayer


Create Minecraft bots with a powerful, stable, and high level JavaScript API, also usable from Python.
First time using Node.js? You may want to start with the tutorial. Know Python? Checkout some Python examples and try out Mineflayer on Google Colab.
Features
- Supports Minecraft 1.8, 1.9, 1.10, 1.11, 1.12, 1.13, 1.14, 1.15, 1.16, 1.17, 1.18 and 1.19.
- Entity knowledge and tracking.
- Block knowledge. You can query the world around you. Milliseconds to find any block.
- Physics and movement - handle all bounding boxes
- Attacking entities and using vehicles.
- Inventory management.
- Crafting, chests, dispensers, enchantment tables.
- Digging and building.
- Miscellaneous stuff such as knowing your health and whether it is raining.
- Activating blocks and using items.
- Chat.
Roadmap
Checkout this page to see what our current projects are.
Installation
First install Node.js >= 14 from nodejs.org then:
npm install mineflayer
To update mineflayer (or any Node.js) package and its dependencies, use npm update --depth 9999
Documentation
Contribute
Please read CONTRIBUTING.md and prismarine-contribute
Usage
Videos
A tutorial video explaining the basic set up process for a bot can be found here.
If you want to learn more, more video tutorials are there, and the corresponding source codes for those bots is there.


Getting Started
Without a version specified, the version of the server will be guessed automatically.
Without auth specified, the mojang auth style will be guessed.
Echo Example
const mineflayer = require('mineflayer')
const bot = mineflayer.createBot({
host: 'localhost',
username: 'email@example.com',
auth: 'microsoft'
})
bot.on('chat', (username, message) => {
if (username === bot.username) return
bot.chat(message)
})
bot.on('kicked', console.log)
bot.on('error', console.log)
See what your bot is doing
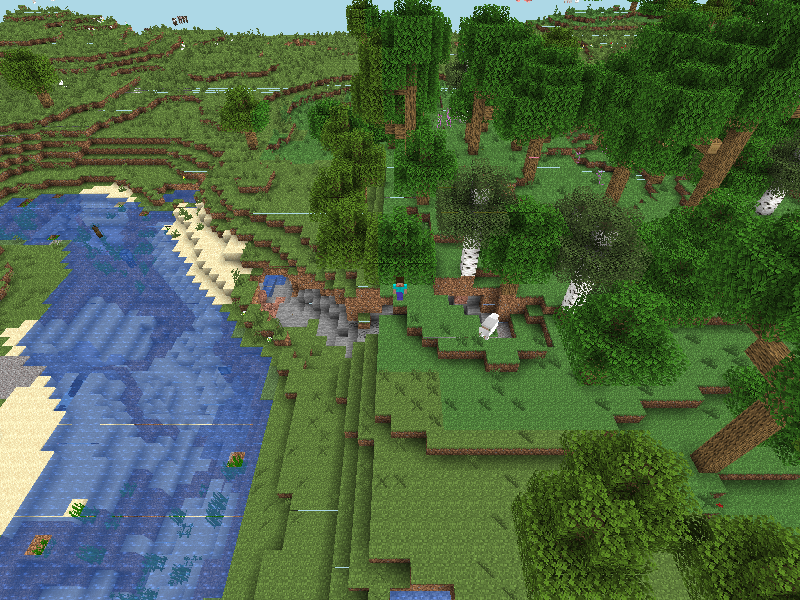
Thanks to the prismarine-viewer project, it's possible to display in a browser window what your bot is doing.
Just run npm install prismarine-viewer and add this to your bot:
const { mineflayer: mineflayerViewer } = require('prismarine-viewer')
bot.once('spawn', () => {
mineflayerViewer(bot, { port: 3007, firstPerson: true })
})
And you'll get a live view looking like this:

More Examples
| example | description |
|---|
| viewer | Display your bot world view in the browser |
| pathfinder | Make your bot go to any location automatically |
| chest | Use chests, furnaces, dispensers, enchantment tables |
| digger | Learn how to create a simple bot that is capable of digging blocks |
| discord | Connect a discord bot with a mineflayer bot |
| jumper | Learn how to move, jump, ride vehicles, attack nearby entities |
| ansi | Display your bot's chat with all of the chat colors shown in your terminal |
| guard | Make a bot guard a defined area from nearby mobs |
| multiple-from-file | Add a text file with accounts and have them all login |
And many more in the examples folder.
Modules
A lot of the active development is happening inside of small npm packages which are used by mineflayer.
The Node Way™
"When applications are done well, they are just the really application-specific, brackish residue that can't be so easily abstracted away. All the nice, reusable components sublimate away onto github and npm where everybody can collaborate to advance the commons." — substack from "how I write modules"
Modules
These are the main modules that make up mineflayer:
Debug
You can enable some protocol debugging output using DEBUG environment variable:
DEBUG="minecraft-protocol" node [...]
On windows :
set DEBUG=minecraft-protocol
node your_script.js
Third Party Plugins
Mineflayer is pluggable; anyone can create a plugin that adds an even
higher level API on top of Mineflayer.
The most updated and useful are :
- pathfinder - advanced A* pathfinding with a lot of configurable features
- prismarine-viewer - simple web chunk viewer
- web-inventory - web based inventory viewer
- statemachine - A state machine API for more complex bot behaviors
- Armor Manager - automatic armor management
- Dashboard - Frontend dashboard for mineflayer bot
- PVP - Easy API for basic PVP and PVE.
- Auto Eat - Automatic eating of food.
- Auto Crystal - Automatic placing & breaking of end crystals.
- Tool - A utility for automatic tool/weapon selection with a high level API.
- Hawkeye - A utility for using auto-aim with bows.
- GUI - Interact with nested GUI windows using async/await
- Projectile - Get the required launch angle for projectiles
- Movement - Smooth and realistic player movement, best suited for PvP
- Collect Block - Quick and simple block collection API.
But also check out :
- radar - web based radar
interface using canvas and socket.io. YouTube Demo
- auto-auth - chat-based bot authentication
- Bloodhound - determine who and what is responsible for damage to another entity
- tps - get the current tps (processed tps)
- panorama - take Panorama Images of your world
- player-death-event - emit player death event in Mineflayer.
Projects Using Mineflayer
Testing
Testing everything
Simply run: npm test
Testing specific version
Run npm run mocha_test -- -g <version>, where <version> is a minecraft version like 1.12, 1.15.2...
Testing specific test
Run npm run mocha_test -- -g <test_name>, where <test_name> is a name of the test like bed, useChests, rayTrace...
Example
npm run mocha_test -- -g "1.18.1.*BlockFinder" to run the block finder test for 1.18.1
License
MIT


