create-flyyer-app
Create Flyyer.com app
📚 Please read the documentation here: https://docs.flyyer.io/docs/


Usage
Start by invoking create-flyyer-app.
npm init flyyer-app@latest my-project
With yarn:
yarn create flyyer-app my-project
Then cd into your new created my-project directory and install the dependencies.
cd my-project
npm install
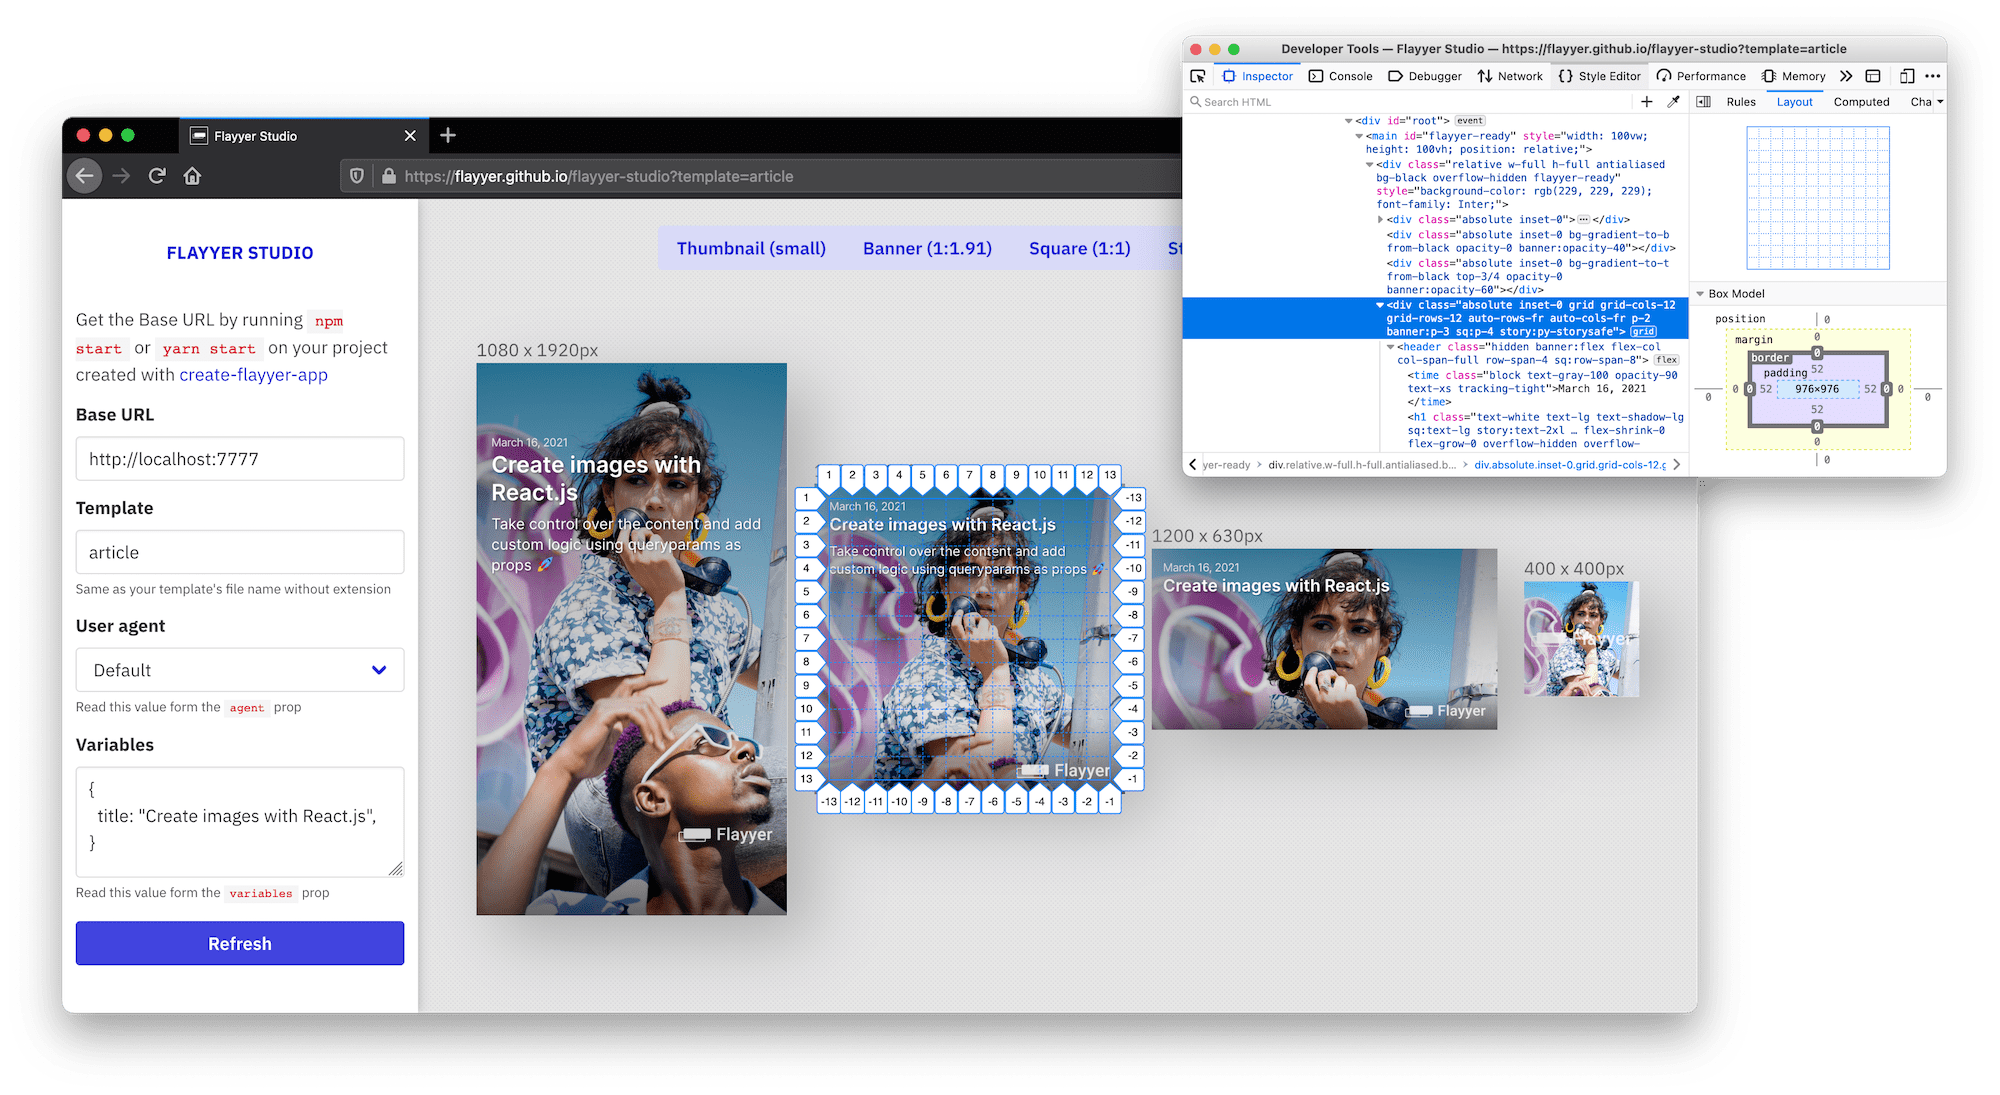
Create and edit templates inside the templates directory. Run the local server with:
npm run start
Then preview your template at https://useflyyer.github.io/studio
Once you are ready execute npm run deploy but with your API key
export FLYYER_KEY=...
export NODE_ENV=production
npm run build
npm run deploy
Get your FLYYER_KEY at https://flyyer.io/settings/keys 👈
Great! 🎉
Now your new template deck should appear there.
If you need to update your templates you can just run npm run deploy again.
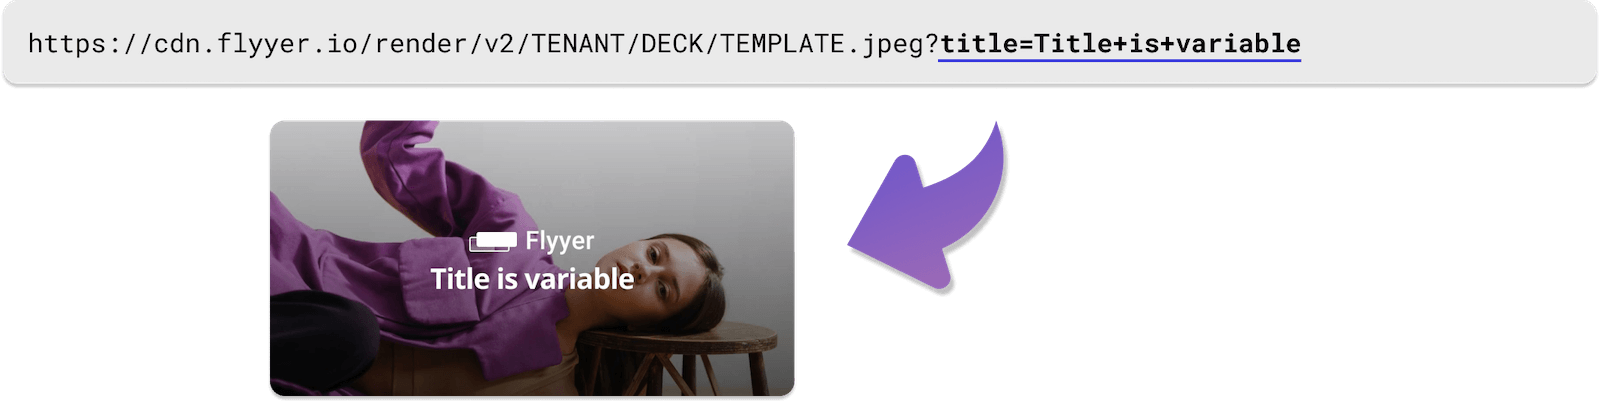
Dynamic og:image
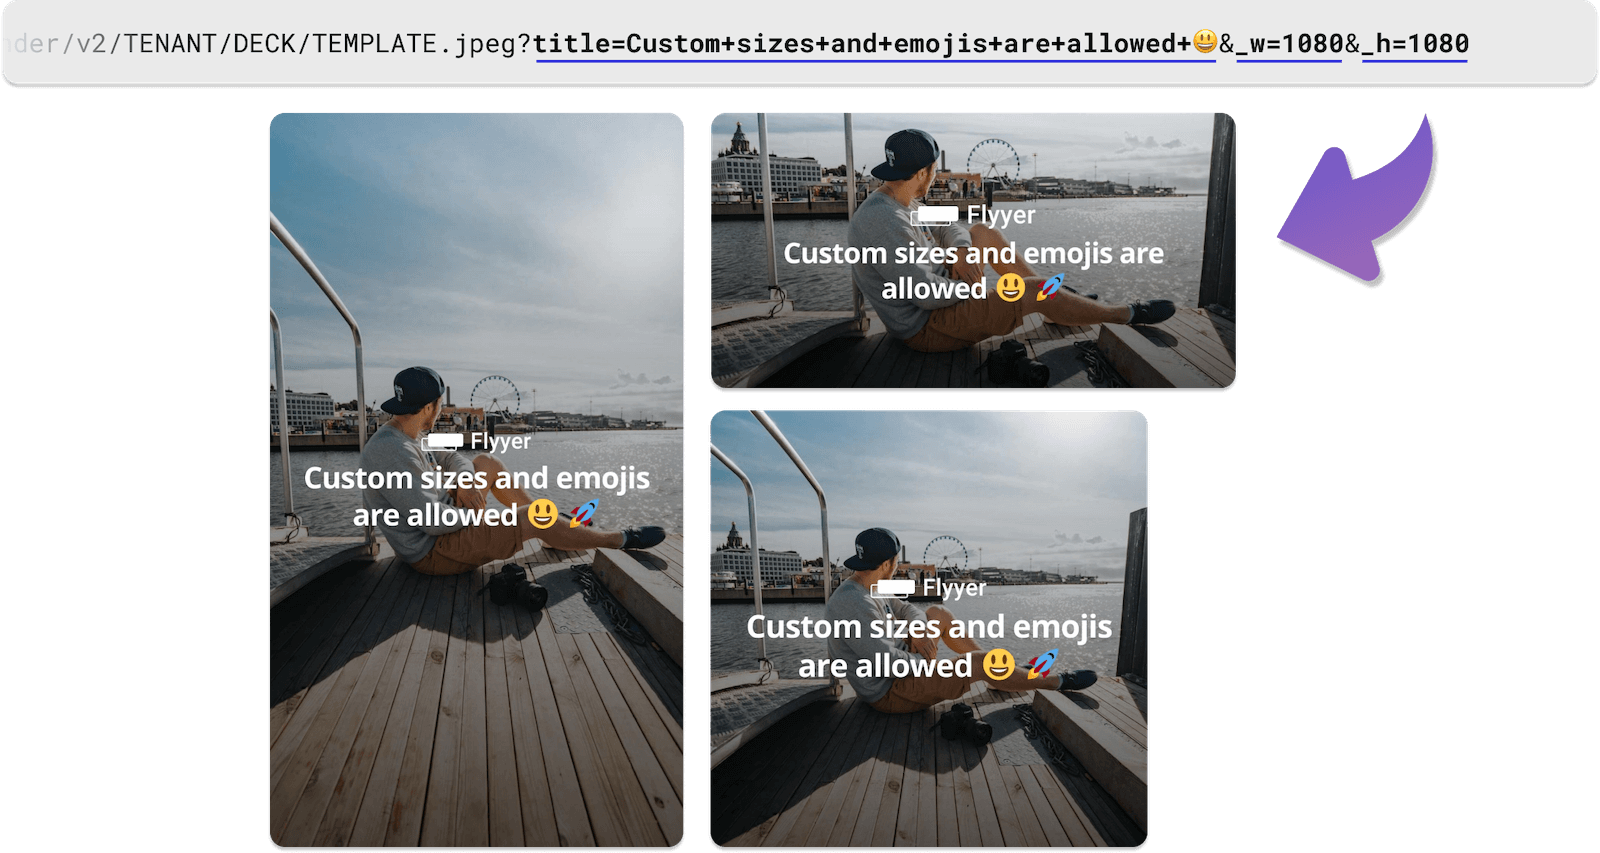
You can use the resulting URLs to create dynamic <meta property="og:image" /> for your websites.
See the official guides: https://docs.flyyer.io/guides


