React Native LiveChat
React Native component to integrate your application with LiveChat easily ;)
Works perfectly both for iOS and Android.
You can start your 30 days free trial here.
Pre requirements:
To use LiveChat in your application you need license_id.
You get one after creating account on our website.
You can check your license_id anytime here.
If you have difficulties finding your license_id please take a look at this screenshot.
Installation
All you have to do:
npm install react-native-livechat --save
Usage
Usage is very simple:
Import LiveChat component and put it in your render method:
import LiveChat from 'react-native-livechat'

...

<LiveChat license={your_license_id} />
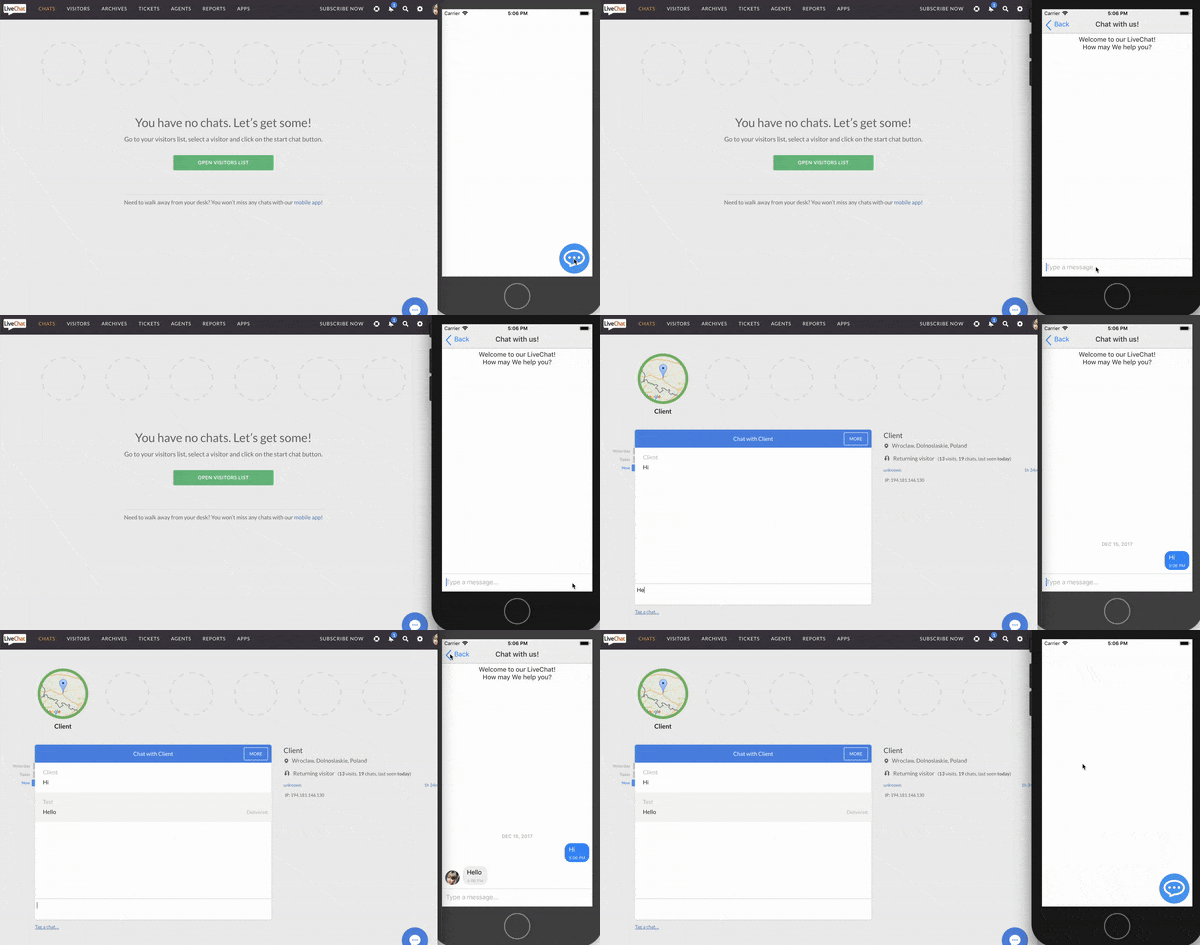
Demo

Chat Bubble
Chat bubble is a small view that by default is blue and is placed on bottom-right side of your screen.
- Can can control position of bubble by simply sending bubbleLeft and bubbleTop props.
Example:
<LiveChat bubbleLeft={0} bubbleTop={0} license={your_license_id} />
- By default bubble component is draggable and movable. You can disable this option by sending movable prop with false value.
Example:
<LiveChat movable={false} license={your_license_id} />
- If would like to change color of bubble you can simply pass bubbleColor prop with LiveChat component.
Example:
<LiveChat bubbleColor='red' license={your_license_id} />
- If you don't like appearance of this bubble at all, you can send bubble prop with your own component.
*Example: *
<LiveChat license={your_license_id}
  bubble={
  <View style={{ width: 60, height: 60, backgroundColor: 'green' }} />
  }
/>
Chat Appearance
This module uses react-native-gifted-chat for chat UI.
You can customise your chat appearance by sending props to LiveChat component like you would normally send them to GiftedChat component.
For example if you would like to control onPressAvatar to show info about agent, you can do it like this:
Example:
<LiveChat license={your_license_id}
  onPressAvatar={ info => console.warn(info) } />
You can find information about all props here: react-native-gifted-chat.
LiveChat Visitor SDK
This module uses LiveChat Visitor SDK.
You can find more information about available methods here.
To use all methods you must create LiveChat reference.
You can do it like this:
<LiveChat onLoaded={ ref => this.livechat = ref }
	license={your_license_id}/>
Let's say you want to close current chat. You can do it in two ways:
this.livechat.closeChat();
GLOBAL.visitorSDK.closeChat();
Table of all available methods:
| Name | Note |
|---|
| closeChat | Closes the chat. |
| sendMessage | Sends a message. More information about message format you can find here. |
| rateChat | Enables chat ratings. More info here. |
| setSneakPeek | Enables sneak peeks to see what the visitor is typing in before they actually send the message. More info here. |
| getVisitorData | Collects the visitor information. More info here. |
| setVisitorData | Set the visitor information. More info here. |
| getTicketForm | Get ticket form fields configured in chat window settings section in agent app. |
| sendTicketForm | Send ticket form filled in by visitor. Ticket form should be rendered using fields fetched by getTicketForm method. More info here. |
| disconnect | Disconnect Visitor SDK. A visitor won't be tracked, and you won't be notified about agent's availability status. You will be automatically connected again after using sendMessage or setVisitorData methods. |
| destroy | Disconnect Visitor SDK and unsubscribe from all callbacks. |
Support
In case of any problem you can chat with us here.
I hope you will find this module useful. Happy Coding :)


