
Security News
vlt Launches "reproduce": A New Tool Challenging the Limits of Package Provenance
vlt's new "reproduce" tool verifies npm packages against their source code, outperforming traditional provenance adoption in the JavaScript ecosystem.
@builder.io/angular
Advanced tools
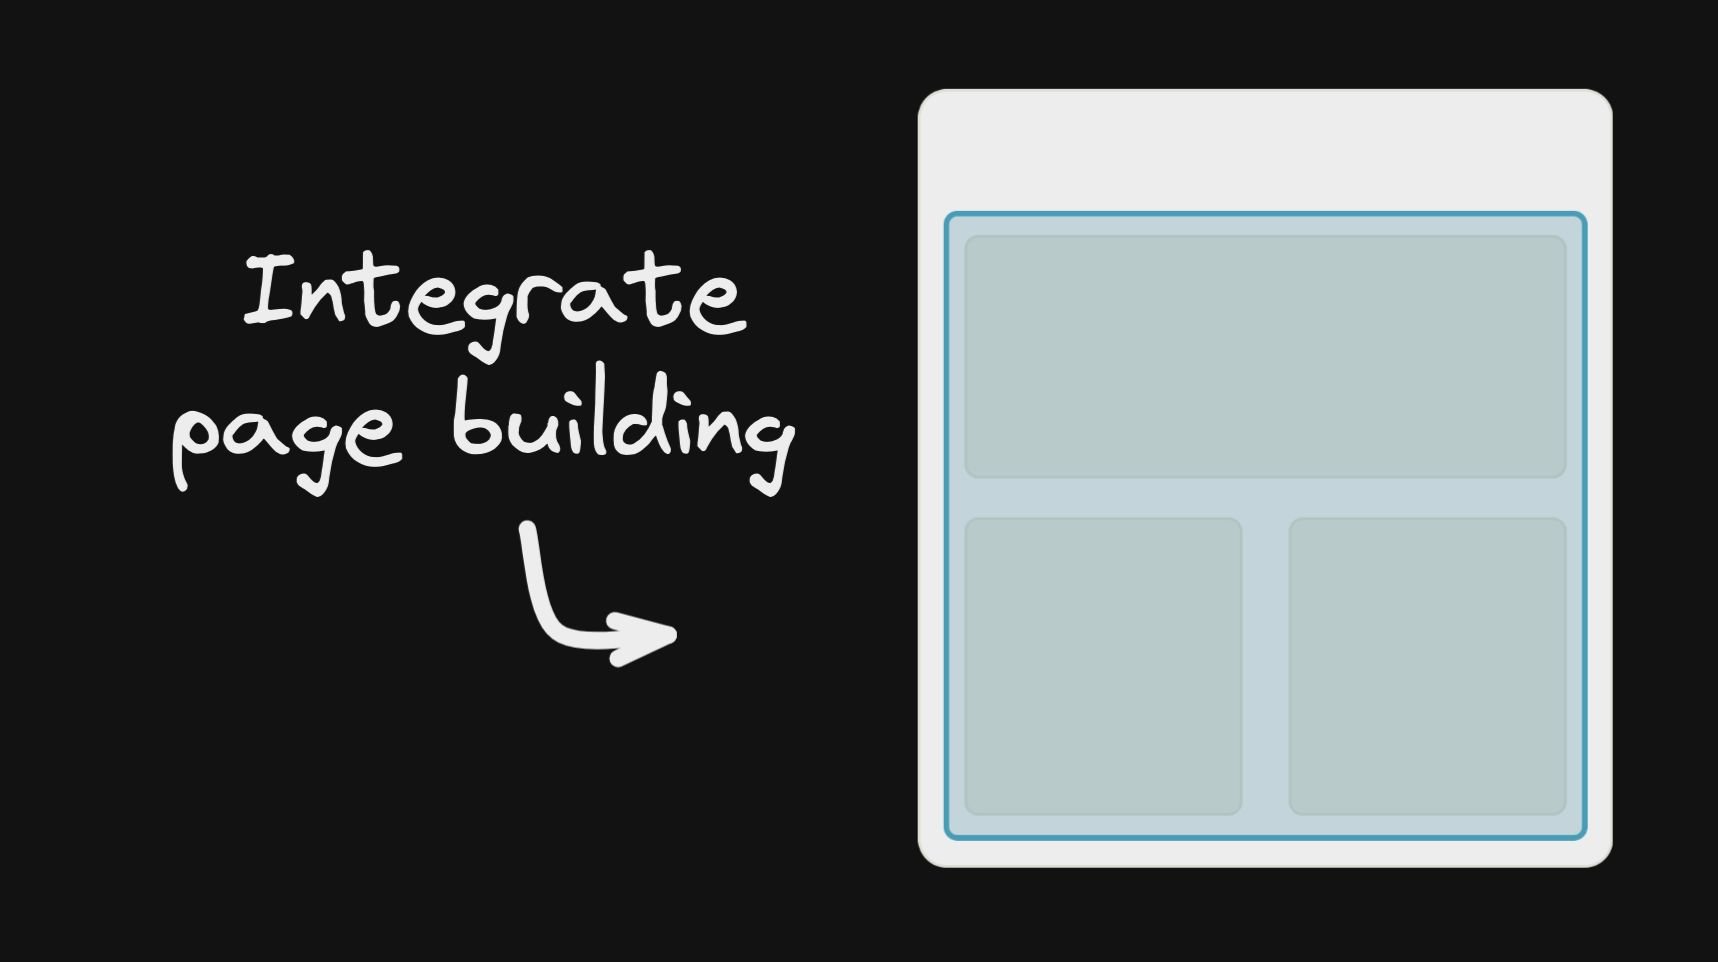
See our full getting started docs, or jump right into integration. We generally recommend to start with page buliding as your initial integration:
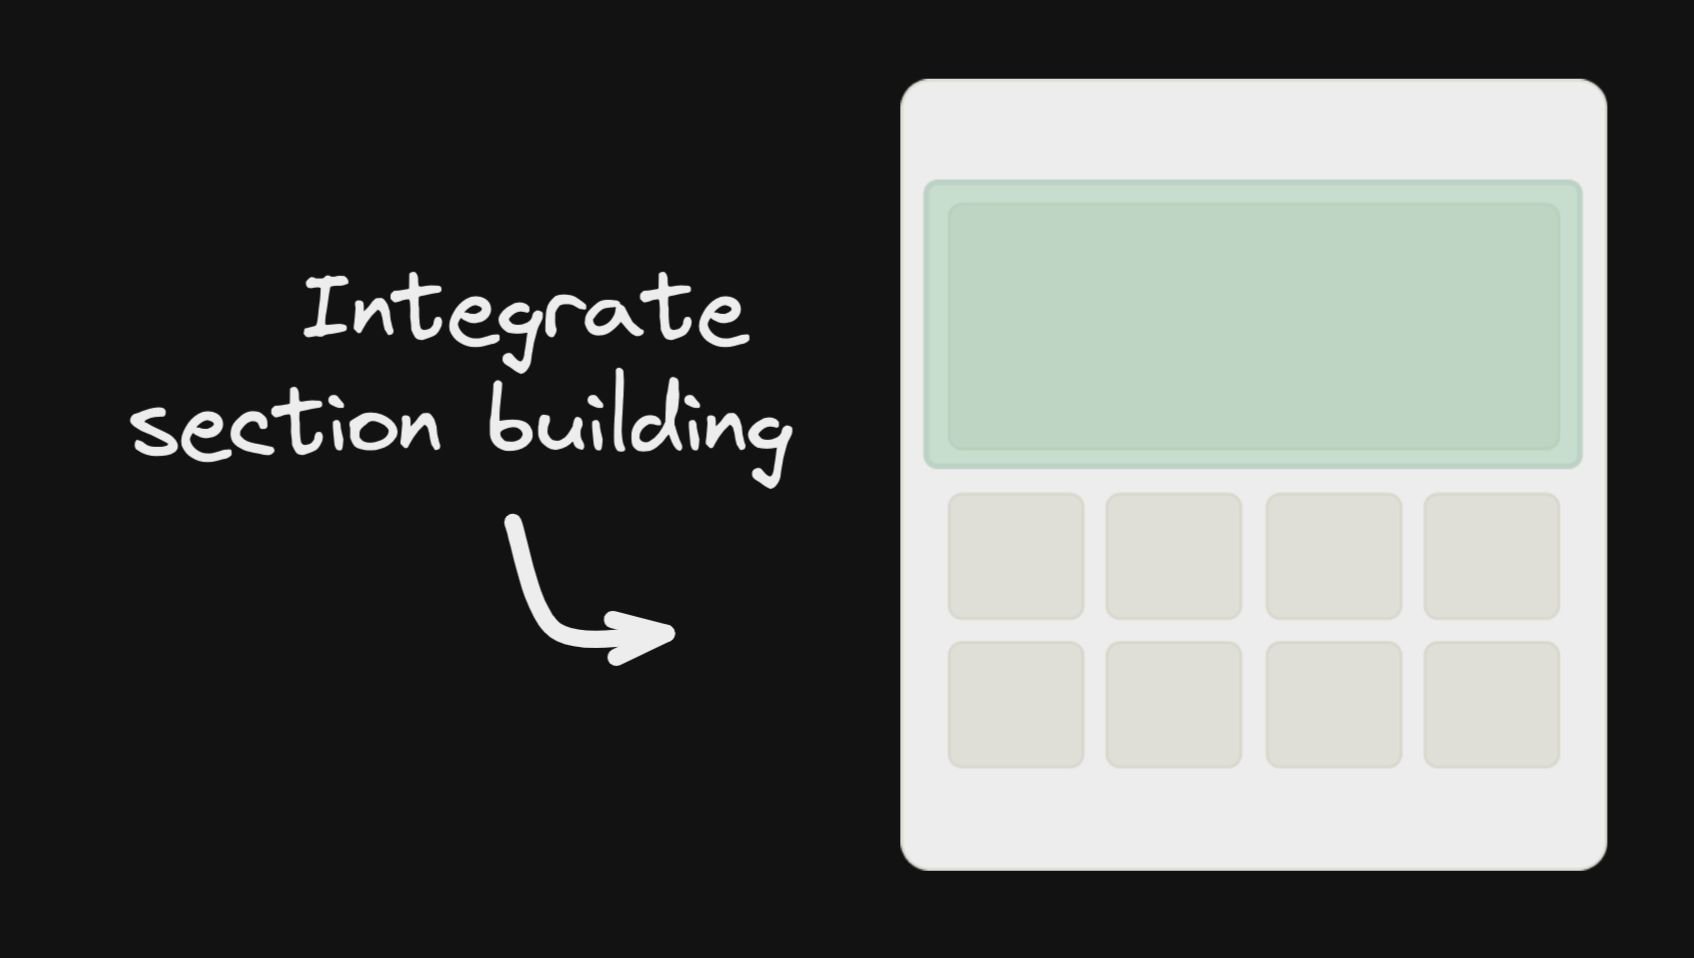
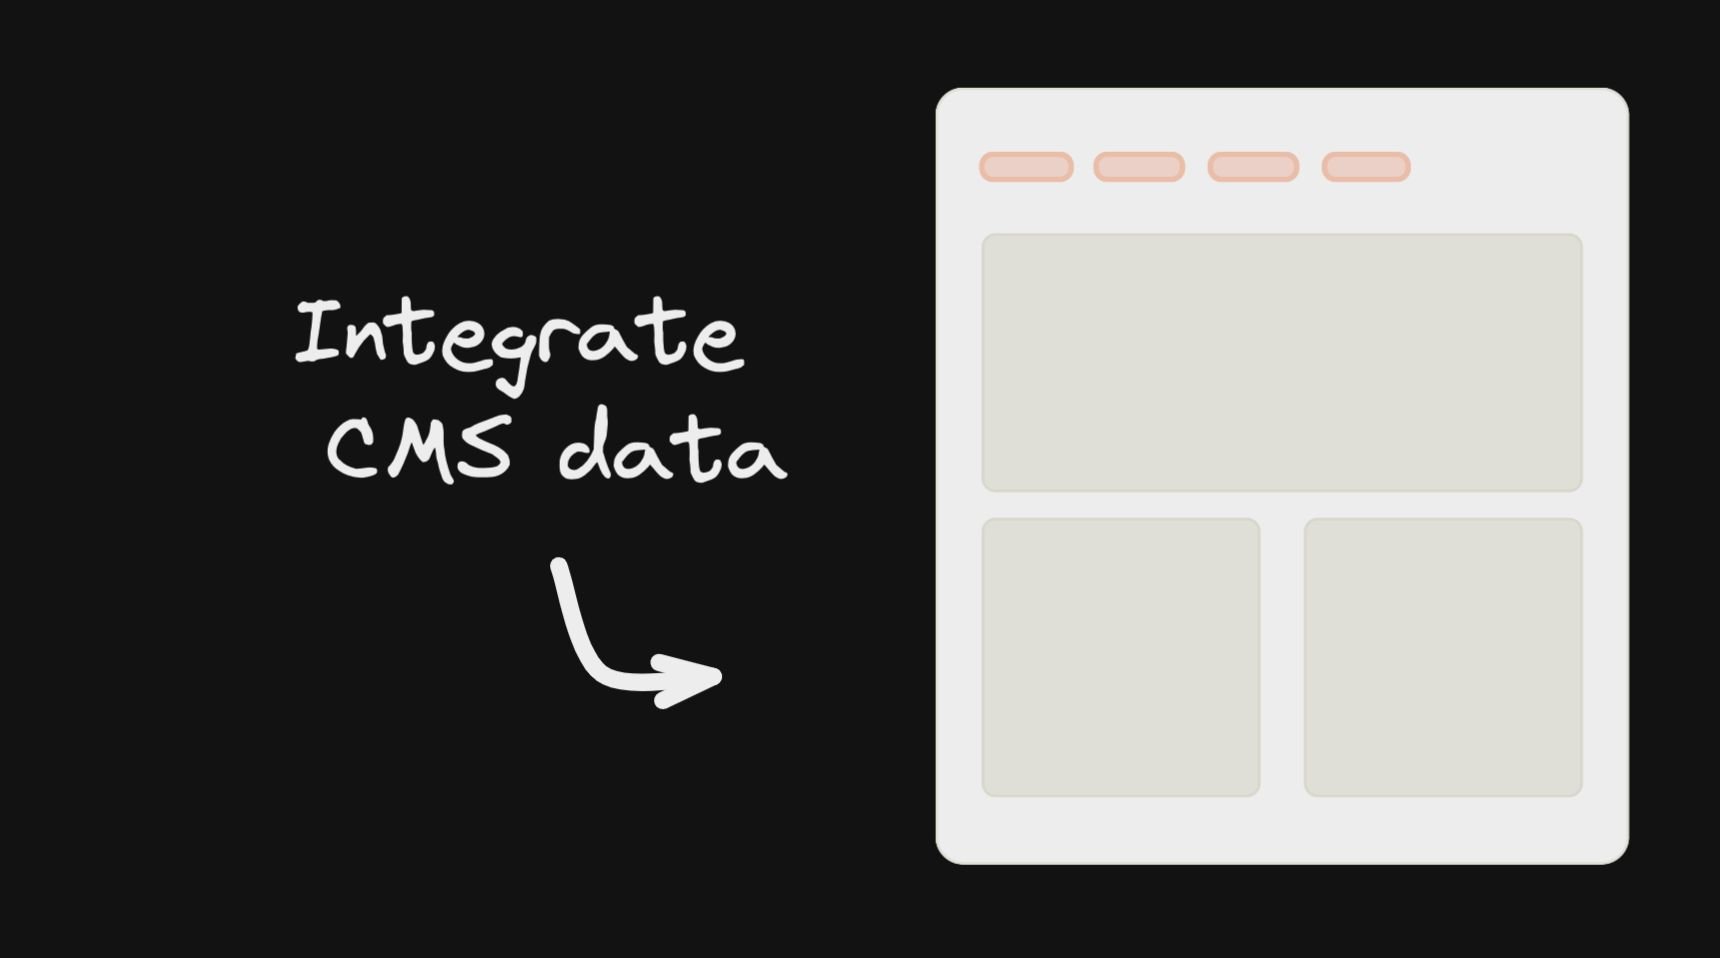
| Integrate Page Building | Integrate Section Building | Integrate CMS Data |
|
|
|
Install
npm install @builder.io/angular
Add the module
import { BuilderModule } from '@builder.io/angular';

@NgModule({
  ...
  imports: [ BuilderModule.forRoot('YOUR_API_KEY') ],
  ...
})
export class MyAppModule { }
NOTE: You can get
YOUR_API_KEYfrom https://builder.io/account/space.
And then add the component wherever you like
<!-- The model input can be any model of yours -->
<builder-component model="page" (load)="contentLoaded($event)" (error)="contentError($event)">
  <!-- Default content inside the tag shows while the builder content is fetching -->
  <div class="spinner"></div>
</builder-component>
Then, update your model's preview URL to enable on-site editing like in this guide, and you are done!
Next, see the below info for more advanced usage, as well as this guide for creating custom models,
and this guide for SEO optimizing your content (for angular use the data from the load output to get the custom field data)
Simply replace your 404 component with something like the below to allow creating new pages in Builder easily
<!-- The model input can be any model of yours -->
<builder-component
  *ngIf="!noBuilderPageForUrl"
  model="page"
  (load)="noBuilderPageForUrl = $event ? false : true"
  (error)="noBuilderPageForUrl = true"
>
  <!-- Default content inside the tag shows while the builder content is fetching -->
  <div class="spinner"></div>
</builder-component>
<my-404-component *ngIf="noBuilderPageForUrl"> </my-404-component>
Custom fields are a powerful feature when using custom models, for all sorts of customization, such as SEO optimization of your content
<builder-component model="page" (load)="contentLoaded($event)">
  <!-- Default content inside the tag shows while the builder content is fetching -->
  <div class="spinner"></div>
</builder-component>
contentLoaded(data) {
  // Data object (via the output $event) includes your custom fields, e.g. if you have a custom field named
  // "title"
  document.title = data.data.title
}
With section models you can use Builder.io components in/around existing pages (aka it doesn't have to control the whole page). See info on making custom models for this here
<!-- The first part of your page -->
<builder-component model="announcement-bar">Loading..</builder-component>
<!-- the rest of your page -->
You can then use queries and targeting to customize what content loads where
You can drag and drop to add your angular components in the Builder editor with a simple tag like below:
import { BuilderBlock } from '@builder.io/angular';
import { Component, Input } from '@angular/core';

@BuilderBlock({
  tag: 'custom-thing',
  name: 'Custom thing',
  inputs: [
    {
      name: 'name',
      type: 'string',
    },
  ],
})
@Component({
  selector: 'custom-thing',
  template: 'Hello: {{name}}',
})
export class CustomThing {
  @Input()
  name = '';
}
Note that custom Angular components use angular elements and render in the browser only (no server-side rendering).
If you need server-side rendering in reusable components with Builder, consider using symbols
See here for full detail on input types available.
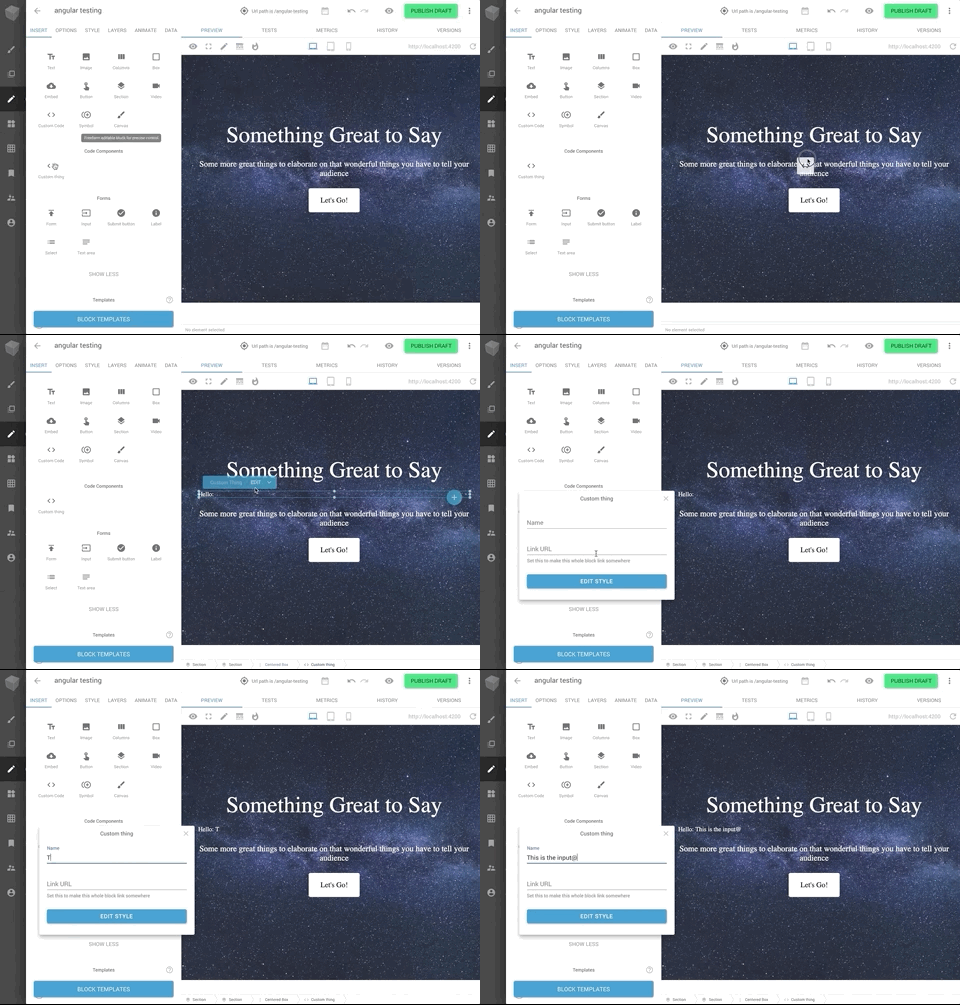
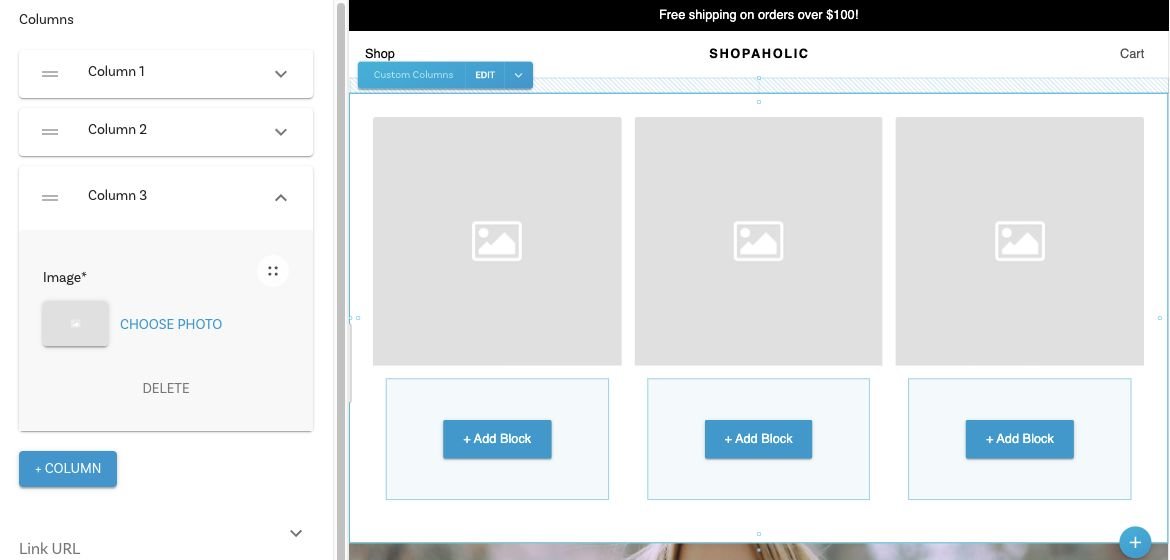
blocksbuilder-blocks-outlet component to render those blocks withing your component template.@Component({
selector: 'custom-thing',
template: `
<h2>Section A</h2>
<builder-blocks-outlet
[blocks]="sectionA"
[builderState]="builderState"
[builderBlock]="builderBlock"
dataPath="component.options.sectionA"
></builder-blocks-outlet>
<h2>Section B</h2>
<builder-blocks-outlet
[blocks]="sectionB"
[builderState]="builderState"
[builderBlock]="builderBlock"
dataPath="component.options.sectionB"
></builder-blocks-outlet>
`,
})
export class CustomThing implements OnChanges {
@Input()
name = '';
@Input()
builderBlock = null;
@Input()
builderState = null;
@Input()
sectionA = null;
@Input()
sectionB = null;
}
BuilderBlock({
tag: 'custom-thing',
name: 'Custom thing',
canHaveChildren: true,
inputs: [
{
name: 'name',
type: 'string',
},
{
name: 'sectionA',
type: 'blocks',
hideFromUI: true,
helperText: 'This is an editable region where you can drag and drop blocks.',
defaultValue: [
{
'@type': '@builder.io/sdk:Element',
component: {
name: 'Text',
options: {
text: 'Section A Editable in Builder...',
},
},
responsiveStyles: {
large: {
display: 'flex',
flexDirection: 'column',
position: 'relative',
flexShrink: '0',
boxSizing: 'border-box',
marginTop: '20px',
lineHeight: 'normal',
height: 'auto',
textAlign: 'center',
},
},
},
],
},
{
name: 'sectionB',
type: 'blocks',
hideFromUI: true,
helperText: 'This is an editable region where you can drag and drop blocks.',
defaultValue: [
{
'@type': '@builder.io/sdk:Element',
component: {
name: 'Text',
options: {
text: 'Section B Editable in Builder...',
},
},
responsiveStyles: {
large: {
display: 'flex',
flexDirection: 'column',
position: 'relative',
flexShrink: '0',
boxSizing: 'border-box',
marginTop: '20px',
lineHeight: 'normal',
height: 'auto',
textAlign: 'center',
},
},
},
],
},
],
})(CustomThing);
You can also pass data and functions down to the Builder component to use in the UIs (e.g. bind data values to UIs e.g. for text values or iterating over lists, and actions to trigger for instance on click of a button)
All data passed down is available in Builder actions and bindings as state.*, for instance in the below example state.resources, etc will be available
@Component({
  selector: 'app-root',
  template: '<builder-component [options]="options" [context]="context" [data]="data" model="page"></builder-component>',
})
export class AppComponent {
  options: any = {
    cacheSeconds: 1,
    data: {
      locale: 'en-US',
    },
  };

  data = {
    resources: [ { foo: 'bar'} ]
  };

  context= {
    myFunction: (text: string) => alert(text),
  }
You can also pass down functions, complex data like custom objects and libraries you can use context. Context passes all the way down (e.g. through symbols, etc). This data is not observed for changes and mutations
Context is available in actions and bindings as context.*, such as context.myFunction('hello world') in the example above
To see a full example integration see here for a simple Angular + Builder.io example project, or here for an Angular universal example
FAQs
Use the Builder Angular SDK to use Angular with Builder. You can get started by heading over to Builder's official documentation or digging right into the code in this directory. The official documentation provides more explicit instructions, while this R
The npm package @builder.io/angular receives a total of 1,589 weekly downloads. As such, @builder.io/angular popularity was classified as popular.
We found that @builder.io/angular demonstrated a healthy version release cadence and project activity because the last version was released less than a year ago. It has 0 open source maintainers collaborating on the project.
Did you know?

Socket for GitHub automatically highlights issues in each pull request and monitors the health of all your open source dependencies. Discover the contents of your packages and block harmful activity before you install or update your dependencies.

Security News
vlt's new "reproduce" tool verifies npm packages against their source code, outperforming traditional provenance adoption in the JavaScript ecosystem.

Research
Security News
Socket researchers uncovered a malicious PyPI package exploiting Deezer’s API to enable coordinated music piracy through API abuse and C2 server control.

Research
The Socket Research Team discovered a malicious npm package, '@ton-wallet/create', stealing cryptocurrency wallet keys from developers and users in the TON ecosystem.