Security News
vlt Launches "reproduce": A New Tool Challenging the Limits of Package Provenance
vlt's new "reproduce" tool verifies npm packages against their source code, outperforming traditional provenance adoption in the JavaScript ecosystem.
30-second Slideshows for Hackers. http://jdan.github.io/cleaver/
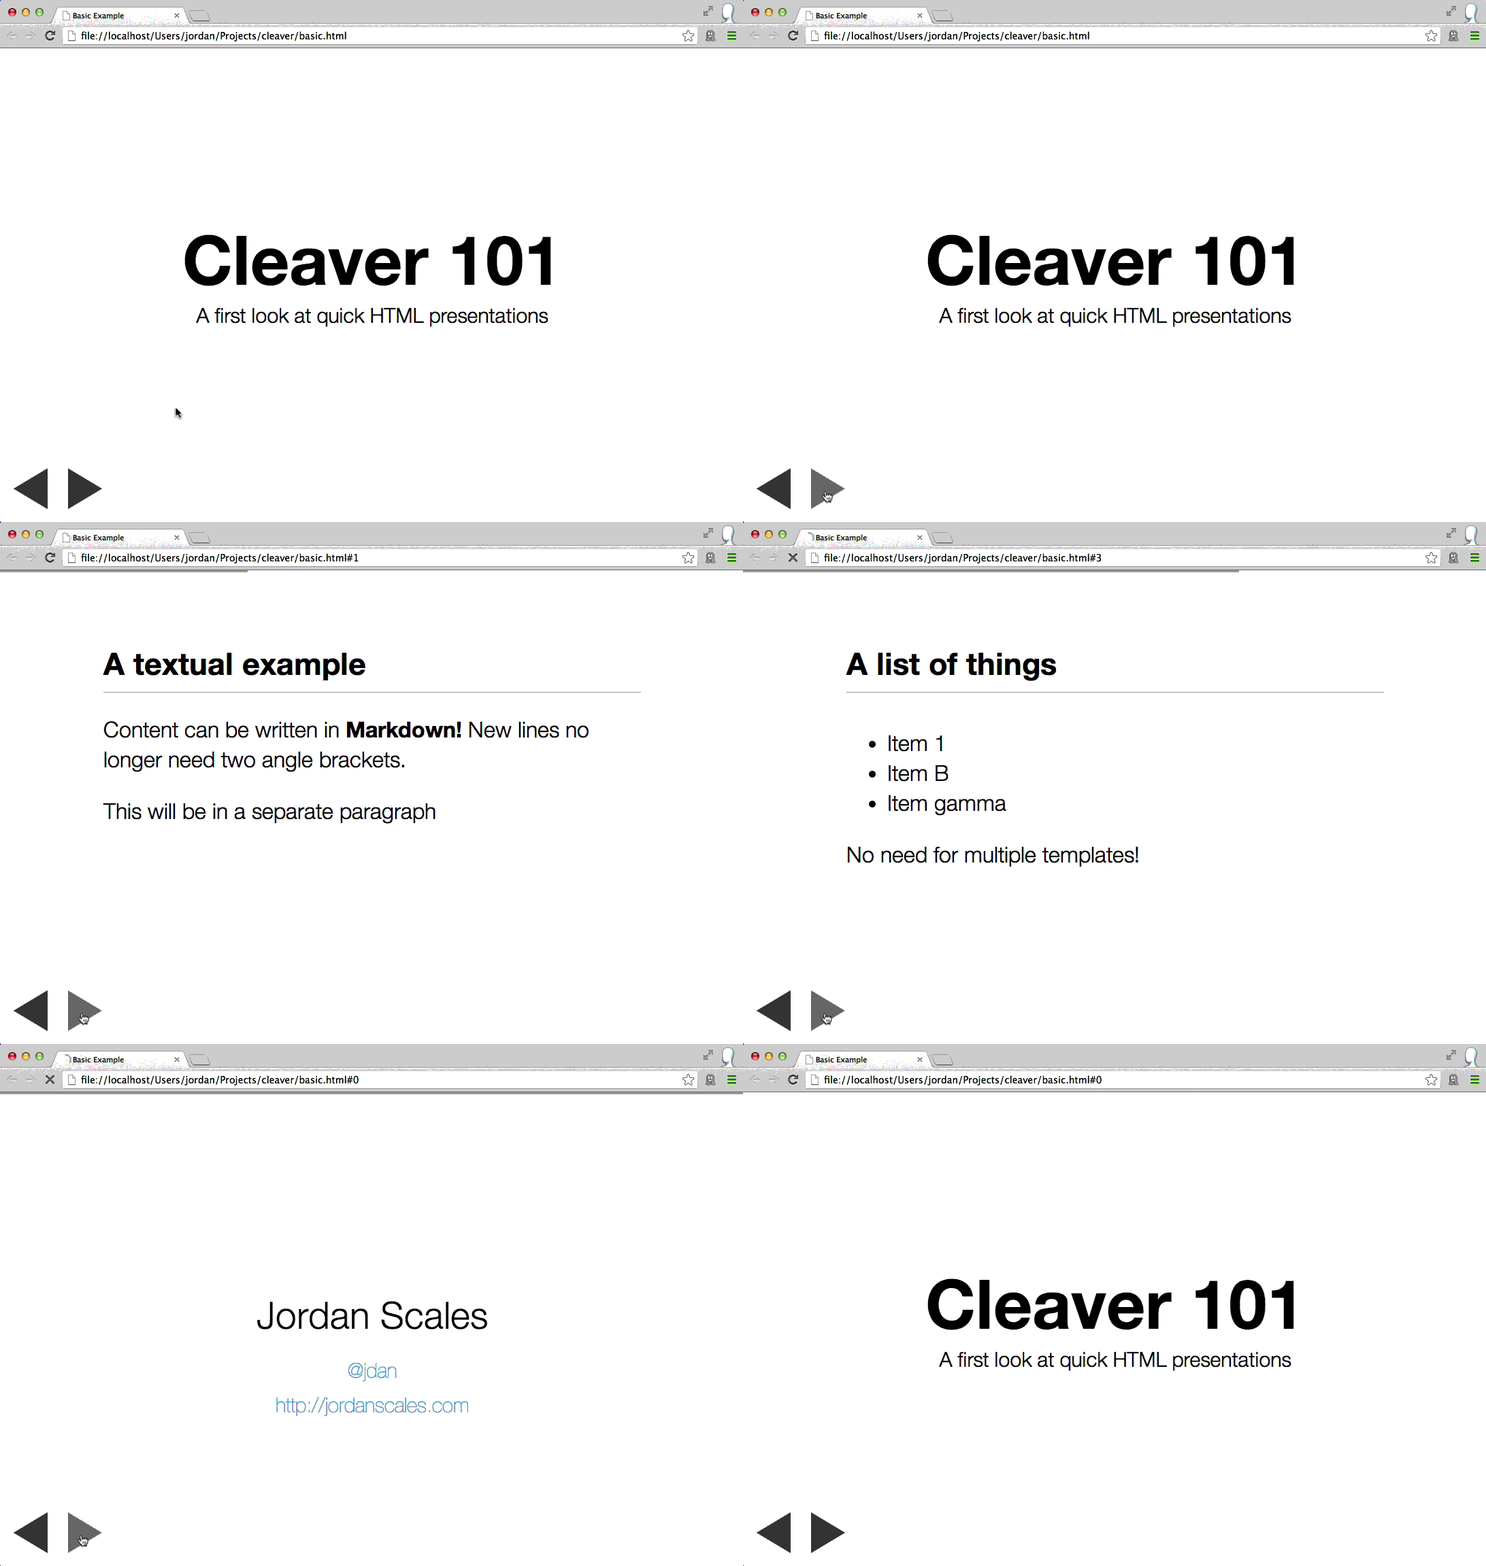
Cleaver turns this:
title: Basic Example
author:
name: Jordan Scales
twitter: jdan
url: http://jordanscales.com
output: basic.html
controls: true
--
# Cleaver 101
## A first look at quick HTML presentations
--
### A textual example
Content can be written in **Markdown!** New lines no longer need two angle brackets.
This will be in a separate paragraph
--
### A list of things
* Item 1
* Item B
* Item gamma
No need for multiple templates!
Into this:

Get it on NPM:
npm install -g cleaver
And run it like so:
cleaver path/to/something.md

# to recompile on changes:
# cleaver watch path/to/something.md
Cleaver is a one-stop shop for generating HTML presentations in record time. Using some spiced up markdown, you can produce good-looking, interactive presentations without writing any code or placing a measly textbox.
All you need to do is write some blocks of markdown, separated by --
on its own line and include metadata at the top.
Cleaver also looks great on mobile.
Let's walk through the above example piece by piece.
title: Basic Example
author:
  name: Jordan Scales
  twitter: jdan
  url: http://jordanscales.com
output: basic.html
controls: true
The first section of any cleaver document is the metadata. Currently cleaver supports the following fields. All metadata is optional.
Ordinary Users
Power Users
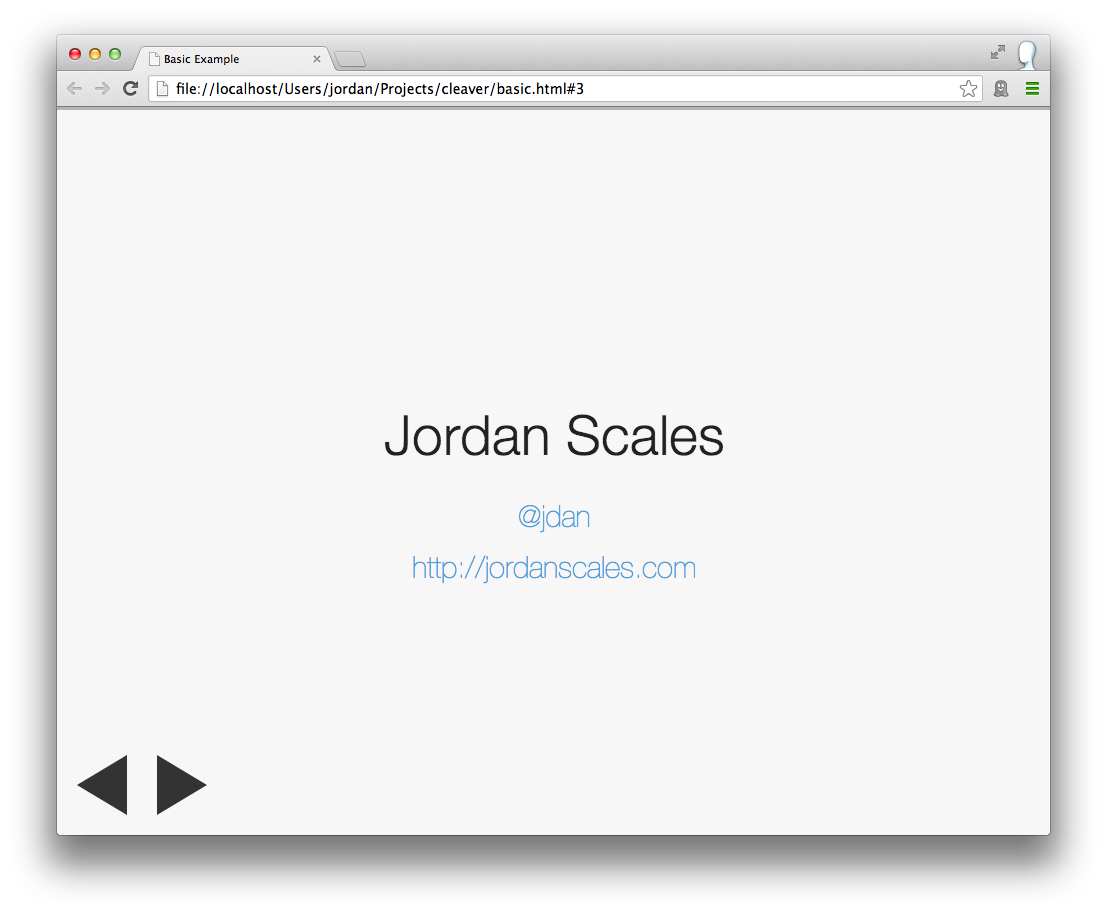
If author is included, the following slide will be automatically inserted at the end of your presentation:

# Cleaver 101
## A first look at quick HTML presentations
h1 and h2 elements (prefaced with # and ## respectively), will automatically include padding to render a title slide.
### A list of things

* Item 1
* Item B
* Item gamma

No need for multiple templates!
Since slides are written in Markdown, you can include things like lists, images, and arbitrary HTML.
h3 tags (prefaced ###) are automatically given a bottom border to
represent a slide title.
To navigate the slideshow:
Or click the buttons
By default, cleaver slides are rendered in the following template:
{{#progress}}
  <div class="progress">
    <div class="progress-bar"></div>
  </div>
{{/progress}}

<div id="wrapper">
  {{#slides}}
    <section class="slide">{{{.}}}</section>
  {{/slides}}
</div>
{{#controls}}
  <div class="controls">
    <div class="arrow prev"></div>
    <div class="arrow next"></div>
  </div>
{{/controls}}

<script type="text/javascript">
  {{{navigation}}}
</script>
Power users may wish to render into custom templates. To do so, simply copy the above file somewhere, make some changes, and specify the template like so:
title: Basic Example
output: basic.html
template: example.mustache
You can also replace the entire layout (<head> tags and all) with the layout option. Use
layout.mustache as
an example to note what fields you should include in your custom layout.
npm install)git checkout -b feature/cool-wordart)With <3,
@jdan
--
FAQs
30-second slideshows for hackers
The npm package cleaver receives a total of 57 weekly downloads. As such, cleaver popularity was classified as not popular.
We found that cleaver demonstrated a not healthy version release cadence and project activity because the last version was released a year ago. It has 3 open source maintainers collaborating on the project.
Did you know?

Socket for GitHub automatically highlights issues in each pull request and monitors the health of all your open source dependencies. Discover the contents of your packages and block harmful activity before you install or update your dependencies.

Security News
vlt's new "reproduce" tool verifies npm packages against their source code, outperforming traditional provenance adoption in the JavaScript ecosystem.

Research
Security News
Socket researchers uncovered a malicious PyPI package exploiting Deezer’s API to enable coordinated music piracy through API abuse and C2 server control.

Research
The Socket Research Team discovered a malicious npm package, '@ton-wallet/create', stealing cryptocurrency wallet keys from developers and users in the TON ecosystem.